Documenting My Love for The Gilmore Girls

Gilmore_Closeup2_Blog.jpg

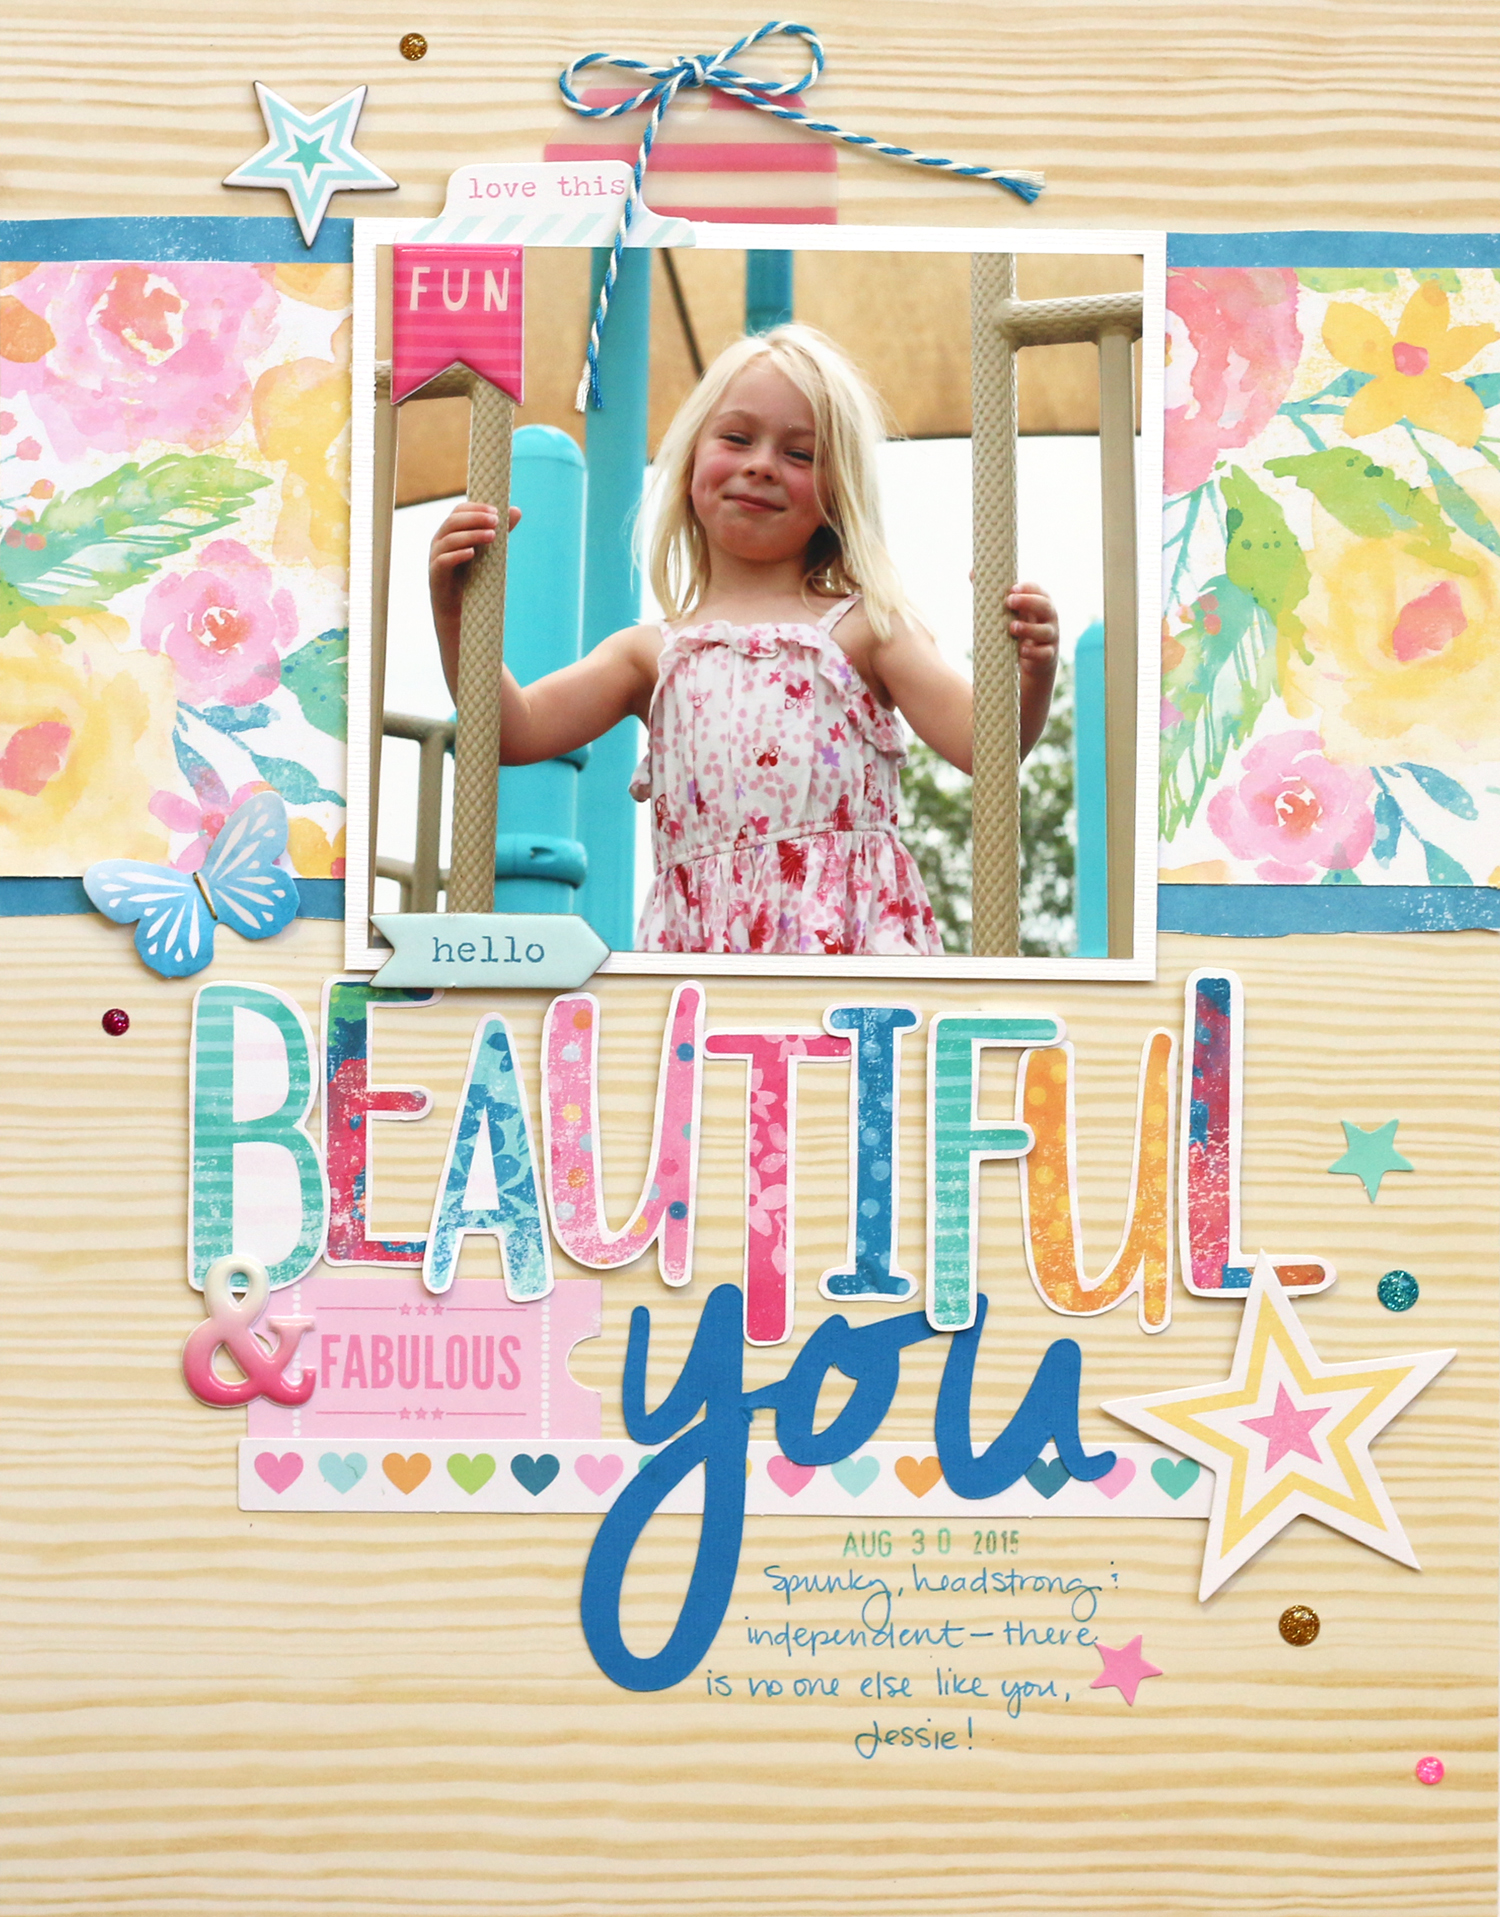
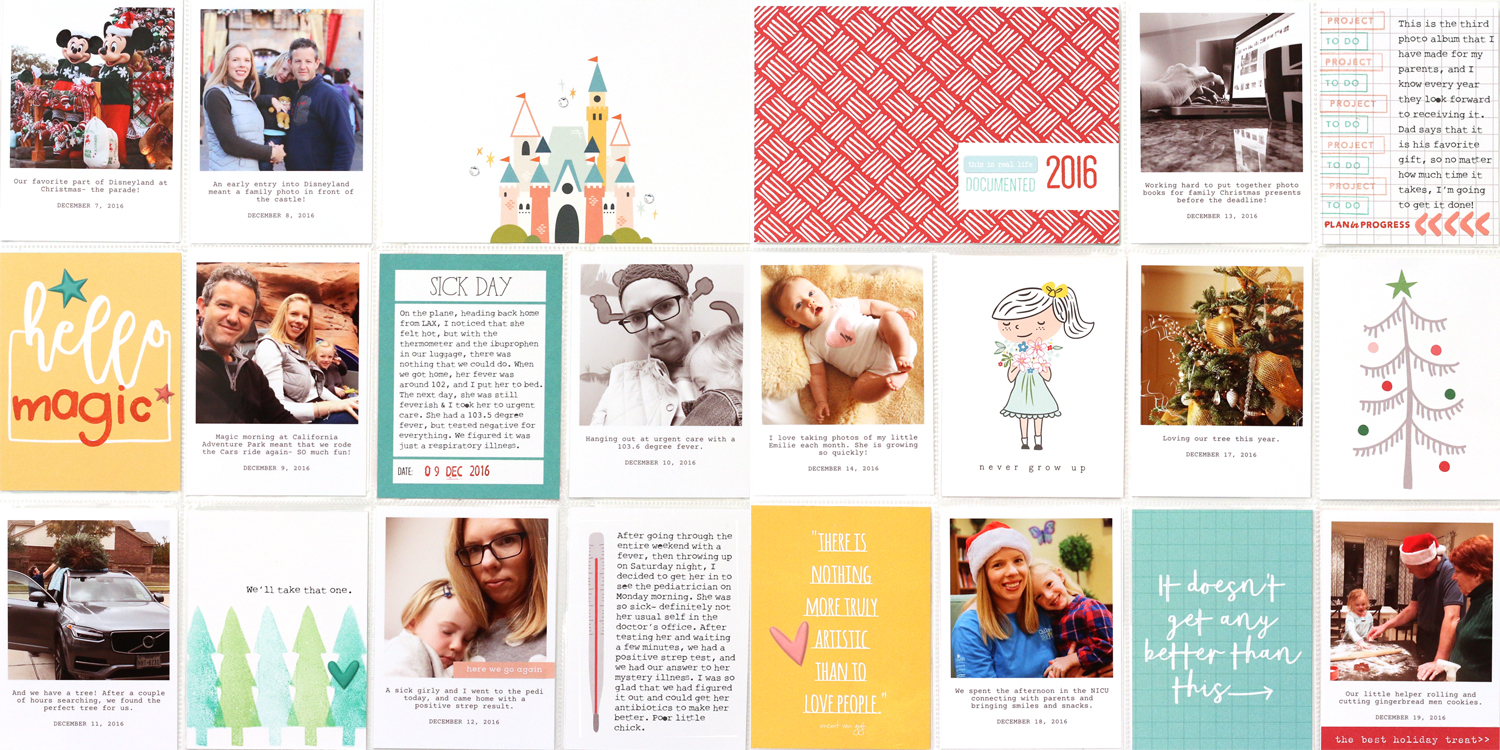
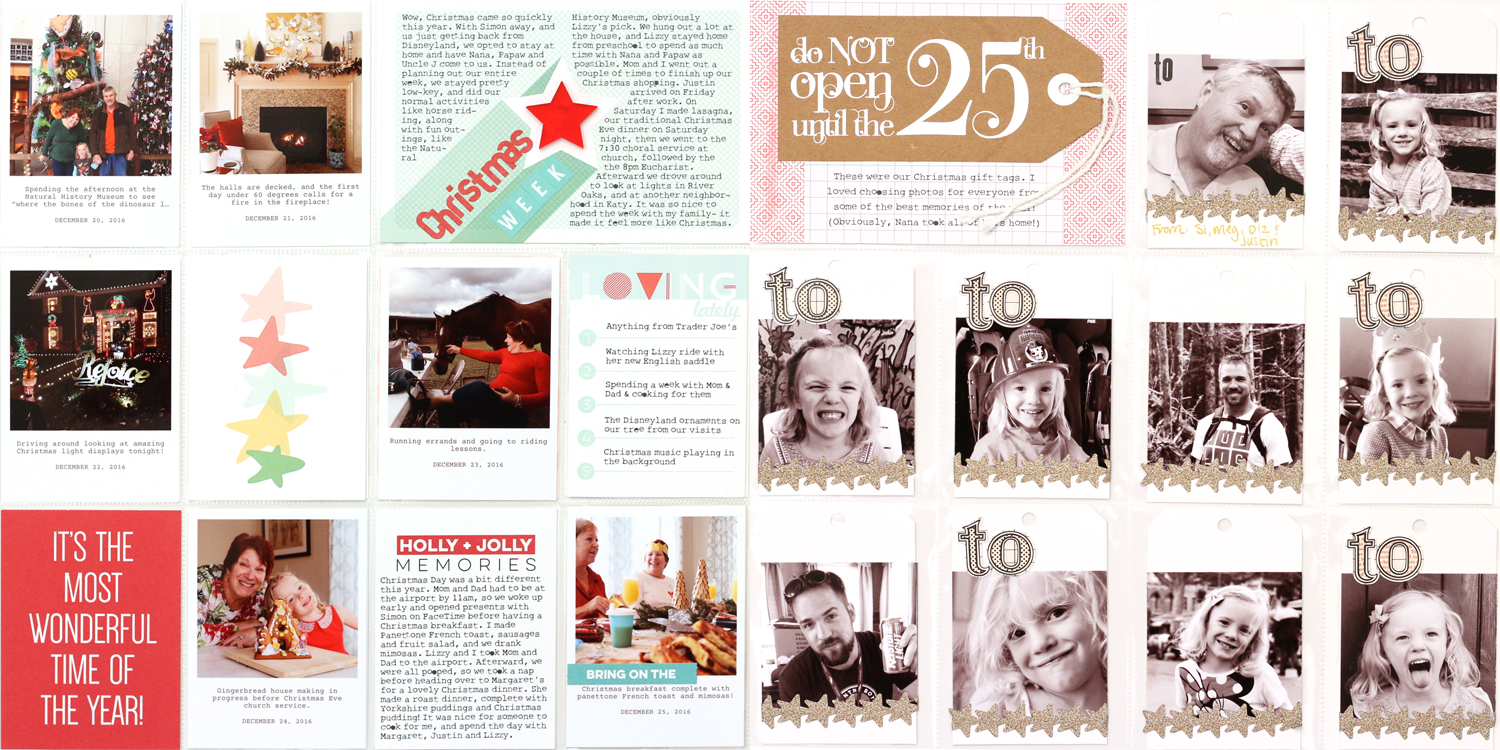
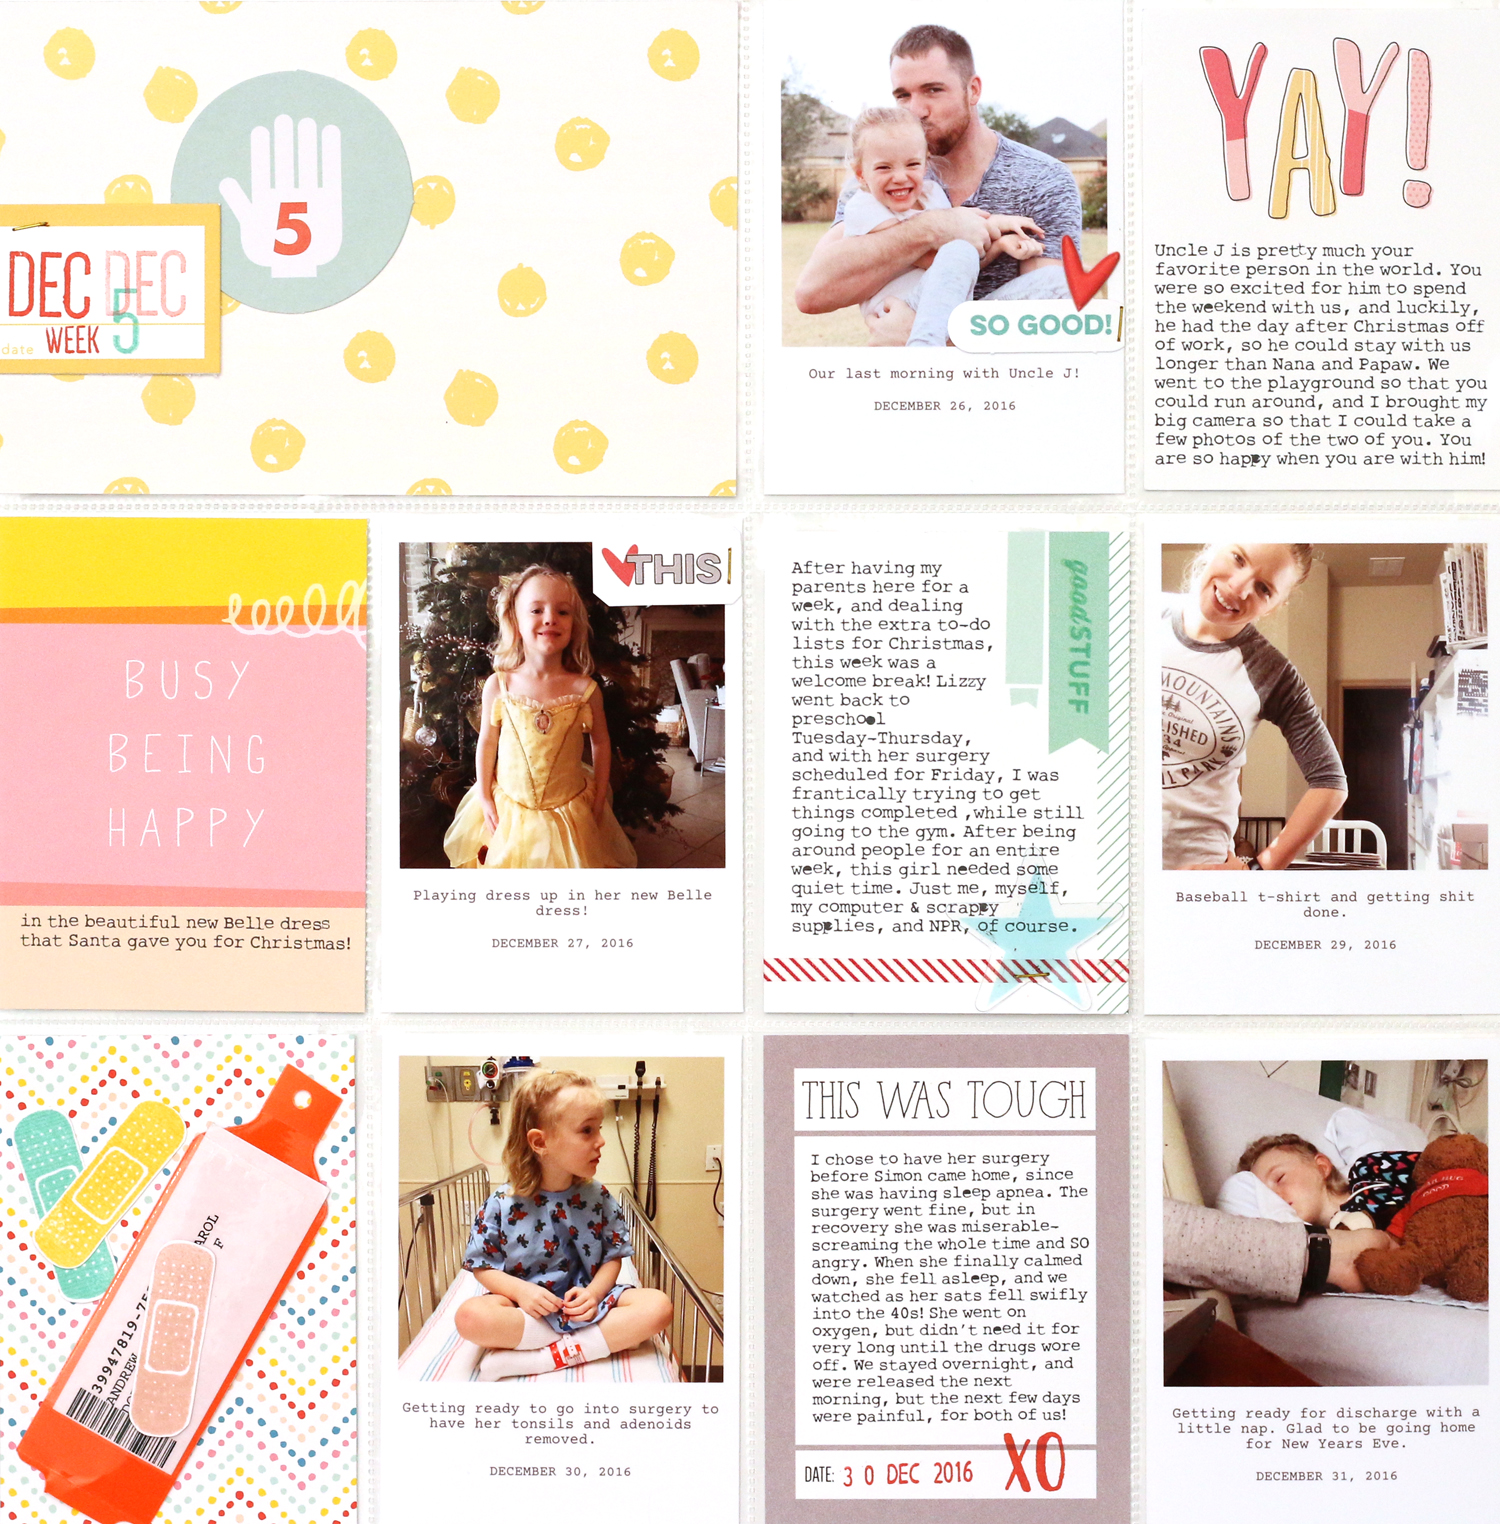
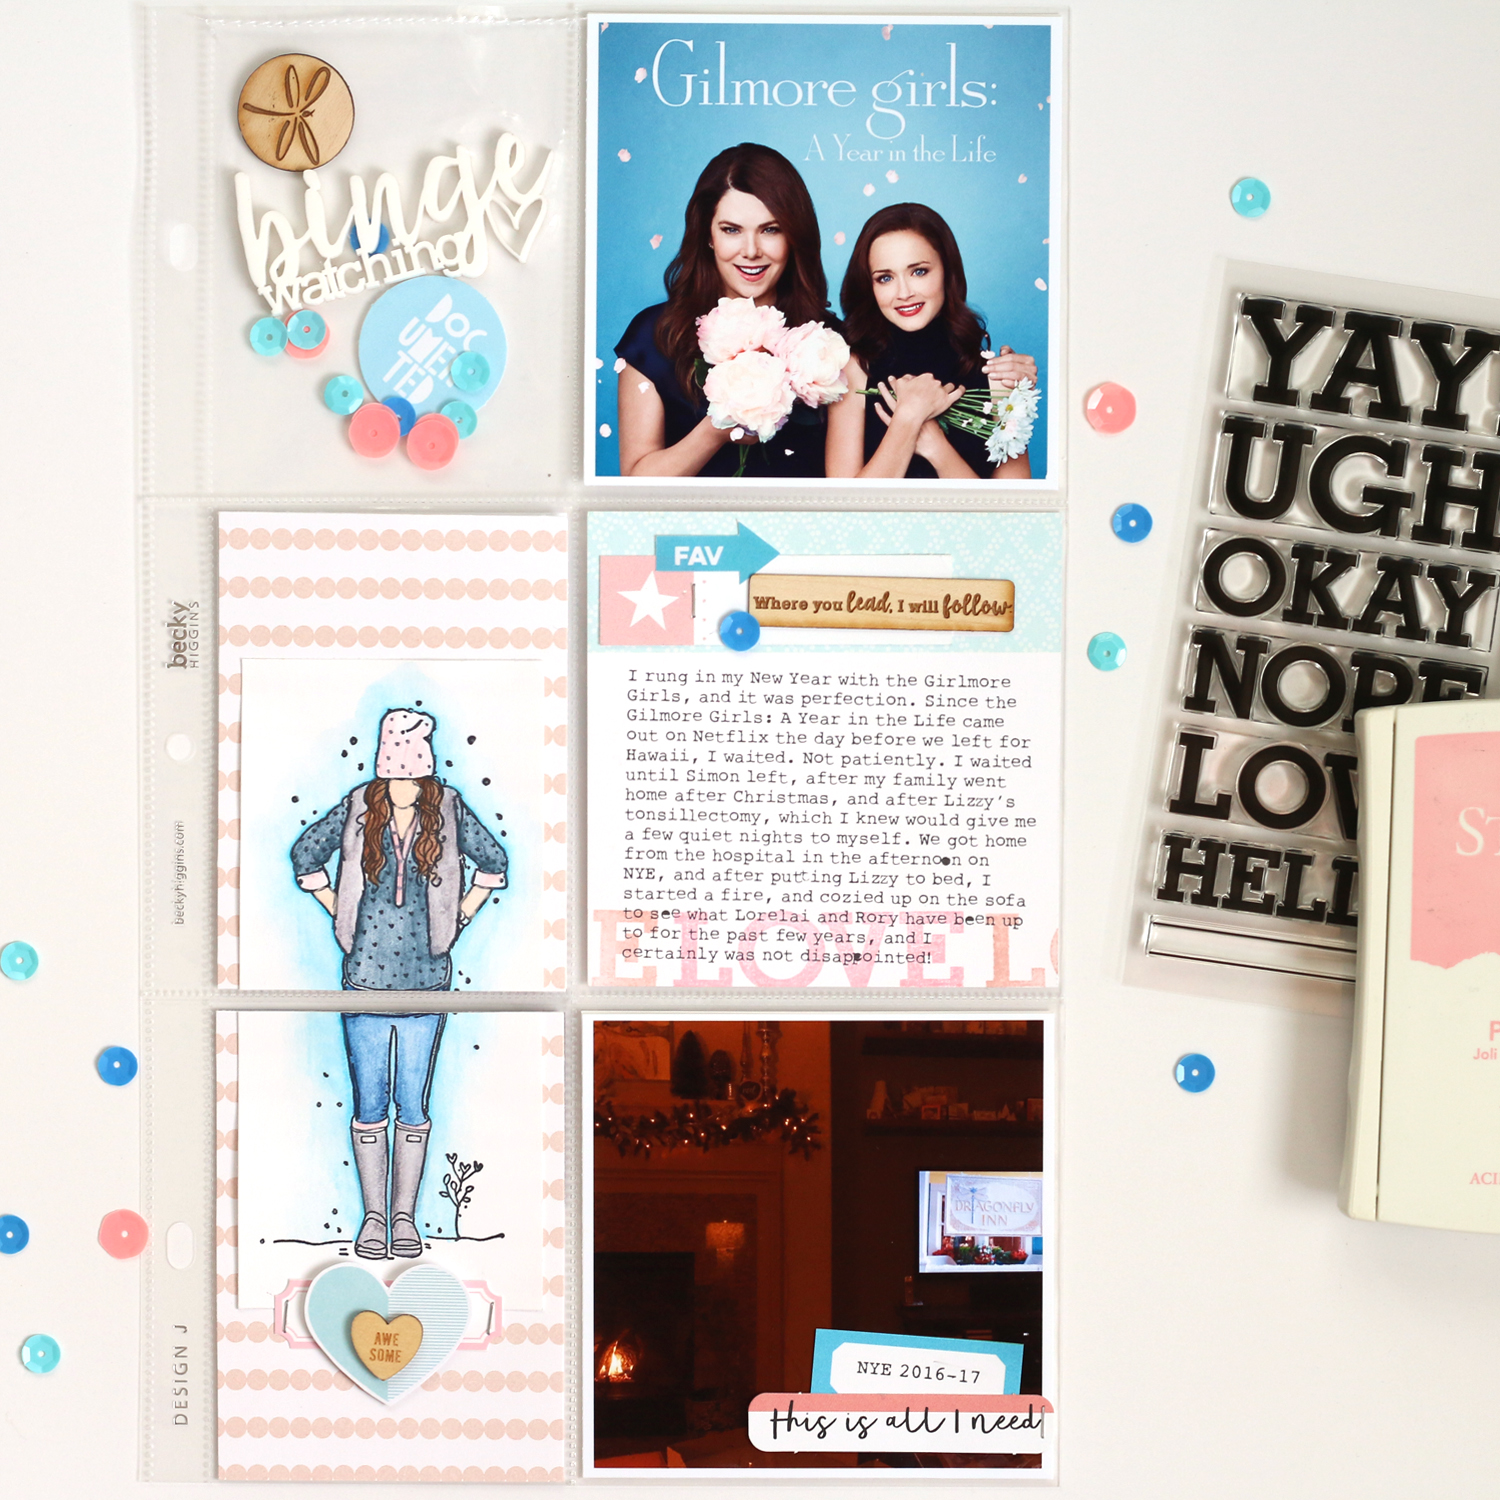
When I found out that The Gilmore Girls: A Year in the Life was coming out in the fall, I was SO excited, as were most 30-somethings all over the country. But when it was released, the day after Thanksgiving, we were just about to embark on a trip to Hawaii and Disneyland, so I waited. I waited through December, until my husband left for work, and waited again until New Year's Eve, when my daughter was having her tonsillectomy. All of that waiting was completely worth it, and because the event was part of my New Year's celebration, I decided to document it in a pocket page. I even included a photo of The Dragonfly Inn on my TV screen with my twinkle lights on the mantel and a fire in the fireplace. Ah... cozy!  

Supplies | Elle's Studio May 2017 Kit*, Elle's Studio Today Stamp*, Elle's Studio Arrow Stickers*, Unity Stamp Company Lux Girl, misc. die cuts, Colorcast Designs Gilmore-themed wood veneer & acrylic (sold out), misc. sequins (Supplies with an * are affiliate links. You don't pay any extra, but I get a small percentage of your sale! Thanks for your continued support!)

Supplies | Elle's Studio May 2017 Kit*, Elle's Studio Sky Blue Puffy Alphabet Stickers*, Elle's Studio TV Journaling Tags*, Elle's Studio TV Stamp*, Elle's Studio TV Wood Veneer*, misc. cardstock alphabet stickers, misc. sequins, Colorcast Designs Gilmore-themed wood veneer & acrylic (sold out), (Supplies with an * are affiliate links. You don't pay any extra, but I get a small percentage of your sale! Thanks for your continued support!)   

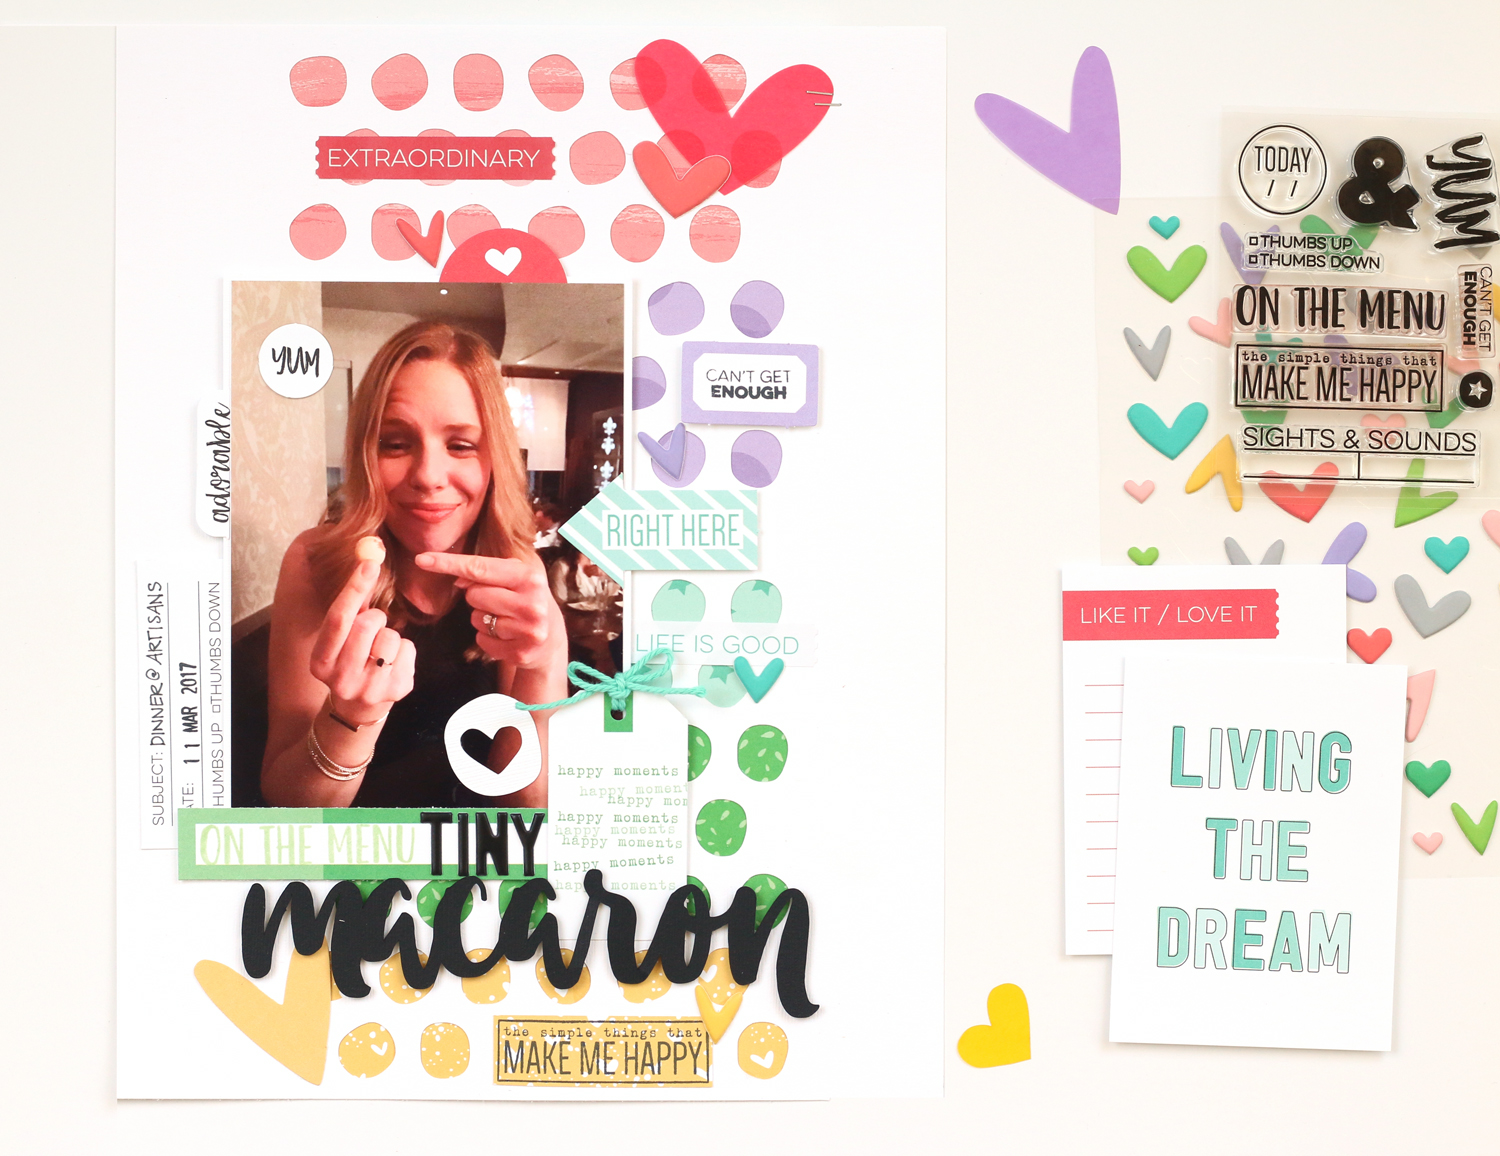
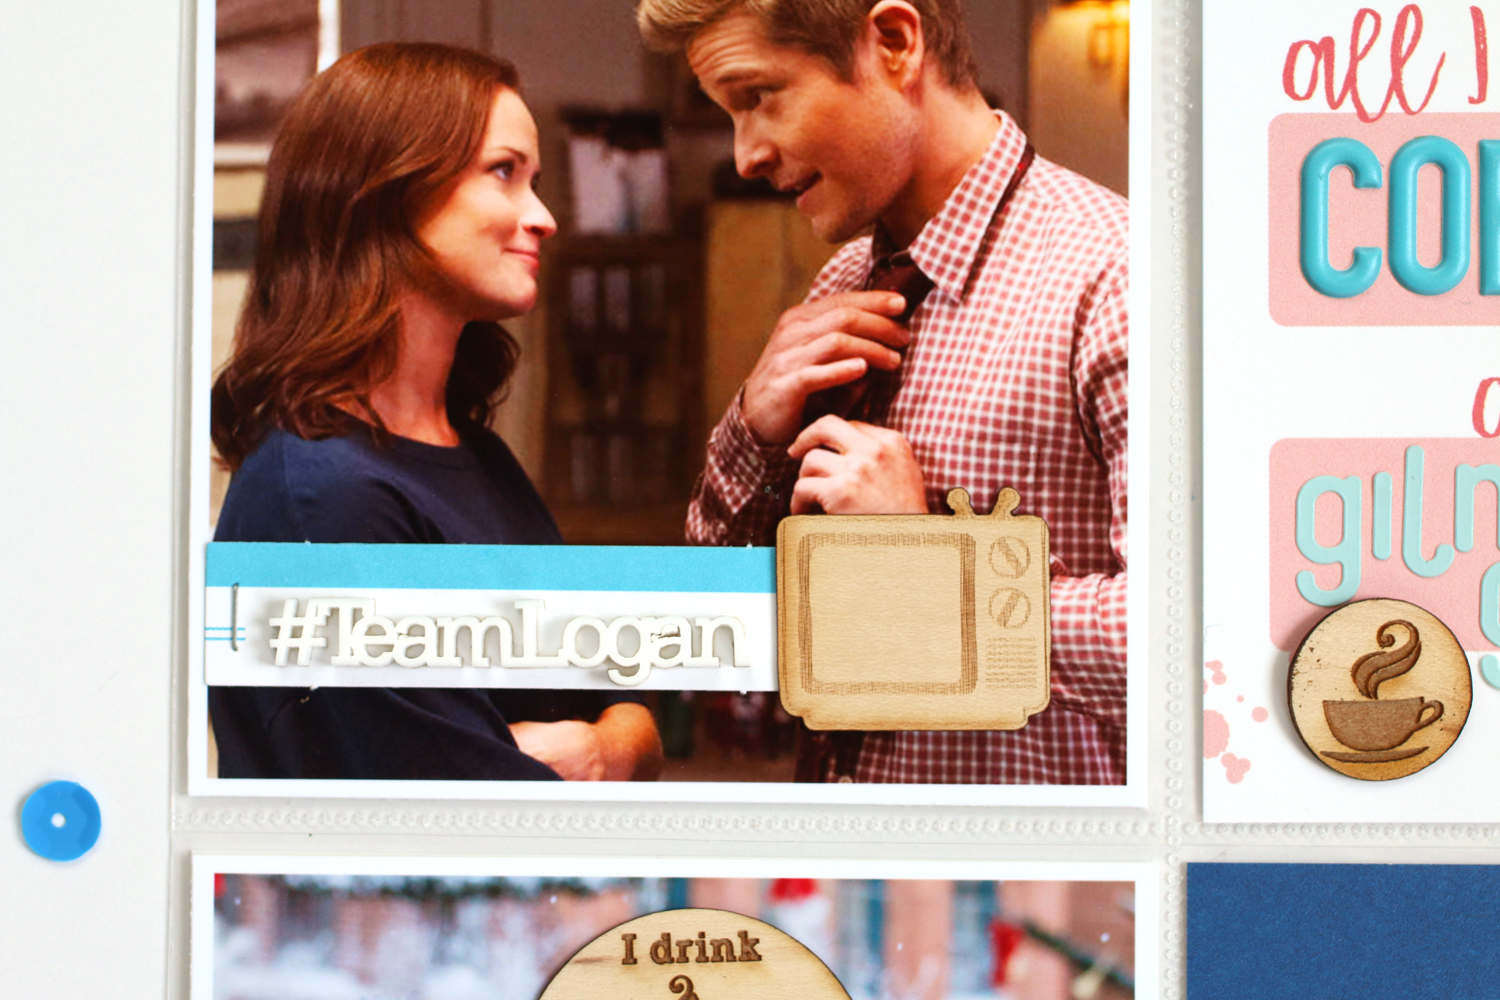
I took my color scheme from the official A Year in the Life image with the beautiful sky blue background, as well as the photo of Lorelai and Rory grabbing a coffee and the morning paper in Star's Hollow. Mixing the beautiful light blue, with navy and pink felt just perfect for this spread. 

Gilmore_Closeup1_Blog.jpg

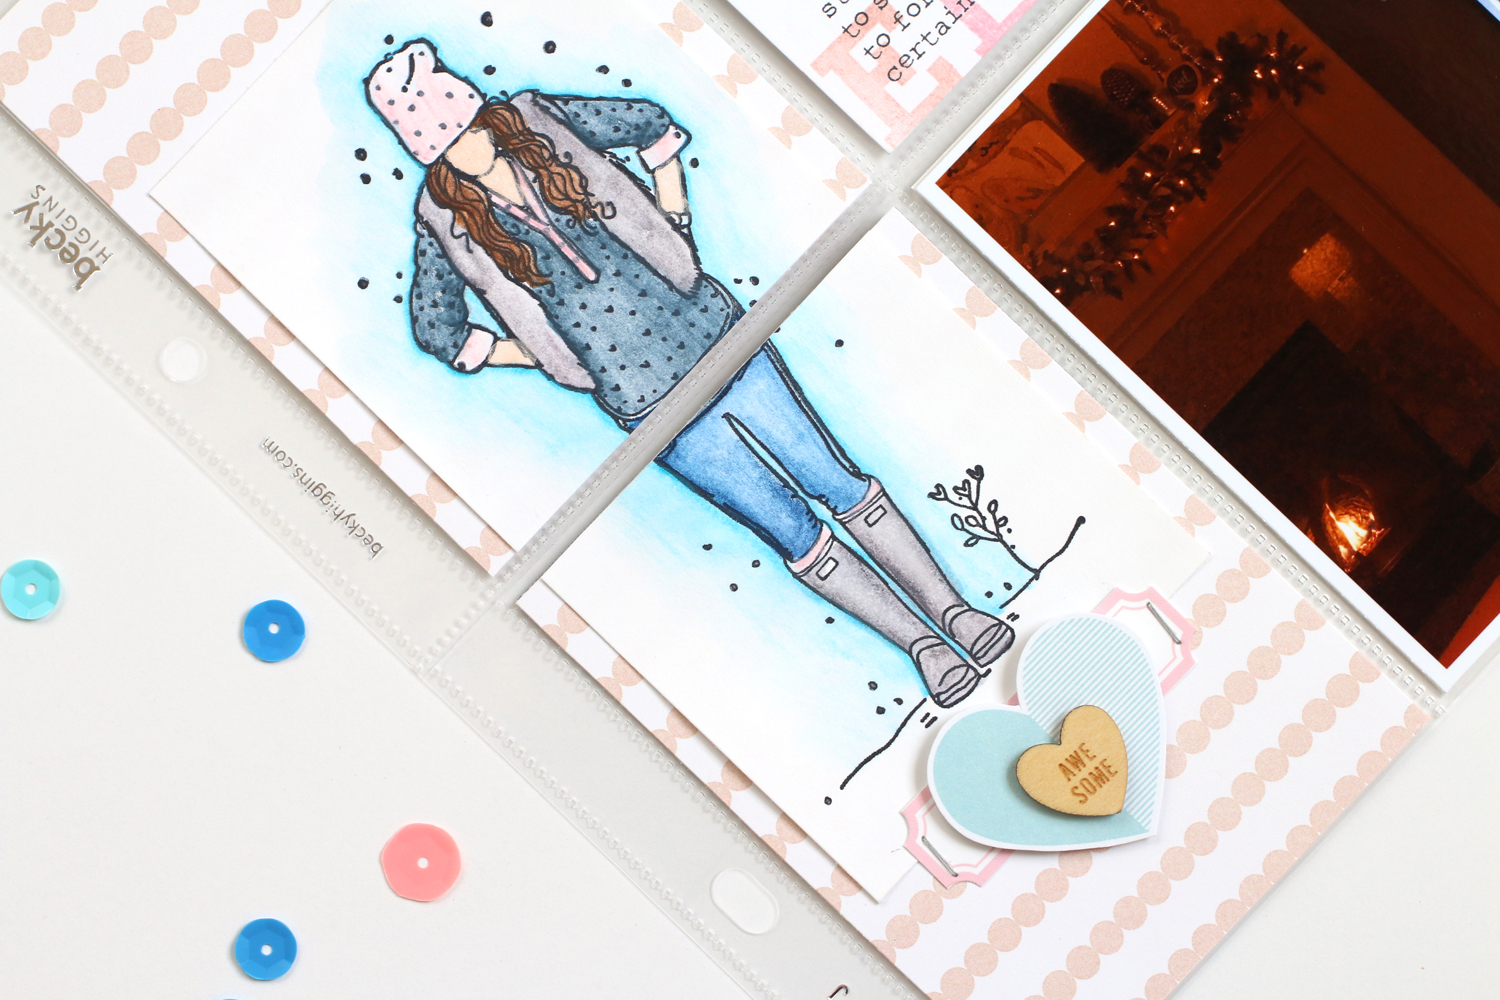
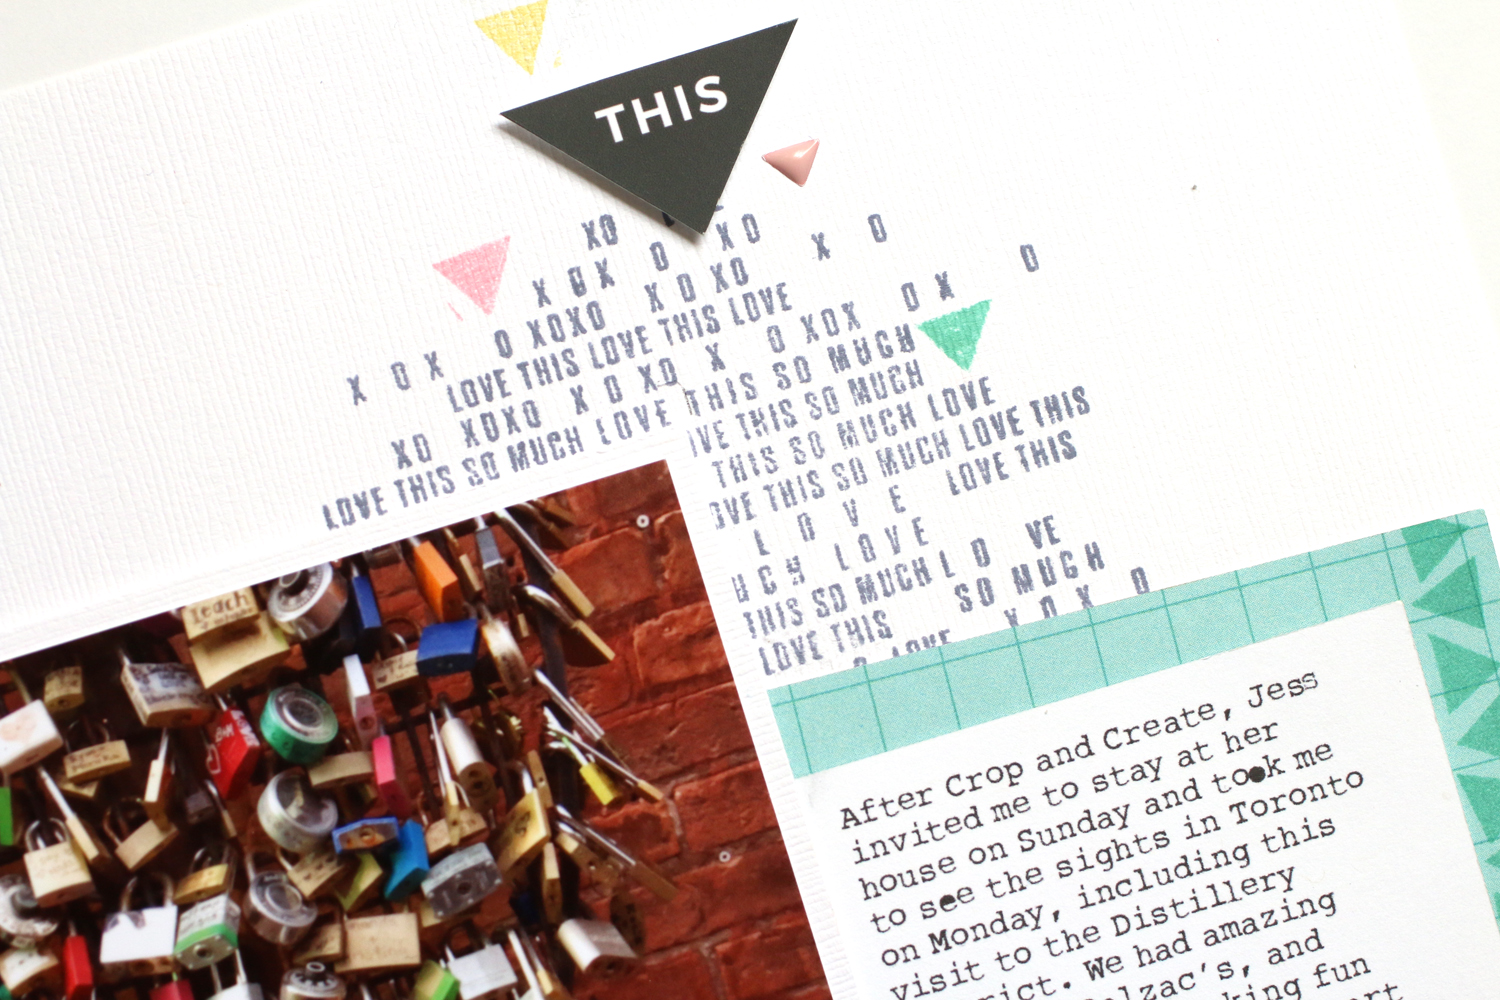
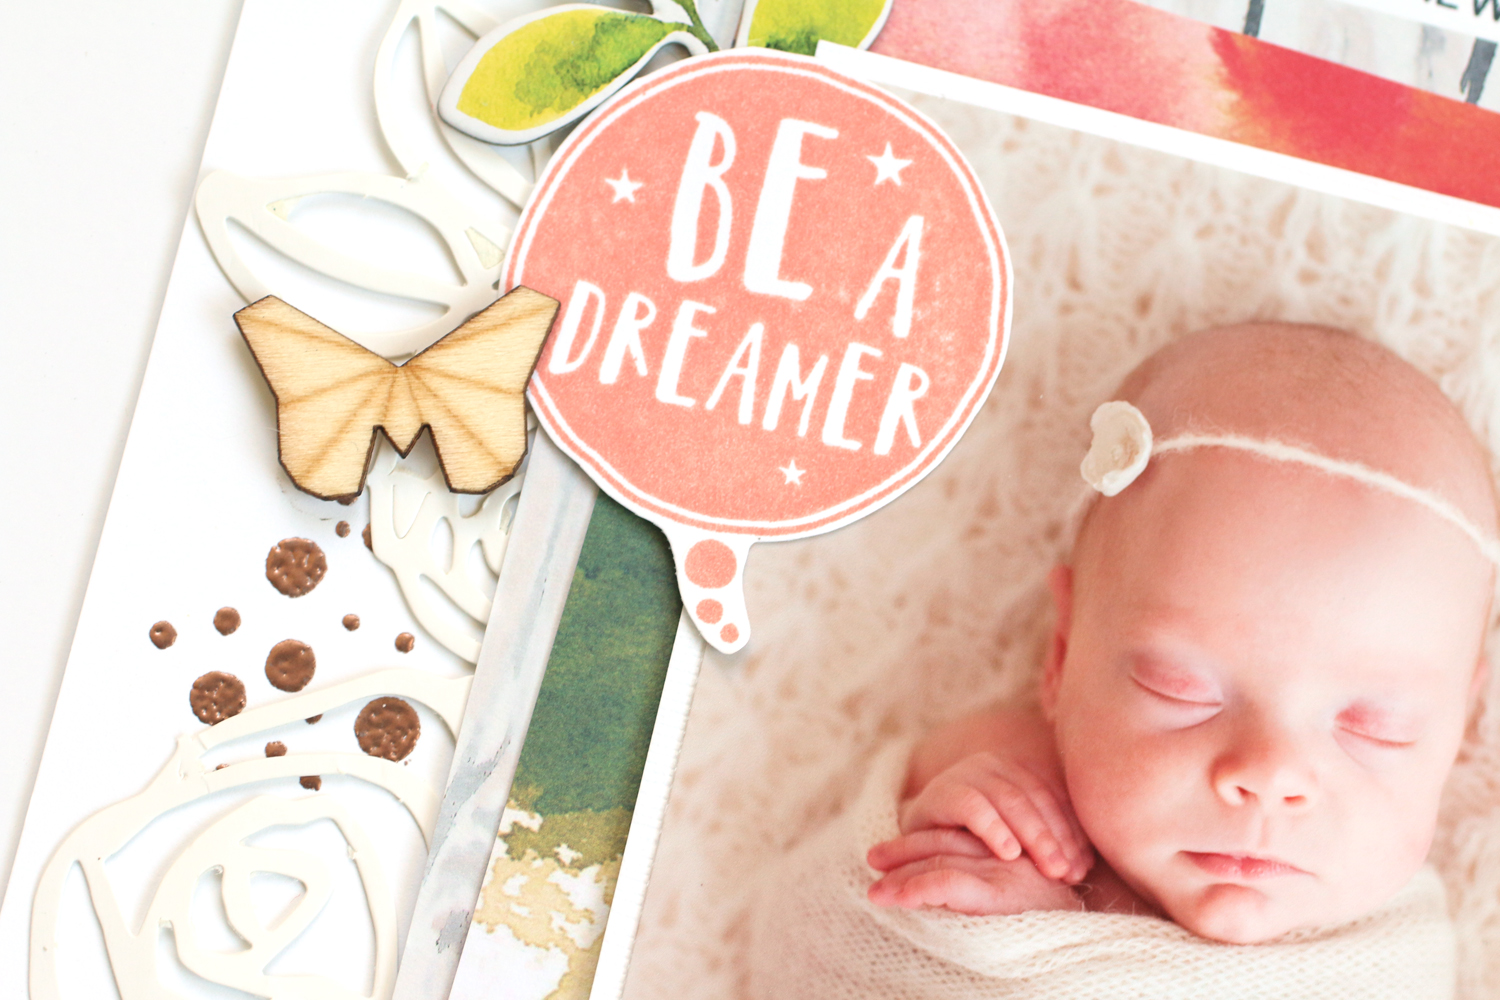
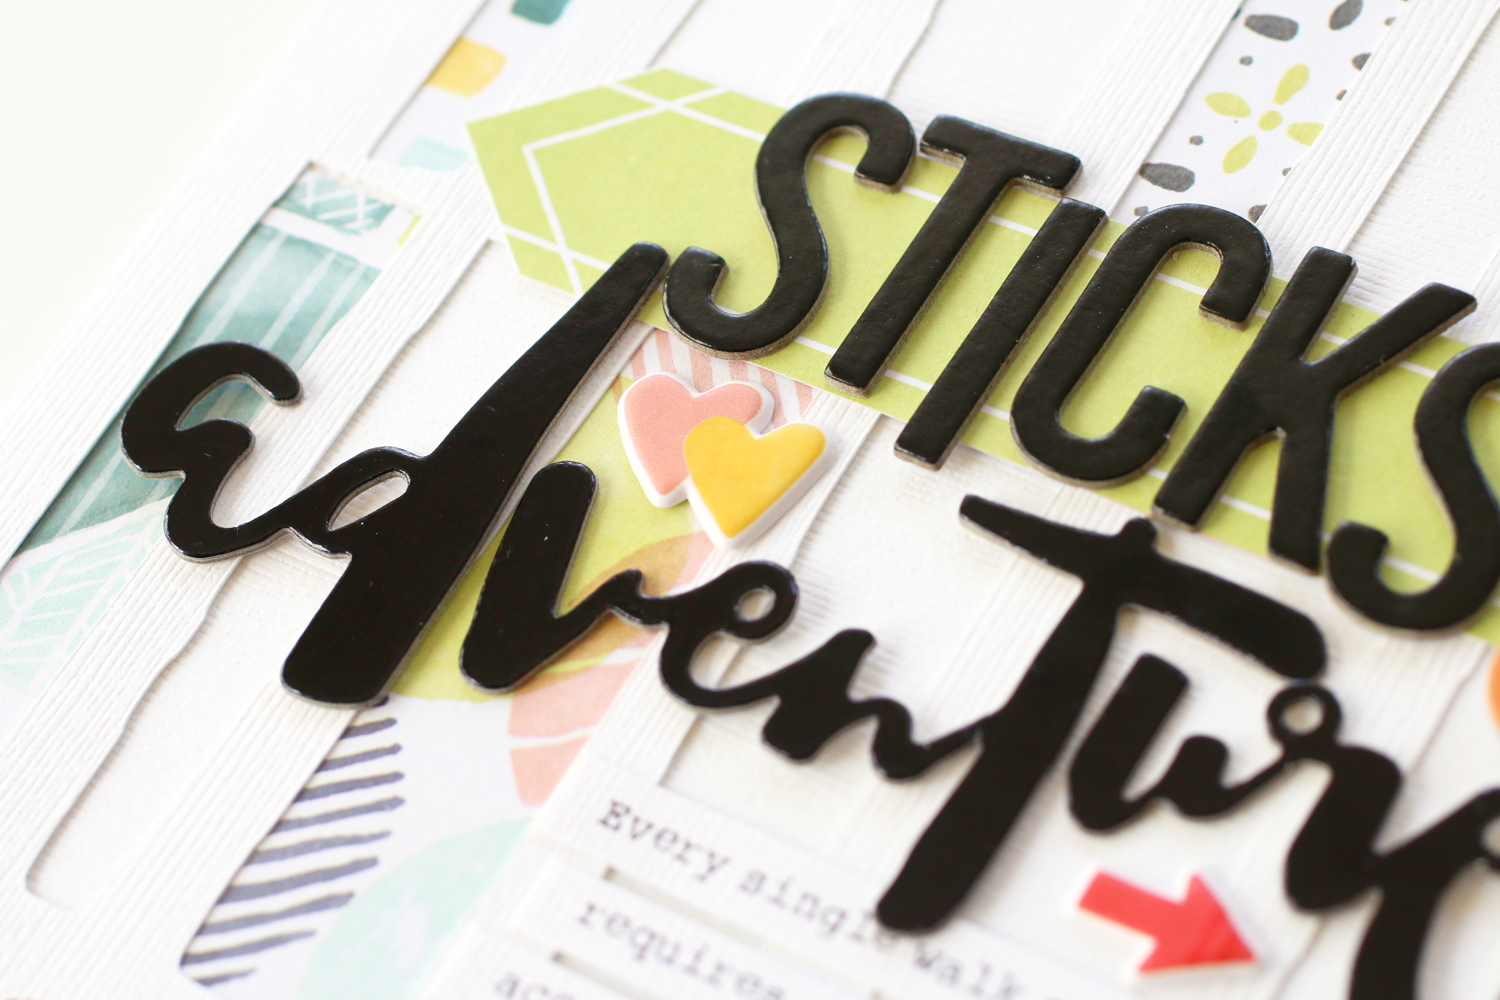
Back in March, when I attended Scrapbook & Cards Today's Crop and Create Toronto, one of my kind, fellow croppers gave me this Lux Girl stamped image by Angie Bloom and Unity Stamp Company. It reminded me so much of Lorelai, and I knew it would be perfect to use when I was ready to create this spread. I held onto it for three months & coloring it in with watercolor pencils and a water pen was so relaxing. I backed it onto a piece of striped patterned paper from an old Scraptastic Club kit, and cut it in half, so that it would fit across two 3" x 4" pockets. Since she was looking down, I wanted to put a bit of embellishment under her feet, so I added label and heart die cuts, as well as a wood veneer heart.

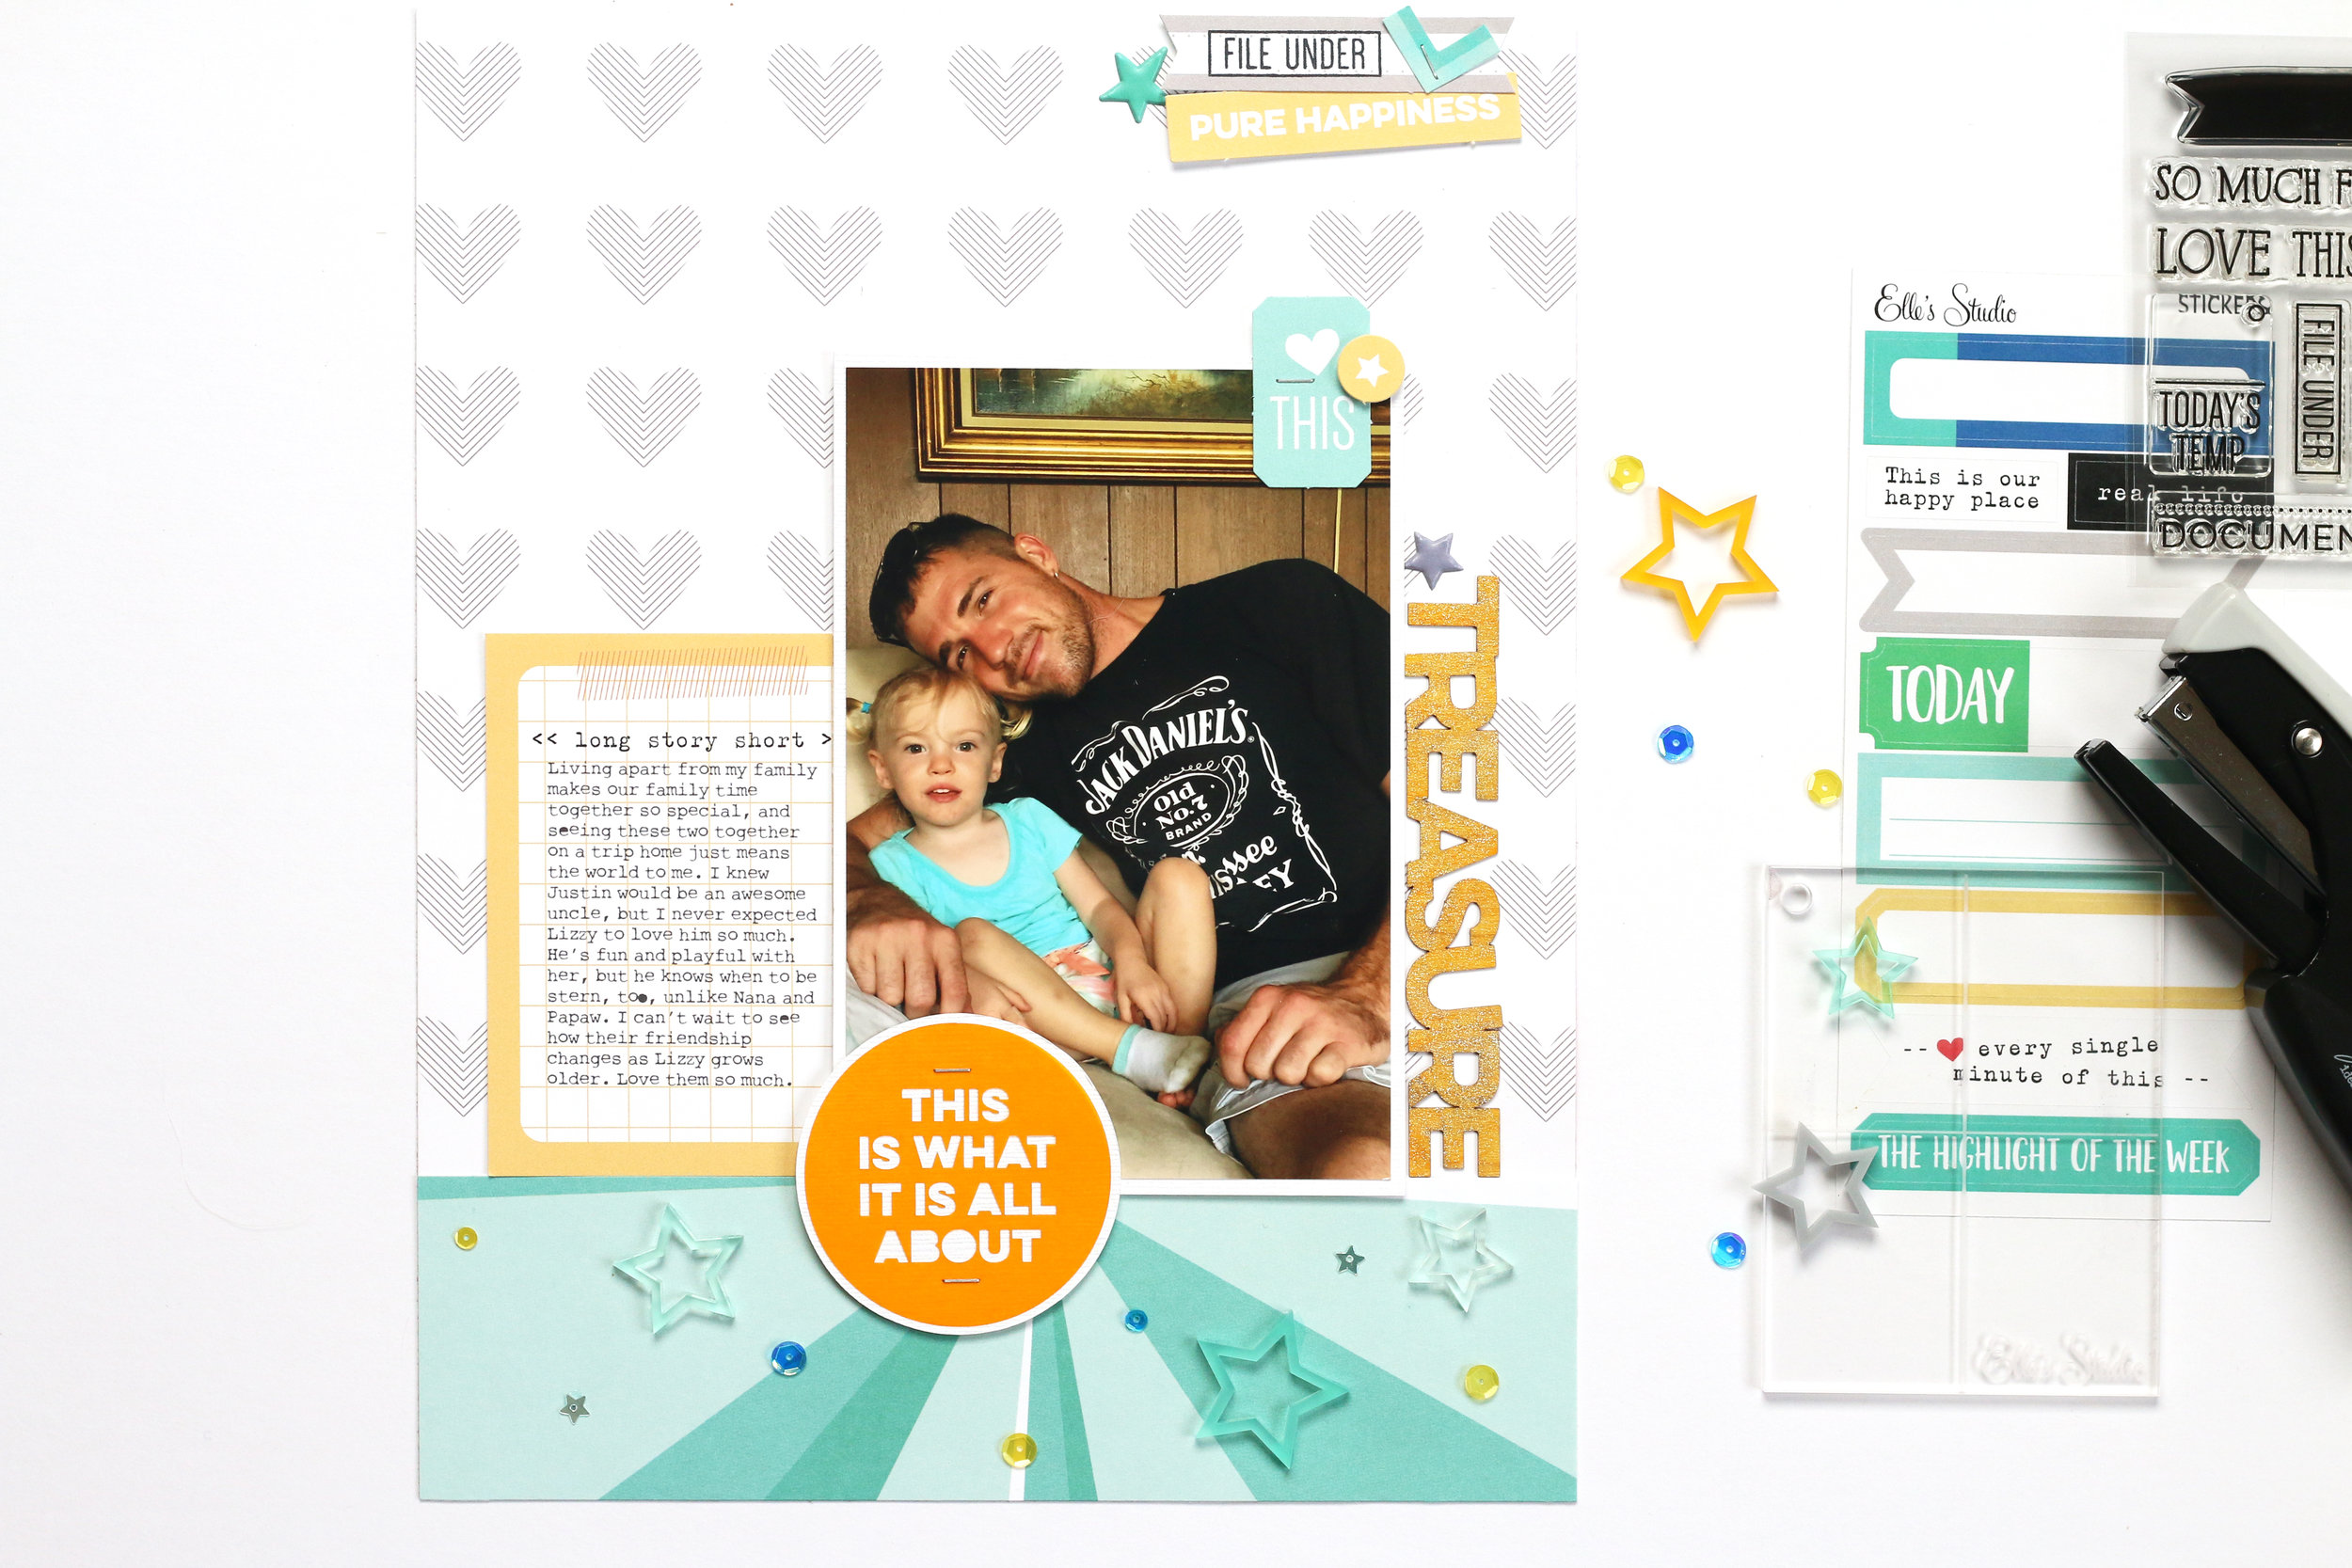
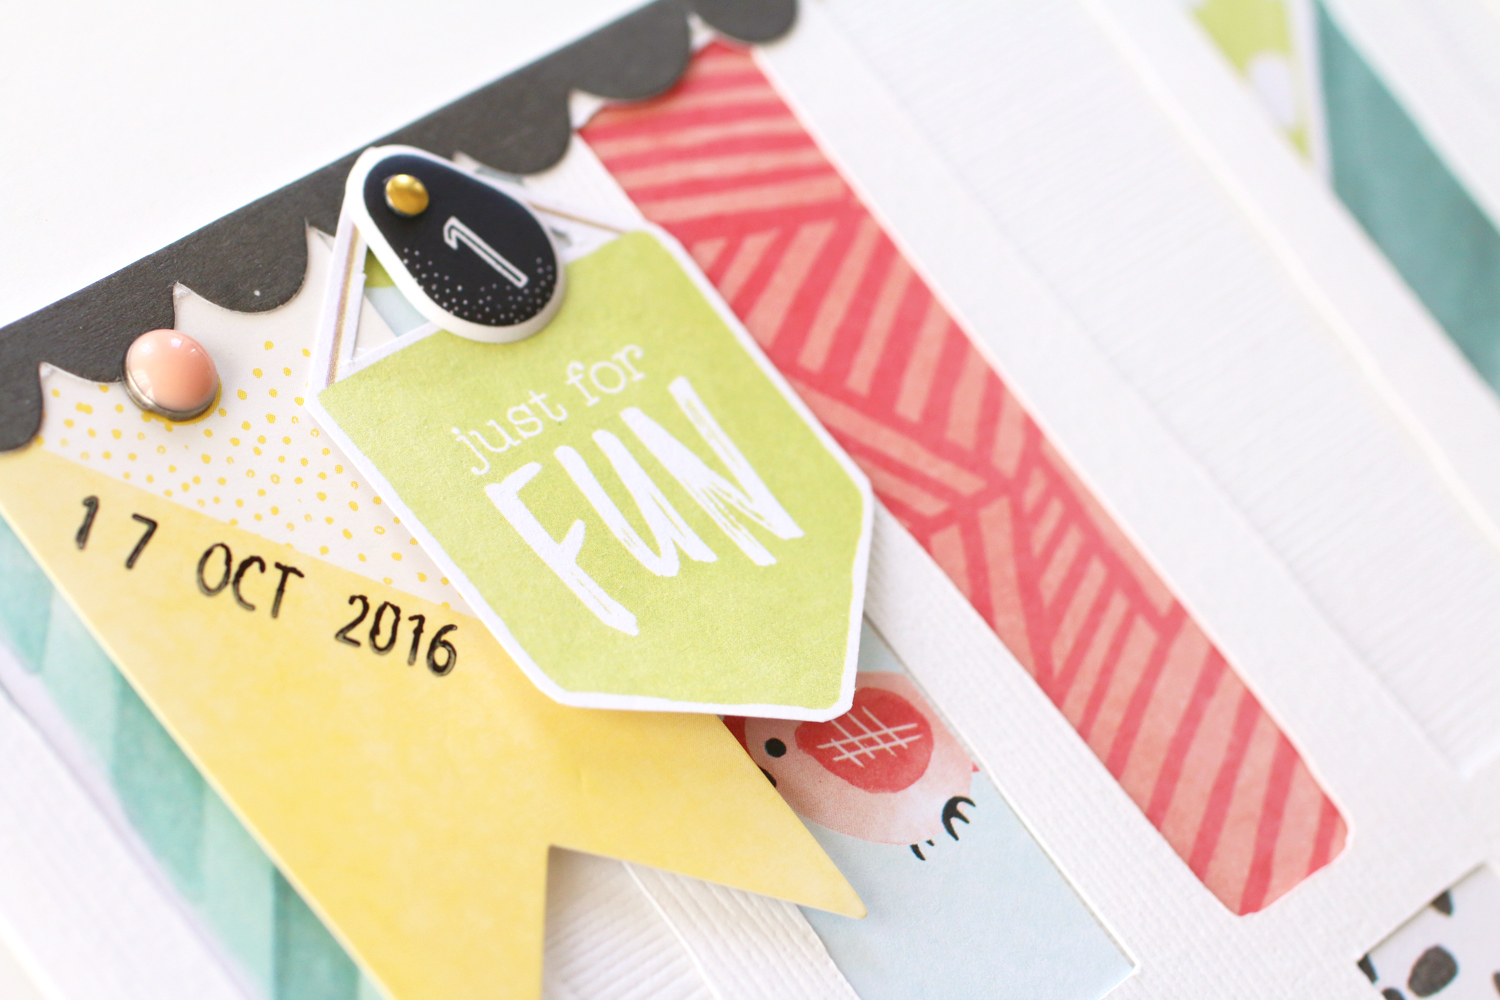
This 3" x 4" tag that I used on the back side of the page is from the Elle's Studio May 2017 Kit. I knew what words I wanted to add right away, and I used the Elle's Studio Sky Blue Puffy Alphabet Stickers, and another lighter blue set that I had laying around from an old Studio Calico kit. To finish off the tag, I added the wood veneer coffee cup from Colorcast Designs 

Alongside the Colorcast Designs veneer and acrylic pieces, I also used the Elle's Studio TV Wood VeneerJournaling Tags and Stamp. We don't watch much television around here, but I think documenting what little we do watch is important! Since we just started House of Cards on Netflix, you can expect to see another spread using these supplies to document that series later in the year! 

What shows do you watch? Have you documented them yet?

A Just for Fun Layout: We Click

It's rare that I have enough time to create a "just for me" layoutβ€” one that isn't completed for an assignment. In fact, this layout is my first of the year. You may have seen a sneak of it a while ago on the Big Picture Classes Instagram page. I have had it "in process" on my desk since then, and just finished it off yesterday, using a few fun products on my desk.  (Supplies with an * are affiliate links. You don't pay any extra, but I get a small percentage of your sale! Thanks for your continued support!)

Supplies | American Crafts Little By Little Collection- Higgledy Piggledy paper*,  Elle's Studio Love You Journaling Tags*, Elle's Studio Live Laugh Love Washi Tape Stickers*, Elle's Studio Speech Bubble Stickers*, American Crafts Little By Little Collection Thickers- Magic*, American Crafts Little By Little Collection Wooden Buttons*, Studio Calico Summer of Sketches stamp (sold out), Ali Edward's "Click" Story Kit (sold out)  

This photo was taken while I was in Toronto for the Scrapbook and Cards Today crop for the weekend. Jess Forster, a fellow photo and scrapbooker, kindly took me out the day after the event ended to show me around Toronto, which, from what I saw in a day, I loved!

After I placed the fun Little By Little Collection- Higgledy Piggledy paper* on the left side of the layout, and had my photo position, the title was my next choice, to help balance out the weight on the left side. (To learn more about placement of titles in my BPC class, Terrific Titles!) I've had the Ali Edward's "Click" story kit in my office for a while, and I always love mixing acrylic words with other alpha mediums, like these Little By Little Collection Thickers. To pull even more weight to the edge of the right side of the page, I added the colorful Elle's Studio Live Laugh Love Washi Tape Sticker. I love that this collection works so well with the Little by Little collection!

My background was looking a bit too stark for me, so I pulled out the Summer of Sketches stamp from Studio Calico. I love the random "love this" background and stamped in twice, once at the top right of my photo, and once at the bottom right corner, so that it appeared to be once single image in a column along the right side of my photo. I then inked a single triangle from the border in the same stamp and stamped it multiple times in multiple colors around the words. Finally, I added a few triangular enamel dots. 

I wanted to add another small grouping of embellishment on the bottom left corner of my photo, so I grouped the "today" die-cut, the "hello" Speech Bubble StickerLittle By Little Collection Wooden Button and a couple of enamel triangles. This little grouping finished off my layout.

Thanks for stopping by! How often do you get to create something for yourself?

Week In the Life 2017

For the first time in four years, I have successfully finished my Week in the Life project, and I'd love to share it with you! Our life has significantly changed over the last year with my husband on a 28-day rotation, so it was very important to me to finish this project this year. I wanted to see things through my lens, most importantly, see the POSITIVE parts of our life, because to be honest, when my husband is gone, I sometimes feel sorry for myself. This week happened to fall during a week when he was away, so it documents the daily lives of my daughter, dog and I, and as I expected, it was eye-opening. When not in the daily grind, I can see just how blessed we are; to have each other, to have technology to speak and see each other, and to have the means to do fun things and eat great food. This week was also special because it fell on my 34th birthday, and on our March for Babies walk with the March of Dimes, a cause we greatly support raising a former micro-preemie.

I attribute my success in finishing this project to a few things: 

To begin, I created a small cover page to delineate the beginning of WITL in my monthly pocket page spread album. I downloaded the PNG "my story matters" file from the Week in the Life Community page, adding it to the left column of an 8-1/2" x 11" sheet in Photoshop Elements. I then "cut" the multicolor stripe pattern from one of the tags in the Week in the Life Digital Bundle into 1/2" strips and placed them along the left margin. I printed the page, cut it in half and adhered the right side to the back to make it thicker before I punched the holes. For this alone, I'm glad that I purchased the digital bundle, especially since I didn't want a stand-alone album for this project.

Before each day's pocket page, I added another 4-1/4" x 11" cardstock page with the words of the weekβ€” an hour-by-hour breakdown of our day. I created these by using the "today's details" image from a 3" x 4" tag in the Week in the Life Digital Bundle to top the left column on my sheet, then I copied and pasted my words from what I documented in my Notes App. After I printed the page, I cut it in half and again adhered the right column to the back of the sheet. I wanted a space to add the date, but since I didn't have room at the top, I stamped the date repeatedly on the left margin in the same color as I had made the "today's details" image. 

I continually mixed up my pocket page designs throughout the week's documentation, but each day had the same setup: I used one 4" x 6" pocket to add the vellum days of the week word from the Week in the Life Digital Bundle. All of my photos were printed with a white border, which makes the different sizes congruent. I also added one or two filler tags, to give myself a break and add a bit of pretty paper. 

I wanted a few different textures for my embellishment, and I chose these Elle's Studio Work Hard Wood Veneer pieces. Although they have a "work" theme, the sayings were easy to incorporate throughout the pages.

I definitely don't often do this, but I stamped directly onto my photos. And yes, I screwed it up a few times, having to re-print the photo. But I love how I used the images in the photos to tie in the stamped words, like in this bath photo of my daughter using the Lens Story Stamp from Ali Edwards.

This might be one of my favorite parts of these pages. I had to take some marketing images for my Terrific Titles class at Big Picture Classes, and the light in my office was just perfect. The "I heart my job" wood veneer was perfect to add to the bottom of the page and the "this is my happy place" tag from the free Elle's Studio NSD digital file , re-colored to match the Week in the Life Digital Bundle was perfect to add next to it.

Even though I hate doing it, I added my own handwriting on a couple of journaling tags. Mainly because this was my LAST STEP of completion, and I was too lazy to scan in the tag and type my journaling up in Photoshop. Just being real.

It was pretty awesome to add photos of my daughter's Spanish performance at school in the album, as well as a complete temper-tantrum breakdown in the bottom right corner. Real life.

Cooking and eating are a BIG part of our daily lives, so of course photos of our meals appear throughout the album. I plan to keep these blue-rimmed plates forever, since I love the way they look against our white farmhouse breakfast table.

The "post midnight" photos from my 34th birthday celebration did not make an appearance in the album, for obvious reasons. 

We are deeply involved in our local March for Babies, benefitting the March of Dimes, so it was pretty awesome to have this documented on the final day of WITL. 

The final page includes a large image of the three of us, taken late Sunday afternoon. To take the photo, I used the timer on the Photos App, propped up against a stone. I love all of the negative space, and just had to add a stamped phrase using the Lens Story Stamp. I found the perfect 4" x 6" tag from the Project Life Everyday Edition, and simply added in the dates from the week using the Elle's Studio Dated Stamp

So, an epic project is complete. Thanks for getting through this epic blog post, too! Happy creating!

Elle's Studio May Kit Reveal

When I opened my Elle's Studio May box last month, I was blown away. The May 2017 Kit is absolutely gorgeous, and the colors and designs are right up my alley. I know you will love it, too!

Last, but not least are the Fun in the Sun digital printables and May 2017 Digital Cut File.  

My favorite project that I created this month was a layout, created about my daughter's bestie's first unaided bike ride. I just happened to be there with a camera ready, and these supplies were perfect to document this fun moment in his life! It is one of my favorite layouts to date.

JustRide_Blog.jpg

I received this tassel on the tag of a new piece of clothing I purchased this month, and held on to it. When I saw the "let the good times roll" tag in the kit, I immediately thought of graduation, and knew that I had found a home for this happy little tag. I paired the supplies from the kit and the Bike Ride stamp with the Happy Birthday mini collection to create a happy, celebratory card, perfect for any grad!

I know that this kit is going to be a popular one, so be sure to get yours today at the introductory price of $9.99!

While you're there, don't forget to add the latest class from Elle's Studio, the Everyday Adventures Mini Album Class, to your cart! You will love the inspiration that it provides with eight different contributors creating eight original mini albums with the same supplies! Plus, the exclusive stamp set that comes with the class is perfection!

Altenew 3rd Anniversary Blog Hop + Giveaway

2017-Altenew-Anniversary-BlogHop-Graphic.jpg

I am beyond thrilled to be participating in the Altenew 3rd anniversary blog hop today, along with some very talented designers! If you're following the hop list, you've come here from Pretty Pink Posh. If this is your first time here, welcome! I love new friends both here on my blog, as well as my Instagram page.

To celebrate their third anniversary, each of us on the hop are sharing a new Altenew project with you. There are also some great giveaways and offers happening to celebrate, which you can find out about later in this post. 

Supplies | Reflection Scrapbook Kit, Happy Dreams Stamp Set

As soon as I saw this stamp set, I knew that I wanted to document a dreamy, baby photo. By pairing the Happy Dreams Stamp Set with the Reflection Scrapbook Kit, which is FULL of gorgeous patterns and embellishment, I created exactly what I had envisioned- a dreamy, garden-like page.

The Reflection Scrapbook Kit is FULL of so many great elements, including these die-cut flowers and wood veneer butterflies, not to mention the gorgeous watercolor floral paper that helped to tie the page together. 

There are so many possibilities with the Happy Dreams Stamp Set! I love that it is large- 6" x 8", perfect for using on scrapbook layouts as well as cards.

Now for the good stuff! Comment on every stop along the hop, including this post to be entered for a chance to win one these amazing prizes, which include: 

If you love the supplies I've used on my layout above, Altenew is also offering deals on shipping! You can get FREE U.S. shipping with code HAPPY3RD or $5 off international shipping with code ANNIVERSARY at checkout. Offer valid April 11th through April 16th at 11:59 PM EDT. Not valid on prior purchases. Cannot be combined with other promo codes.

Now, to continue along the hop route, stop by Nicole Picadura's blog. If you get lost somewhere along the way, go back to the Altenew blog to see all of the hop stops! Thanks so much for stopping by and good luck!

Β 

Elle's Studio Reveal: April Exclusive Kit + Live Laugh Love

We at Elle's Studio are very excited about this month's reveal! First, we have a beautiful new exclusive kit in the shop to document your memories with! 

Along with the kit, there is an entire stash of new add-ons in the shop that coordinate with the kit, as well as the Live Laugh Love collection. These include (from left to right): Orchid Pink Puffy Stickers, Black Puffy Stickers, Pink Puffy Stickers, Sights and Sounds Stamp, Extraordinary Stickers, Family Acrylic, Fun Acrylic, Explore Acrylic, Enamel Dots, Vellum Hearts and Stars, Mom Acrylic and Wood Set, Dad Acrylic and Wood Set, Puffy Heart Stickers

EllesStudio-April2017Extras.jpg

Don't forget about the digitals! This month we have the Fun Printables and April 2017 Digital Cut File new in the shop!

In addition to the new exclusive kit and add-ons, the Live Laugh Love collection is now available in the shop! This bright, cheery collection will pair perfectly with your April items to create perfect layouts and pocket page spreads!

We just got back from a family R.V. trip with my parents to Big Bend National Park, and I couldn't wait to scrapbook my thoughts about doing the trip in an R.V. with this kit! 

To keep my layout clean with a lot of white space, I added a pocket page next to the 12" x 12" layout in my album.

I loved the April 2017 Digital Cut File so much this month that I used it for my second layout as well! The dotty background was just begging to be filled with colorful paper from the new Live Laugh Love collection, and I used the new exclusives to color block my embellishment on top.

Last month's kit sold out quickly, so don't hang around. Go and grab these amazing new exclusives today, while the kit is only $9.99! 

Terrific Titles, My New Class at BPC!

I am so excited to tell you that my second class, Terrific Titles, is now live and available to take at Big Picture Classes. This self-paced, 6 lesson course will focus on creating scrapbook layout titles- from coming up with a dynamic title, to choosing product, and figuring out where to place your title! This video gives a great introduction into what we will be covering during the class, as well as a few sneaks of some of the 18 layout examples that I created! 

Check out my Instagram feed later today for a special giveaway month-long membership to BPC, plus a prize pack of title goodies! 

I'd love to connect with you in the classroom, and help you perfect your page titles! 

Elle's Studio Reveal: March Exclusive Kit + Add-ons

The March exclusive kit is live at Elle's Studio, and the color scheme is perfect to document your spring memories! 

In addition to the physical product, there are the Treasure Printables and March 2017 Digital Cut File to keep in your digital library! 

This month, I created two 8-1/2"  x 11" layouts, that came together so easily with the new products! The Grow and Bloom Wood Veneer were my favorite embellishment this month, and I used them on both layouts to create my titles. Shop the products used on these layouts via the galleries below.

This kit paired so well with the beautiful large floral pattern from Shimelle's new Little by Little collection to create this page about my daughter and mom gardening one day:

Because we are celebrating 10 years of business this month, Elle has released an amazing Happy Birthday Mini Collection to celebrate! 

All subscribers will receive an exclusive Elle's Studio Sharpie pen with their order, so if you don't have a subscription, be sure to get all of the details and sign up today to receive this awesome free gift!  

All orders placed this month, subscription or not, will receive an exclusive set of journaling tags and a scratch ticket. The prizes on the ticket include: $10 off, 10% off, $5 off, free shipping,  a 3-month subscription, and more! 

Stop by the Elle's Studio shop to see all of the new products and take advantage of the free gift this month! Thanks for stopping by!

Elle's Studio Reveal: February Exclusive Kit!

The new Elle's Studio exclusive kit is live and ready to document your memories!

There are so many beautiful, warm colors and saying on the tags this month! 

The What Happened Printables and February Cut Files are also in the shop for you digi-lovers! 

When I saw the "Say What" cut file I knew I wanted to use it to document a funny photo of my daughter from our last Valentine's Day.

My second layout is my favorite of the month! I used the What Happened Printable digital file to create a custom patterned paper for my background of this playful layout. There are so many add-ons this month that worked perfectly to embellish this fun page about my daughter and her new playmate.

LondonLion_blog.jpg

Be sure to pick up these fabulous products, perfect for your next papercrafting project, before they're sold out! And, watch out for a tutorial on how I created custom patterned paper with the What Happened Printable here on my blog later this month.

Jot Magazine & Cocoa Vanilla Studio: Beautiful You

I was so excited to receive a stash of Cocoa Vanilla Studio's Make a Wish collection to create with for Issue 16 of Jot Magazine. I have to say that I was not aware of this Australian-based company, but when I opened my box, I was SO impressed with the beautiful colors, patterns and embellishment that I received. 

Issue 16 of Jot Magazine features a beautiful Cocoa Vanilla Studio gallery, and the projects created by my fellow former Jot Girls are just spectacular. I'd love to share my 8-1/2" x 11" layout with you today! The photo of my goddaughter taken at our local park was so perfect for this collection- colorful and playful. 

Supplies | Cardstock: Bazzill, Other products: (all from Cocoa Vanilla Studio Make a Wish collection) Hip Hooray, Fresh Cut, Loot Bag, chipboard accent stickers, puffy stickers, vellum accents, die-cut ephemera, enamel dots- sparkles

I had so much fun choosing the products for this layout. The blonde woodgrain that I used for the background page gave it warm, sunny feel and I used a horizontal band of the Hip Hooray paper with Fresh Cut over the top. The flowers on the paper worked perfectly with the floral dress in the photo. 

My favorite part of this layout was the title. I fussy cut the word "beautiful" from the Loot Bag paper, then paired that with the die-cut "you" that I cut from my Silhouette Cameo with a cursive font. To ground my title, I added the colorful heart strip from the die-cut ephemera pack, which gave my words a place to rest and not seem to appear floating at the bottom of the page. I didn't add too much embellishment to the page, but a couple of stars, puffy stickers, die-cuts and enamel dots added the perfect touch.

I love this page, and I love this collection! If you haven't had a chance to take a look at Cocoa Vanilla Studio's products, please visit their website, and be prepared to be inspired! 

Happy Monday and have a great week!

December Project Life Spreads

I'm about six months behind with my Project Life spreads from 2016, but I'm trying not to let that stop me from finishing up this project. I wanted to start with the 'elephant in the room,' my December spreads. It's definitely the month that I've taken the most photos, so there was a lot to document. Plus, I decided early on not to take on a December Daily album project this year, so these pages are all that I'm documenting for the month.

I started off with my first page setting the tone for the entire month. I typically try to choose a multicolored card that can set my color scheme, and I did that with the multicolored starburst card in the second row. From there, I chose other tags to coordinate with that one to fill the remainder of my pages. The bright color scheme worked perfectly for the things that we did this month, including a trip to Hawaii and Disneyland.

I kept my embellishment quite simple, but used a lot of stamps to create and add to my filler tags.  I love the Magic Journaling Cards no. 1 from In a Creative Bubble, and I was excited to use that 4" x 6" castle tag, embellished with just a few rhinestones.

Page four was all about the week leading up to Christmas, which I spent with my family, so I had lots of journaling to add. On the right side, I put my Christmas present tags in the pockets. My parents loved them, and took some of them home, so these were the leftovers.

My final page was all about the week after Christmas and my daughter's surgery. You might just see a little sneak peek on this page of fun things to come from Elle's Studio. Stay tuned! 

I can't wait to wrap up 2016 in it's album. I guess I had better get to work documenting and filling those pockets! 

Make it Yourself Mini Valentines with Elle's Studio Products

I LOVE, love, love the new products at Elle's Studio this month, but my favorite new item in the shop is the Love You Journaling Tags. I decided to use them to create mini valentines, and I'm sharing the step-by-step process for each simple card on the Elle's Studio blog today!

Using a few supplies from the Elle's Studio shop, you can create twelve different variations of these sweet little cards- perfect for your loves on Valentine's Day! 

Shop all of this Elle's Studio product through the links below, and follow the simple step-by-step instructions included in my post on Elle's Studio blog today! 

Happy Valentine's Day, and happy creating! 

Jot Magazine Issue 16 Patterned Paper Gallery: Sticks & Adventures

Today I'd love to share a new layout with you featured in Jot Magazine's Issue 16 Patterned Paper Gallery! This layout came together quickly and easily by using supplies from the same collection, Saturday by Dear Lizzy for American Crafts, with the Funky Rectangles Background from Just Nik Studio.

After cutting pieces of patterned paper from the 12" x 12" patterned paper pack, I slid them behind the Funky Rectangles Background die-cut. To keep the background clean, and to keep the photo the focus of my layout, I didn't back each rectangle with patterned paper. I also backed my photo with a photo mat of black patterned paper, making it stand out on the page.

My title was created with a mix of the Saturday collection Thickers & plain black chipboard Thickers.

Since the mix of color and pattern on the page was already in the background, the layout didn't require much further embellishment. A few die-cuts, brads, puffy stickers and a clip just added texture. I love the way this layout turned out, and it was simple by using a mix of products from the same collection.

Shop the beautiful Saturday collection using the links below:

A New Year at Elle's Studio, and a NEW Exclusive Kit!

We at Elle's Studio are so excited about a fresh new year. A new design team to bring you inspiration, as well as a new kit

This bright and cheerful kit is full of color to help you document the beginning of your year, including your goals and intentions for 2017!

To coordinate with the kit and help you get in the Valentine mood, the Love You journaling tags are perfect! 

Last, the True Love printables and January cut files will be in your digital library to help you document your memories. 

On my first layout, I pulled the pink, red and blues out of the January kit to create this 8-1/2" x 11" layout with a favorite photo of my daughter bundled up at Disneyworld. The fun stitched banner using circles cut from 12" x 12" paper, as well as tags from the kit, was inspired by a 3" x 4" tag in the kit that featured a colorful, circular banner, which you will see featured on my next layout!

BundledUp_closeup2_blog.jpg

I love a stamped title, and mixing the "you" from the All My Heart stamp with the Olivia alphabet stamp turned out perfectly! 

My second 8-1/2" x 11" layout documents another Disneyland memory, a moment with my daughter at a princess breakfast. It features the 3" x 4" tag from the January kit that inspired the layout above, and to match it, I added a stitched column of colorful cardstock hearts along the left side of the layout. My 3" x 4" photo and the three other tags sat perfectly on the Sunny Days woodgrain paper. 

I couldn't resist making little Mickey head figures on this layout using the new sequin mix! This is definitely one of my new favorite layouts to date. 

Be sure to pick up a January 2017 exclusive kit and start documenting 2017 today! 

A Ten Minute Process Video: Family Fun

Two months ago, I created a layout using the November 2016 exclusive kit from Elle's Studio, and made a process video while creating, but ran out of time to edit and share it! If you're in the mood for a quick and easy process video, look no further! 

This layout came together quickly using the Elle's Studio November 2016 exclusive kit and 'Tis the Season collection. The November kit is currently out of stock, but you can always subscribe so that you don't miss out on any future kits! If you have holiday memories to document, be sure to check out the other products I used on this layout at the Elle's Studio shop: 

Documenting to Heal: The Climb

A few months ago, we took a family trip to the Smoky Mountain National Park. My parents and brother drove down from Kentucky, and we drove up from Texas to spend five days together in a beautiful chalet overlooking Mount LeConte. A few weeks later, the beautiful house that we stayed in, and the forest surrounding it, burned in a devastating fire. 

Even though we don't own the house that burned, I loved it, and had a very hard time after hearing the news. So, after cleaning my house thoroughly, (because that's what I do when I'm upset) I decided to start scrapbooking the trip. Along with the creative process I enjoy, scrapbooking can be quite cathartic when it comes to dealing with loss.

I purchased the Studio Calico Lost River scrapbook kit and documenter kits because I knew they would be perfect for documenting this trip to the mountains, and wow, were they spot on. The colors and patterns will work perfectly with so many of my photos, and I know that I will kill these kits!

3" x 4" pocket page cards are perfect for using as embellishment, too, as I did here with the "love this place" card. I paired it with the lovely vellum circles from both the scrapbook and documenter kits.

My simple title was accented with another embellishment cluster below. I loved the rubber pennants in the scrapbook kit- they were my favorite embellishment from the kit offerings.

The journaling tag I chose includes all of the colors from the layout, as well as my photo, and on it I included my typed journaling, sliding it in to a kraft envelope which was tucked behind my photo. I wanted to add a bit of color and pattern to the envelope, so I carefully trimmed a 3" x 4" tag from the documenter kit and added it to the envelope flap. The closed envelope creates an arrow which leads your eye to the photo.

Thanks for stopping by. What hard times in your life have you worked through on a scrapbook page? I'd love to hear if this works for you too! 

Elle's Studio December Exclusive Kit Reveal

It's that time of the month again- the Elle's Studio December exclusive kit is live and perfect for adding to your holiday memory keeping projects! Whether you purchase a one-off kit, or start a new subscription so that you're ensured a new kit each month, you'll love what's new in the shop today!

The bright, fun colors of the December kit will allow you to use it for a variety of projects. This kit is jam packed with 4" x 6" and 3" x 4" tags, as well as a variety of bits and pieces to use as embellishment.

The add-ons this month will also give you more options to embellish your projects! You can choose from the Winter acrylic, Celebrate acrylic, Winter acrylic stars, Holly acrylic, Cheers acrylic, Happy New Year acrylic, Celebrate stamp, and December labels that coordinate with the colors in the kit.

The digital Celebrate printables and cut files are also perfect to add to your digital library.

In addition to the Date It stamp, the Malia lowercase alphabet stamp is also available in the shop! The uppercase Malia stamp has been a favorite of mine, and I know that I will get a lot of use out of this one, too! 

Supplies | December exclusive kit, Celebrate stamp, Joy journaling tags, acrylic snowflake'Tis the Season 12" x 12" paper collection, 'Tis the Season puffy stickers

My first project has a Christmas theme, and features a favorite photo of my daughter and my brother I used a lot of white space here, adding texture with a doily underneath my photo mat, created with the 'Tis the Season 12" x 12" paper collection. The "very merry details" tag from the December kit was my favorite this month, so I added that to the left side of my photo. I also used the Celebrate stamp to add "remember magic" to the small tag at the bottom of the journaling tag. To add that big pop of red, and create a title, I used the "jolly" tag from the Joy journaling tags, and finished off the layout with the lovely acrylic snowflake.

Supplies | December exclusive kit, Celebrate stamp, Date It stamp, Winter acrylic stars, 'Tis the Season 12" x 12" paper collection, 'Tis the Season acrylic, letter and number stickers- gray, letter and number stickers- red

My second layout is a review of the year, inspired by the "favorites of the year" 4" x 6" tag in the kit. I loved pairing it with the multicolor stripe 3" x 4" tag, and I pulled those colors throughout the layout, by using the strips from the 'Tis the Season 12" x 12" paper collection, the little tags from the kit at the top left corner, and the Winter acrylic stars. 

Thanks so much for stopping by today, and be sure to check out the Elle's Studio shop for these new releases, as well as a great "Celebrate the Season" sale: 25 products are available for $2 or less!