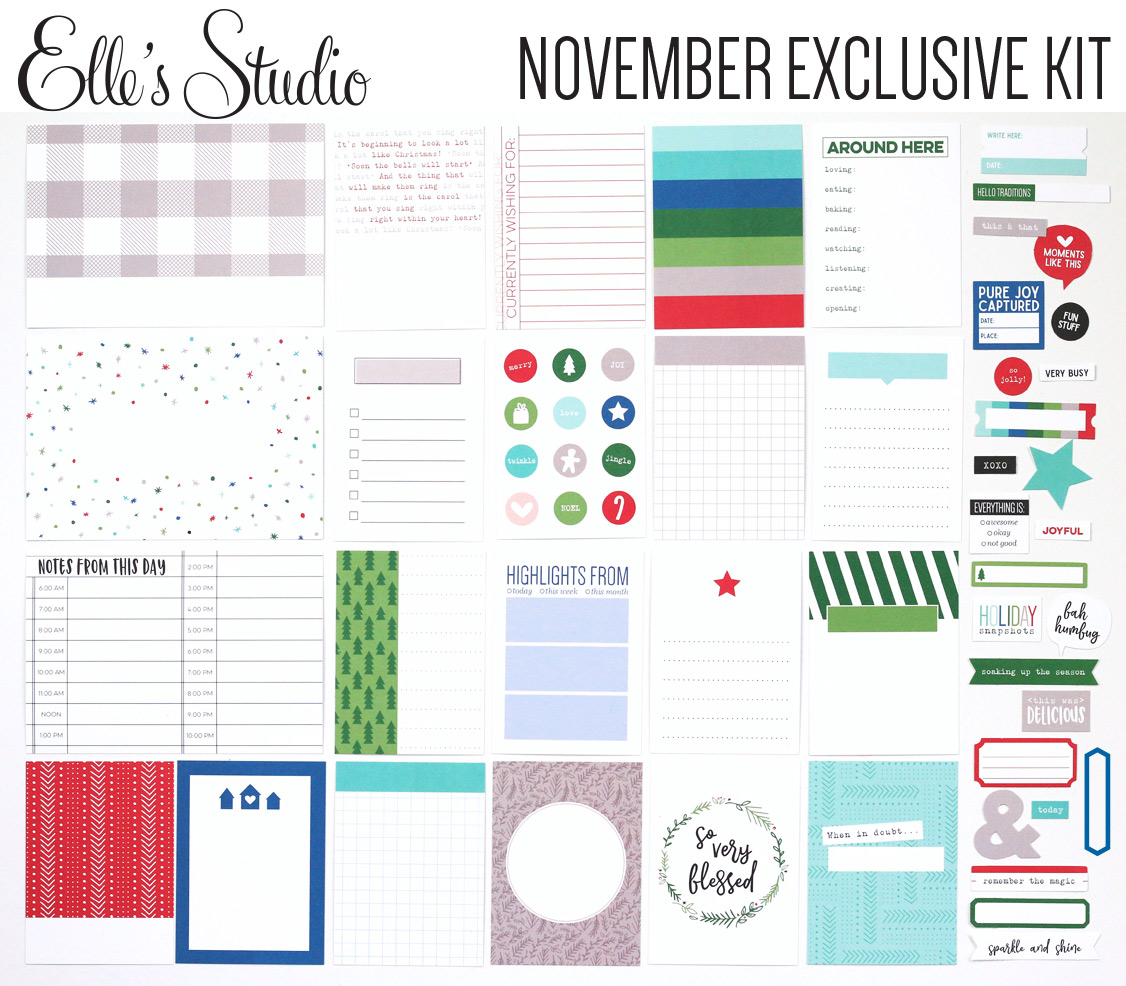
Elle's Studio January 2018 Kit: "Get To Work"
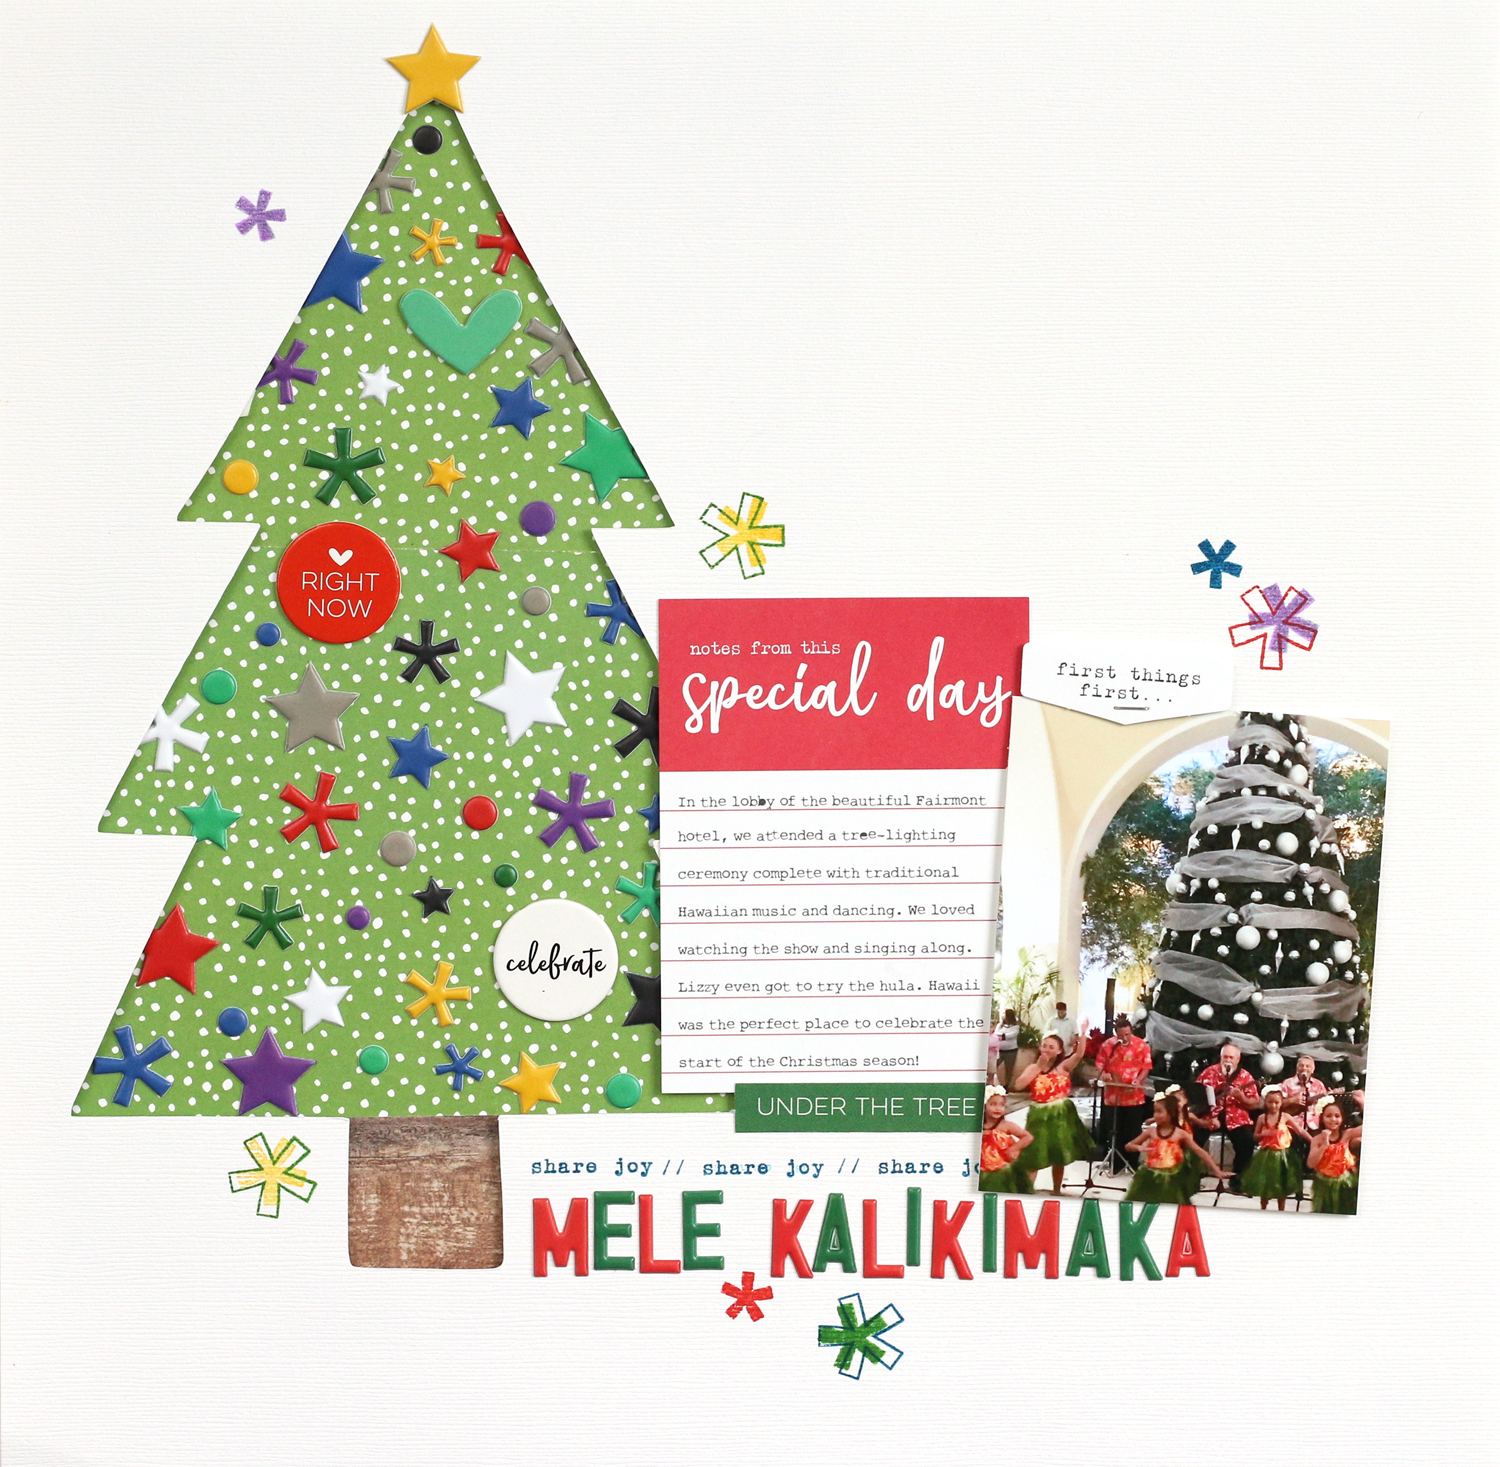
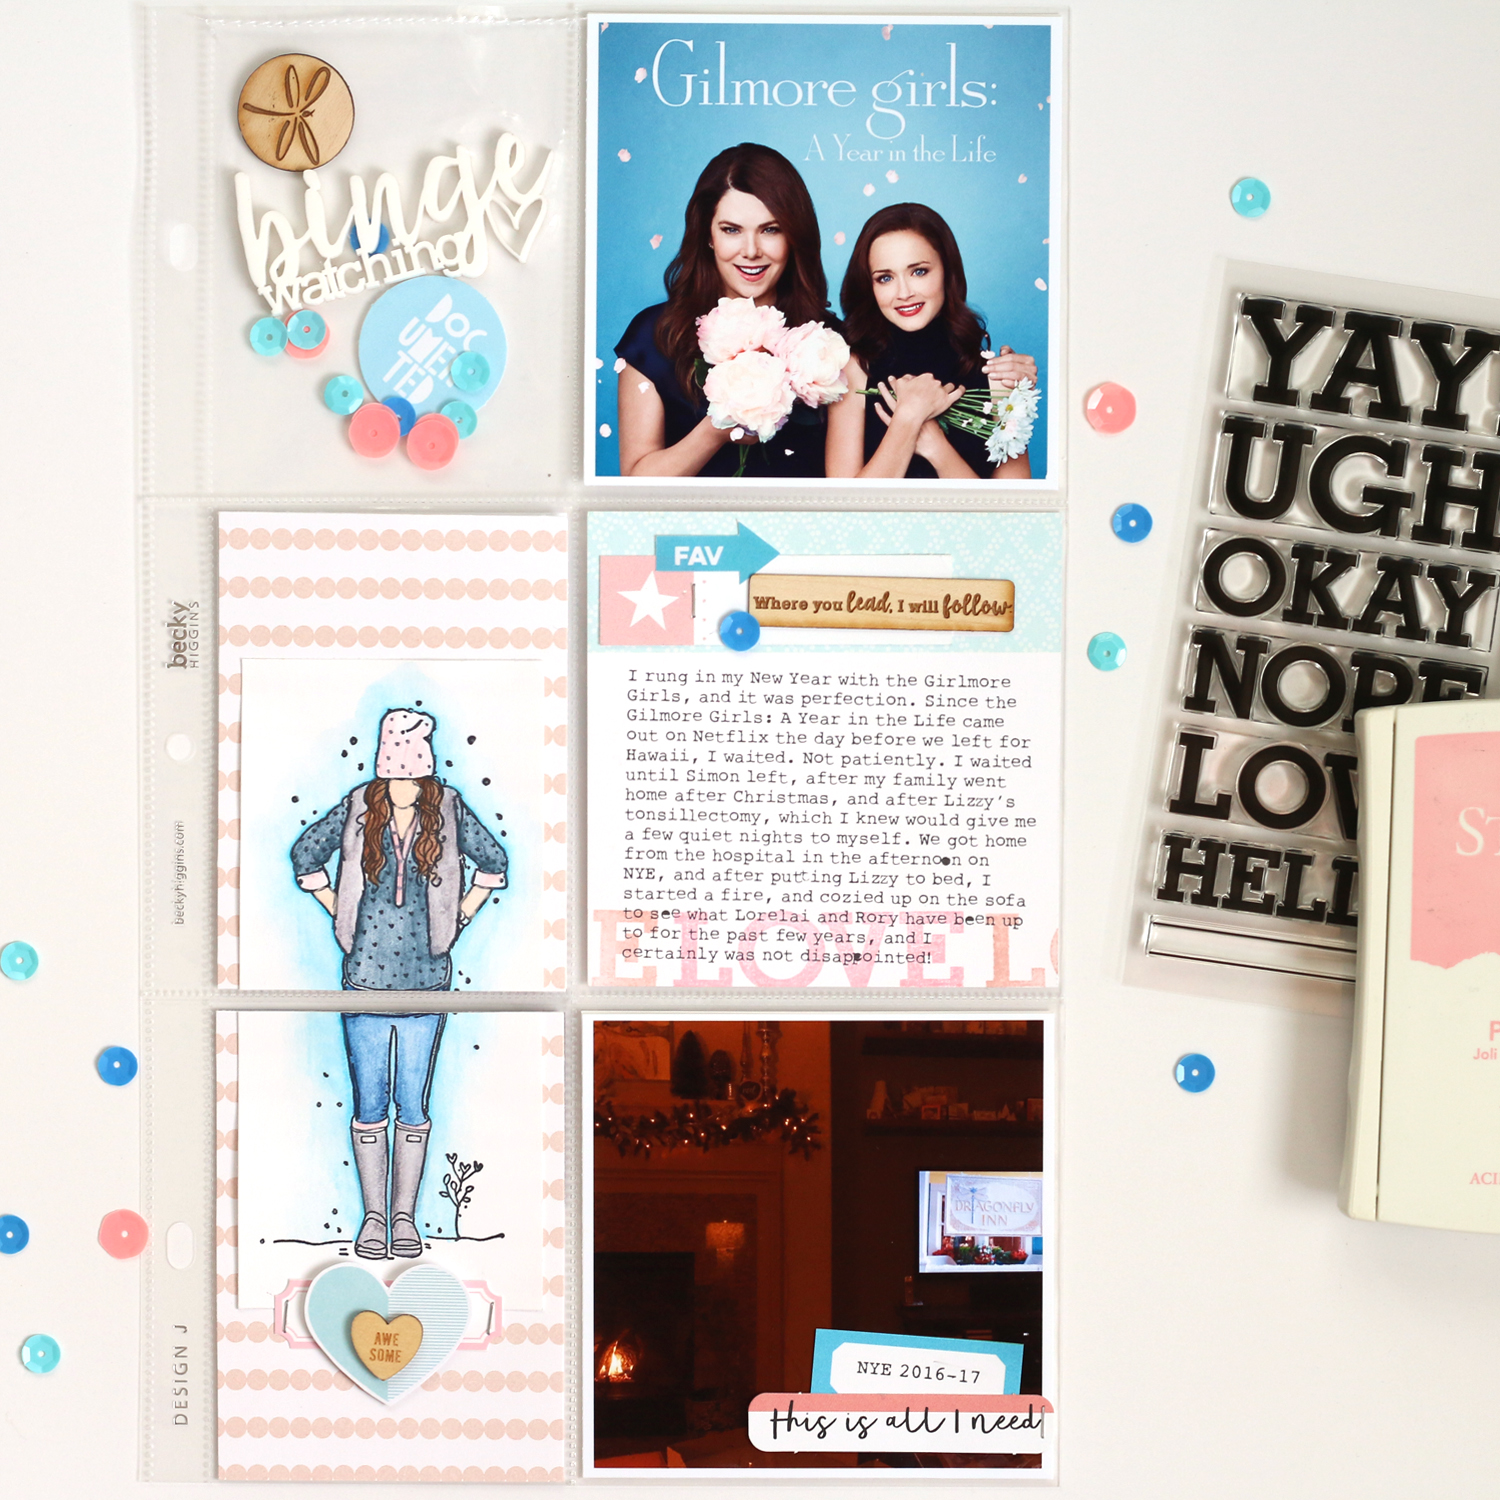
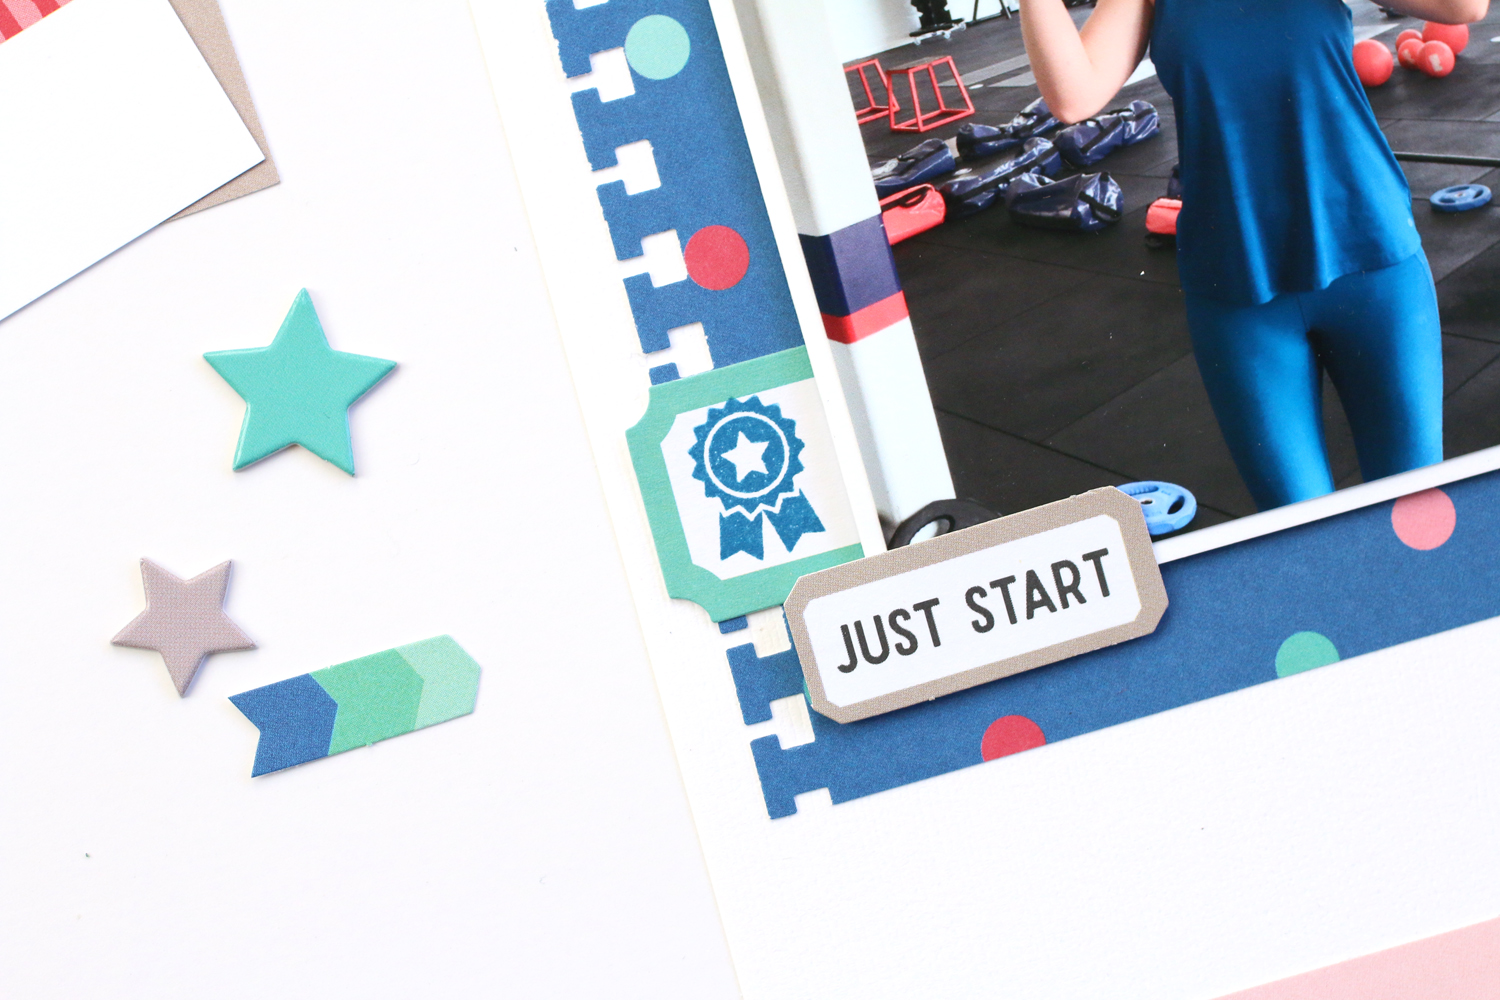
/For my second layout created with the new January 2018 kit and add-ons*, I wanted to focus on some fitness goals I have for 2018, and filling in the "GOALS" tag from the January 2018 kit was the perfect way to start my page. (*All product links contained in this post are affiliate links. You don't pay any extra, but I get a small percentage of your sale! Thanks for your continued support of my YouTube feed and this blog!)

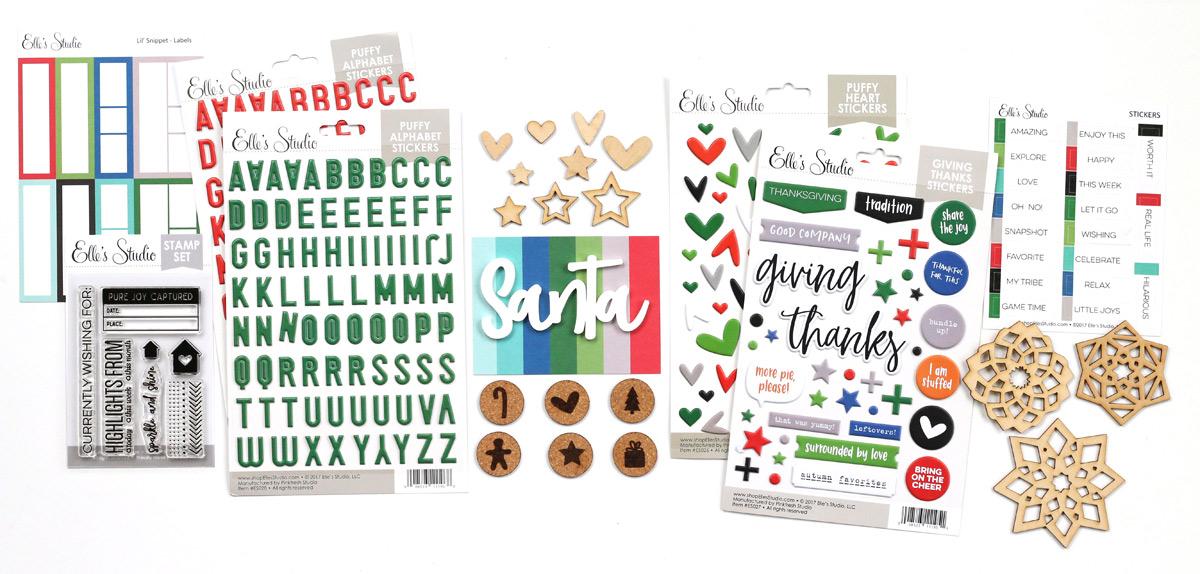
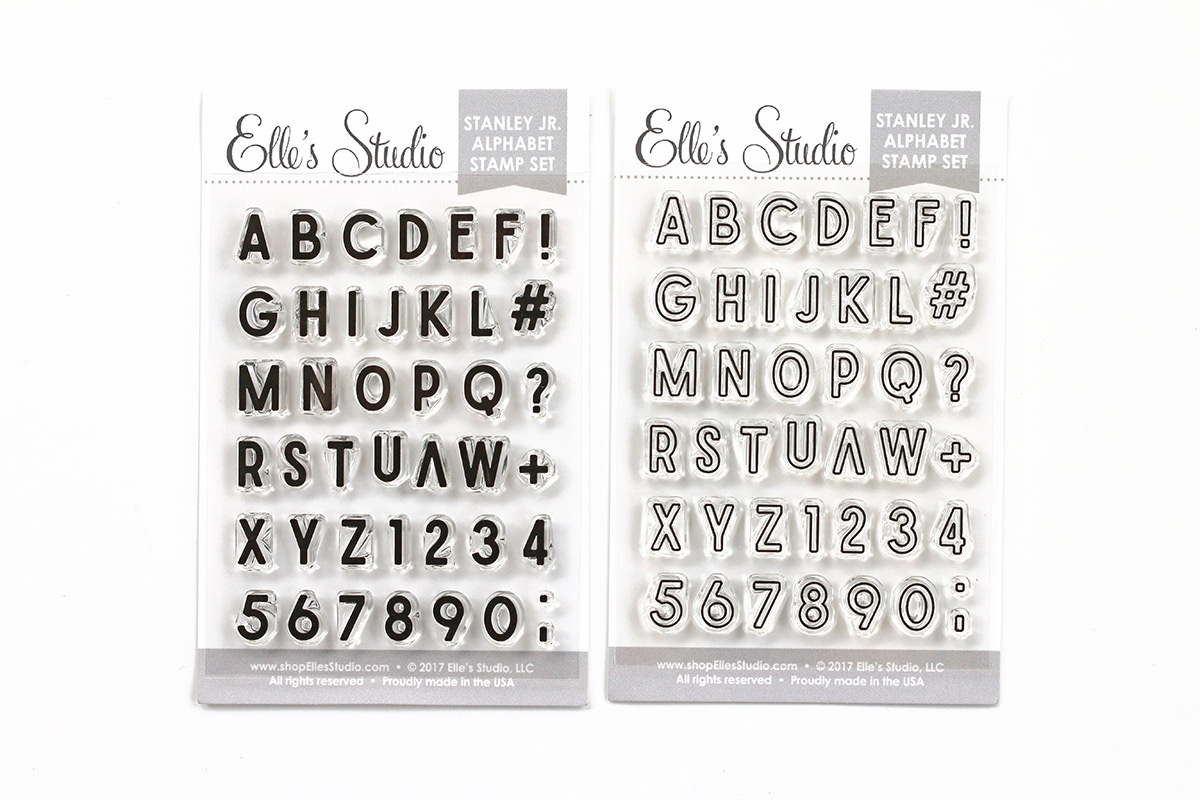
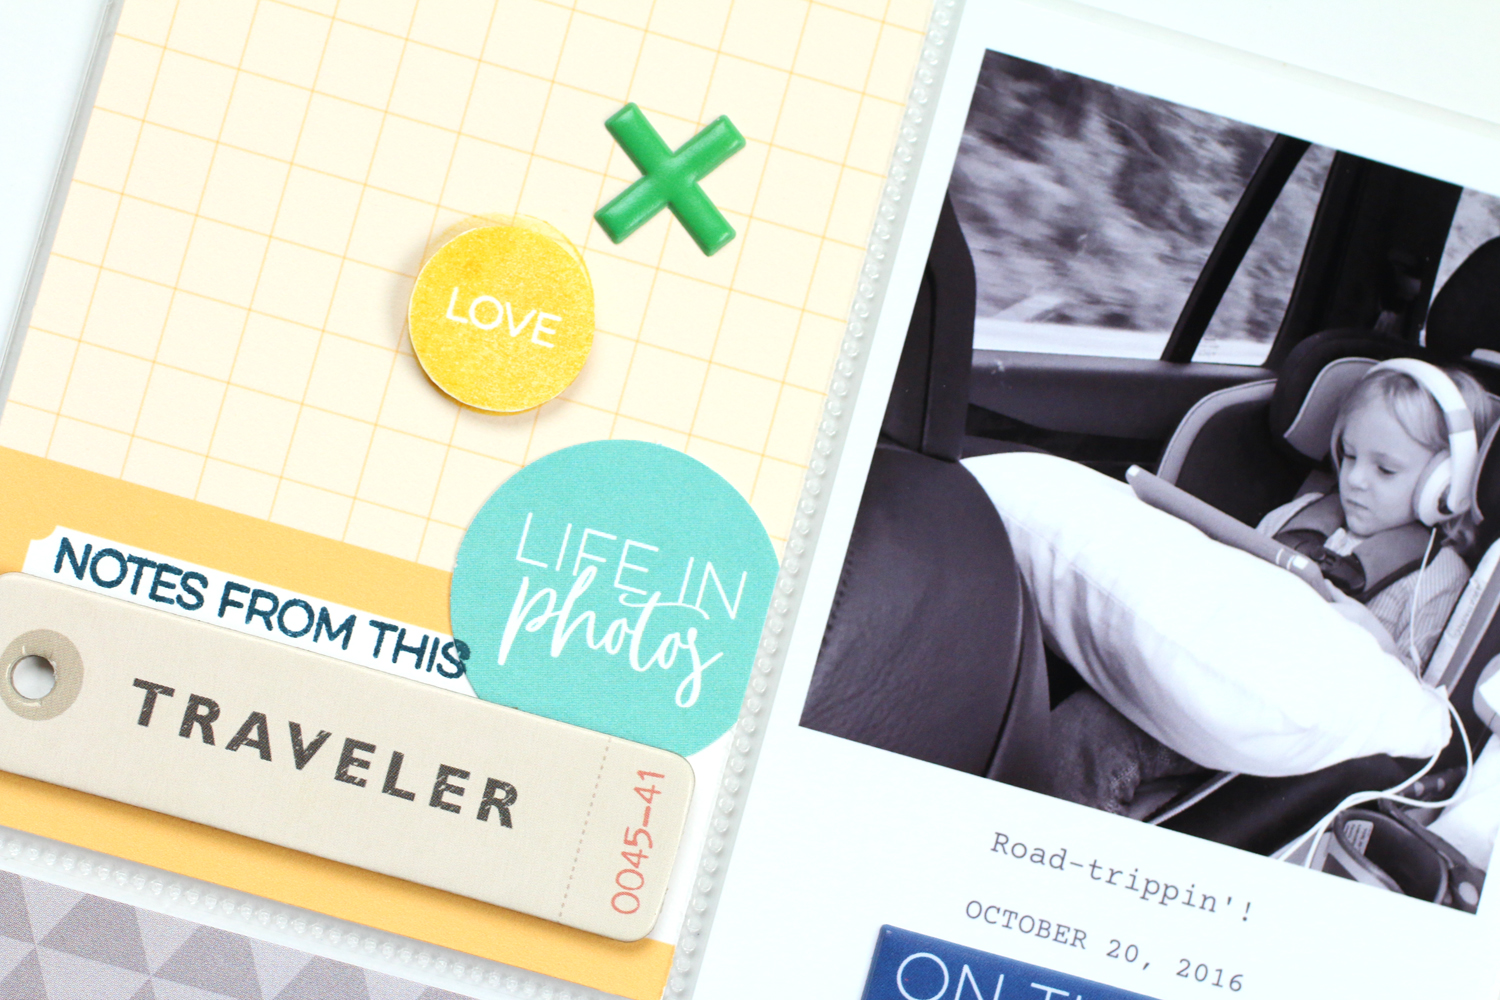
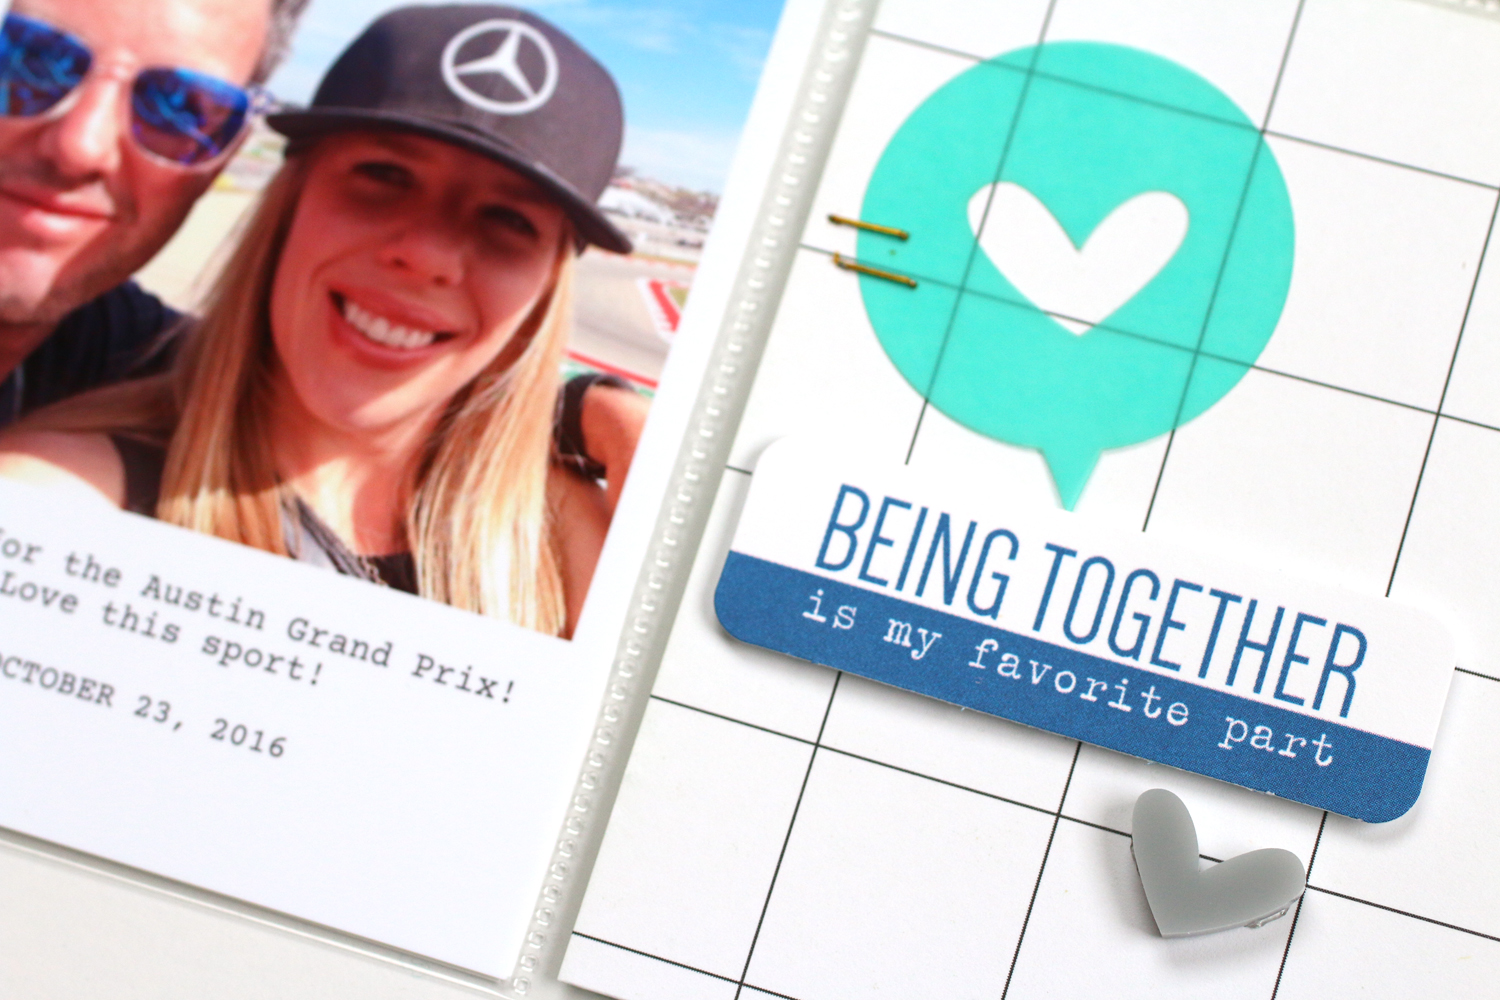
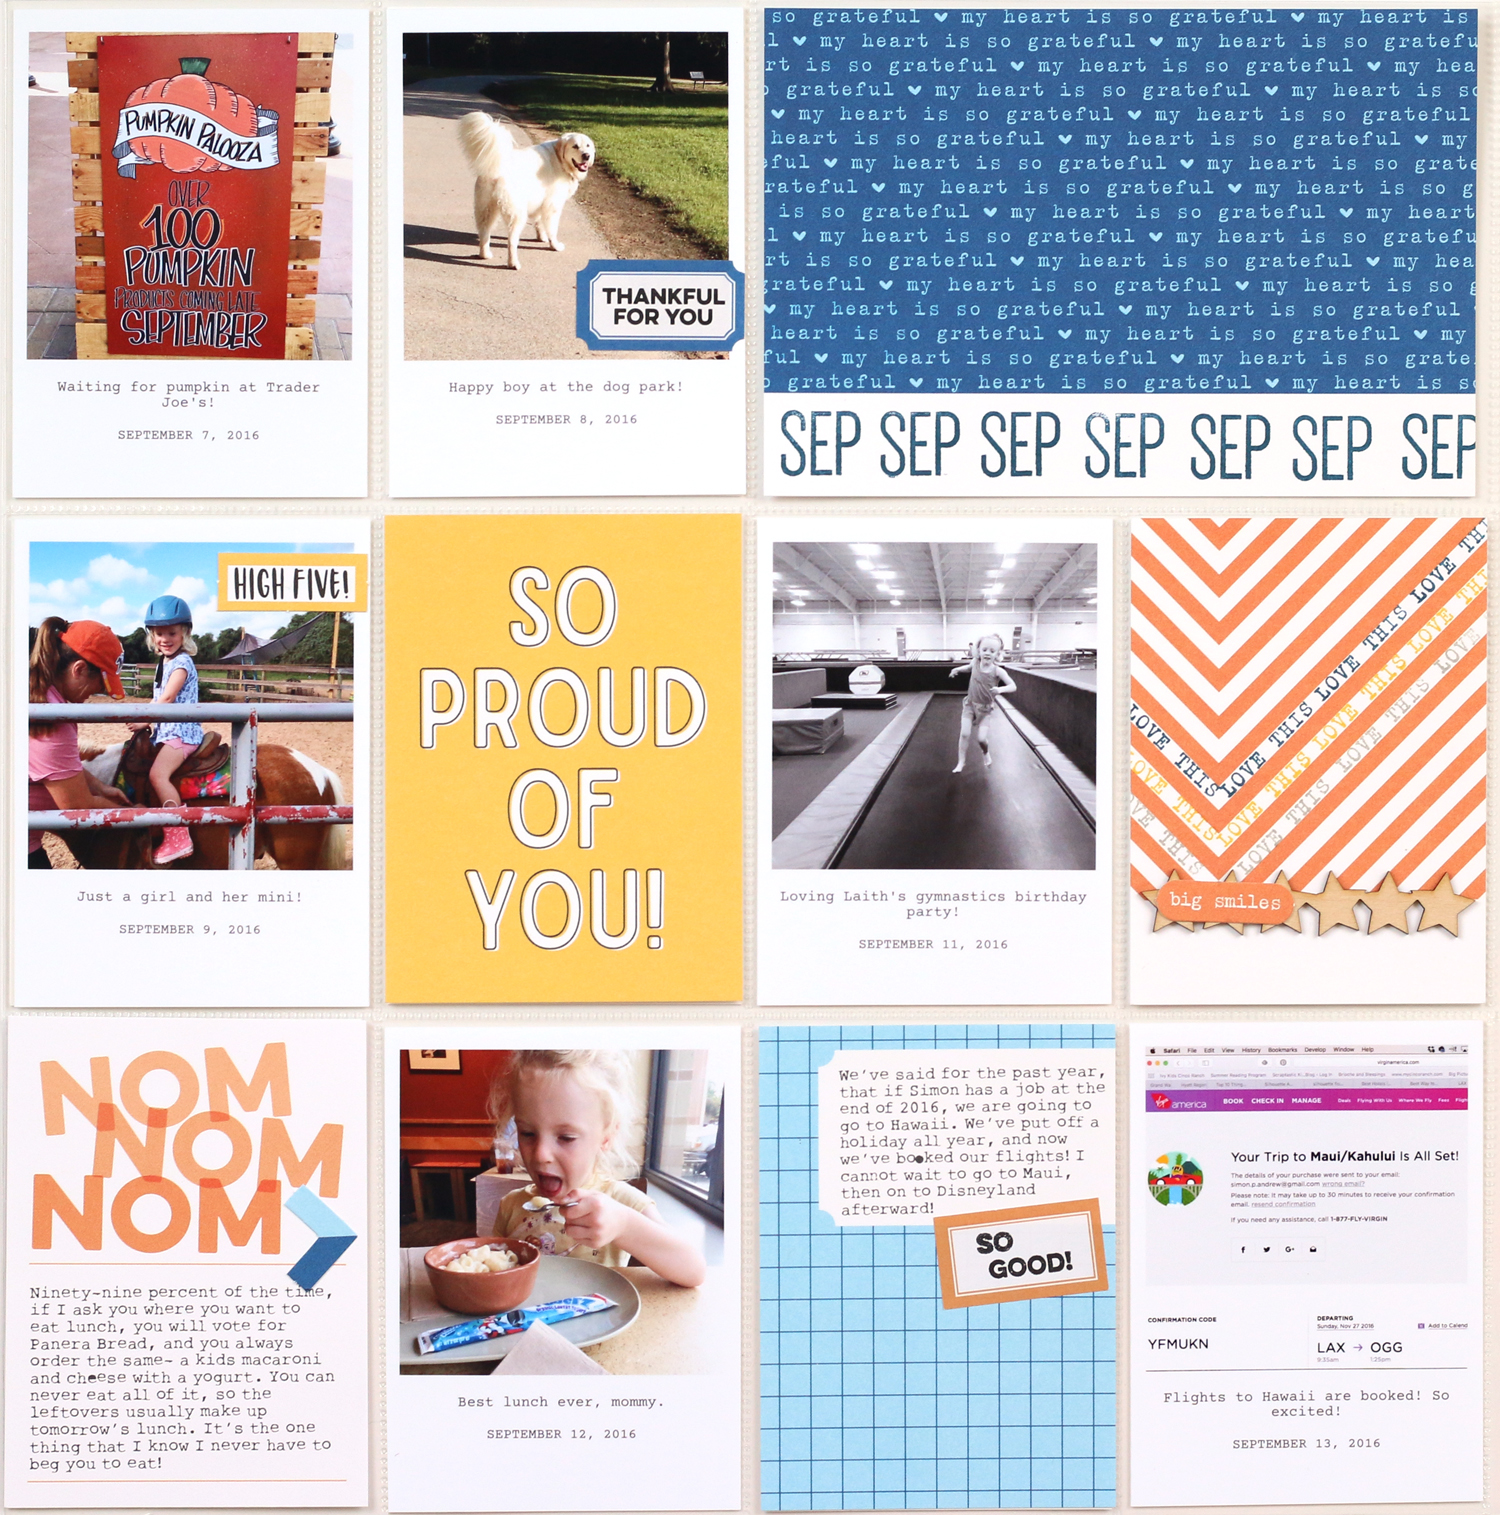
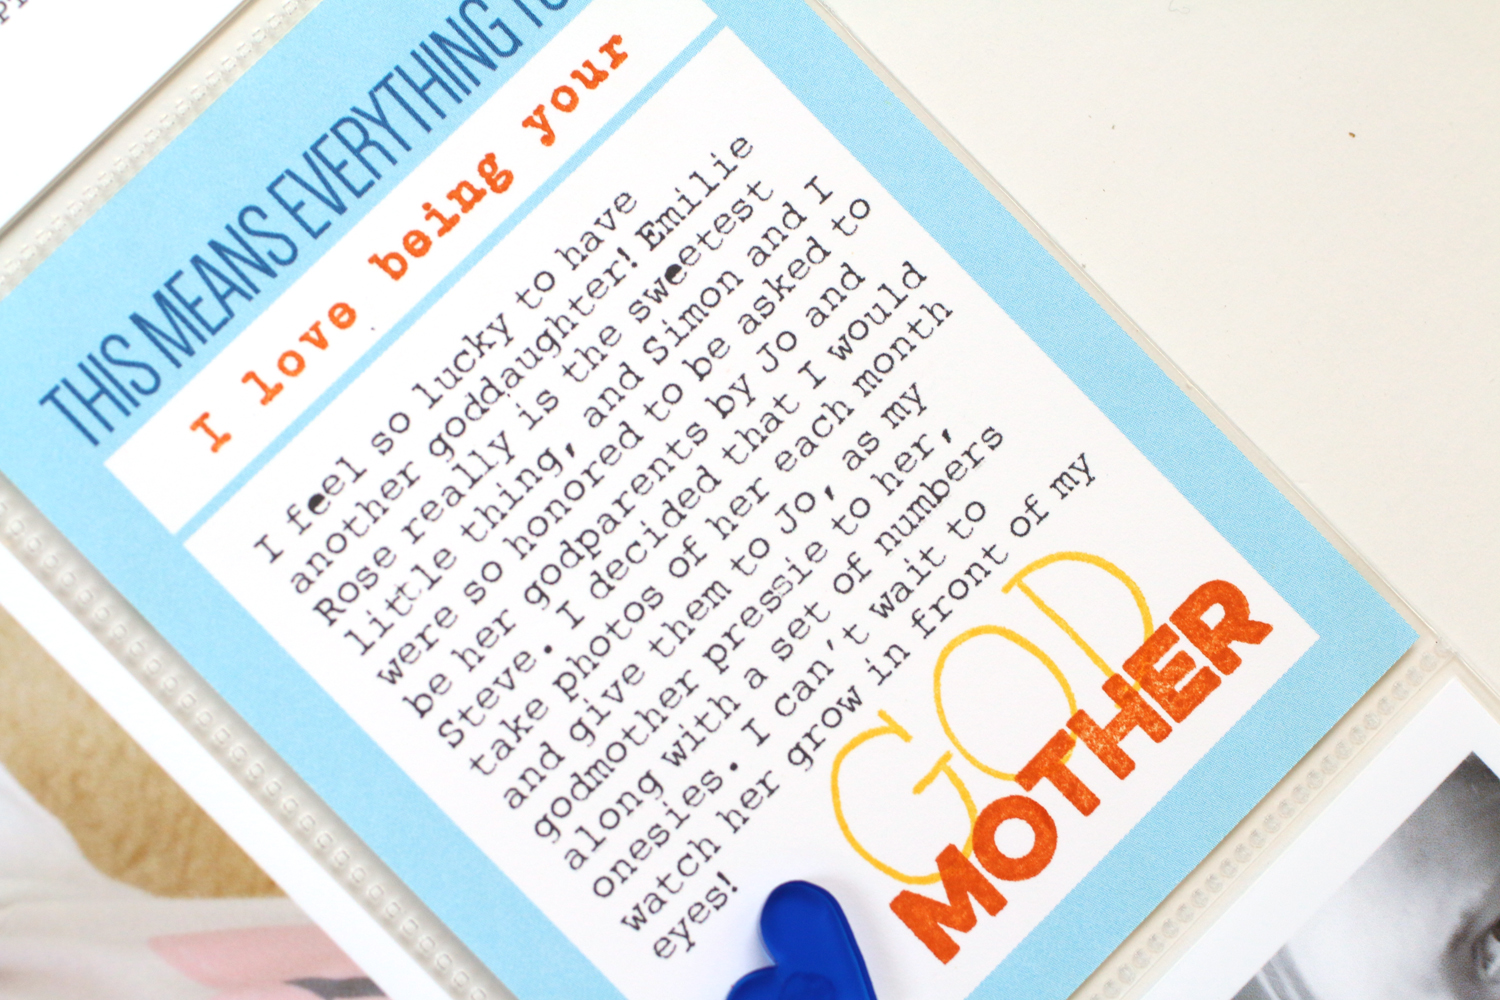
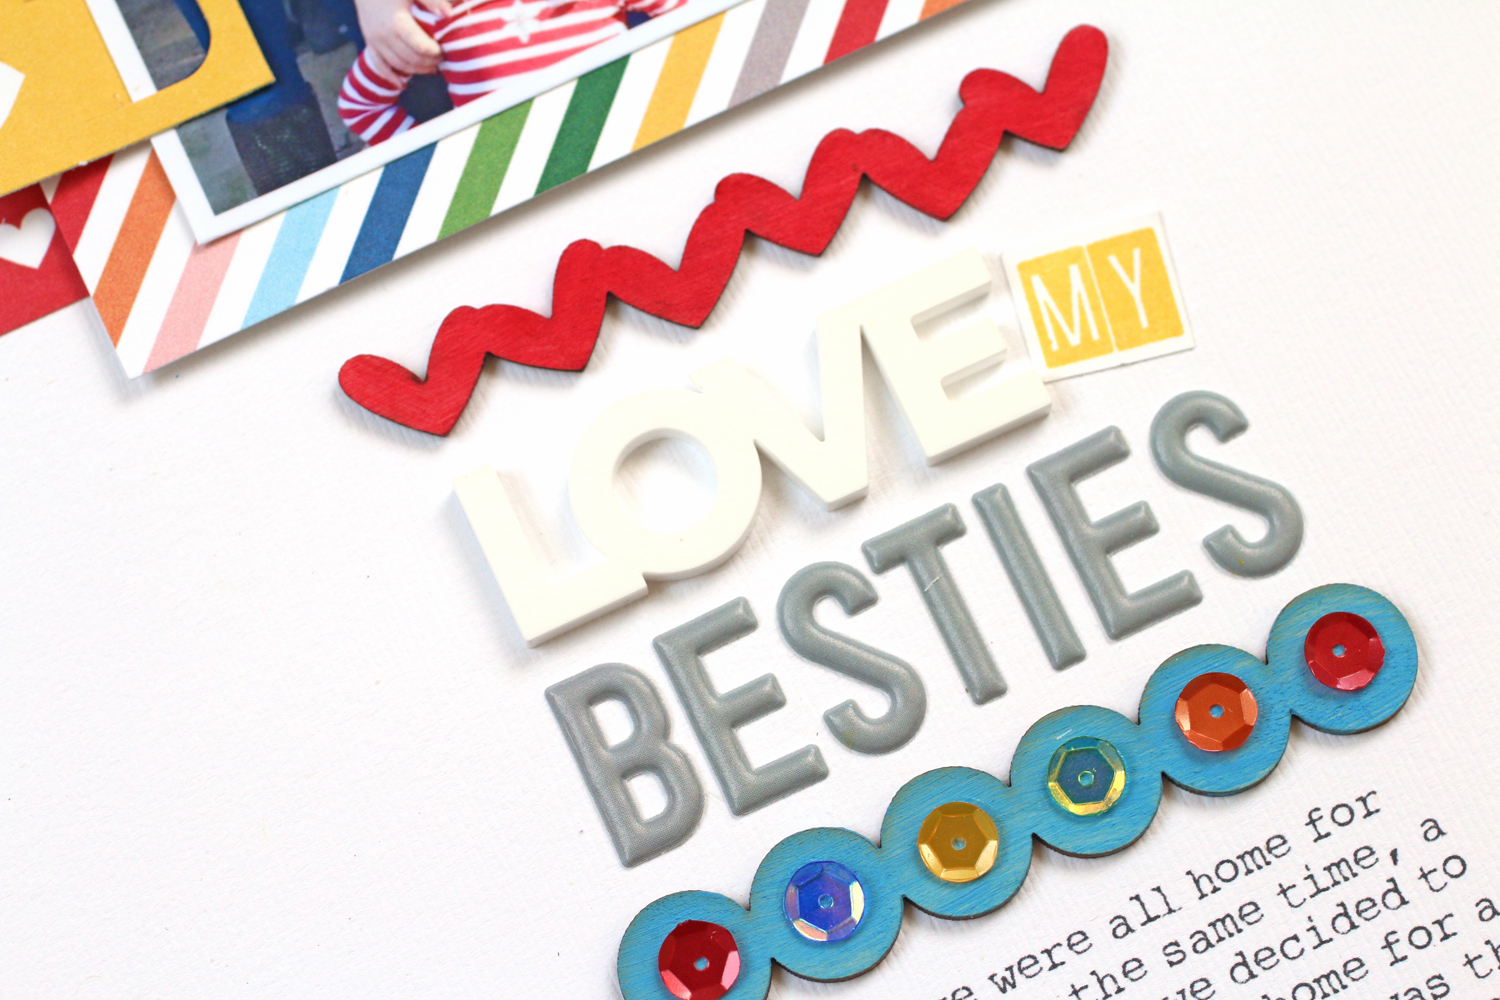
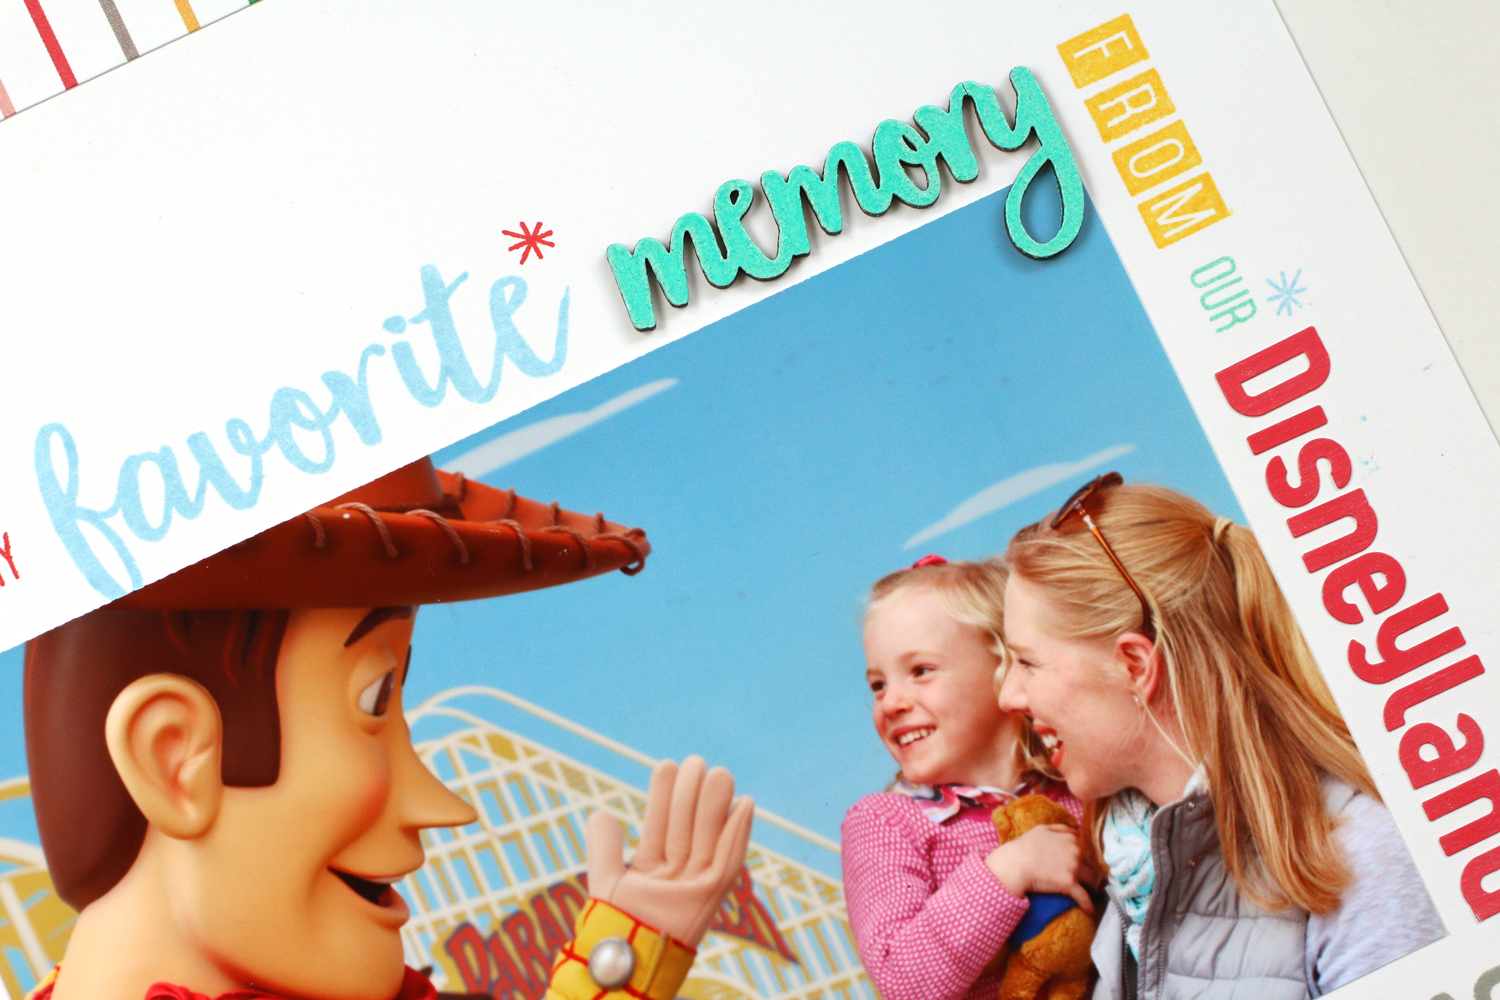
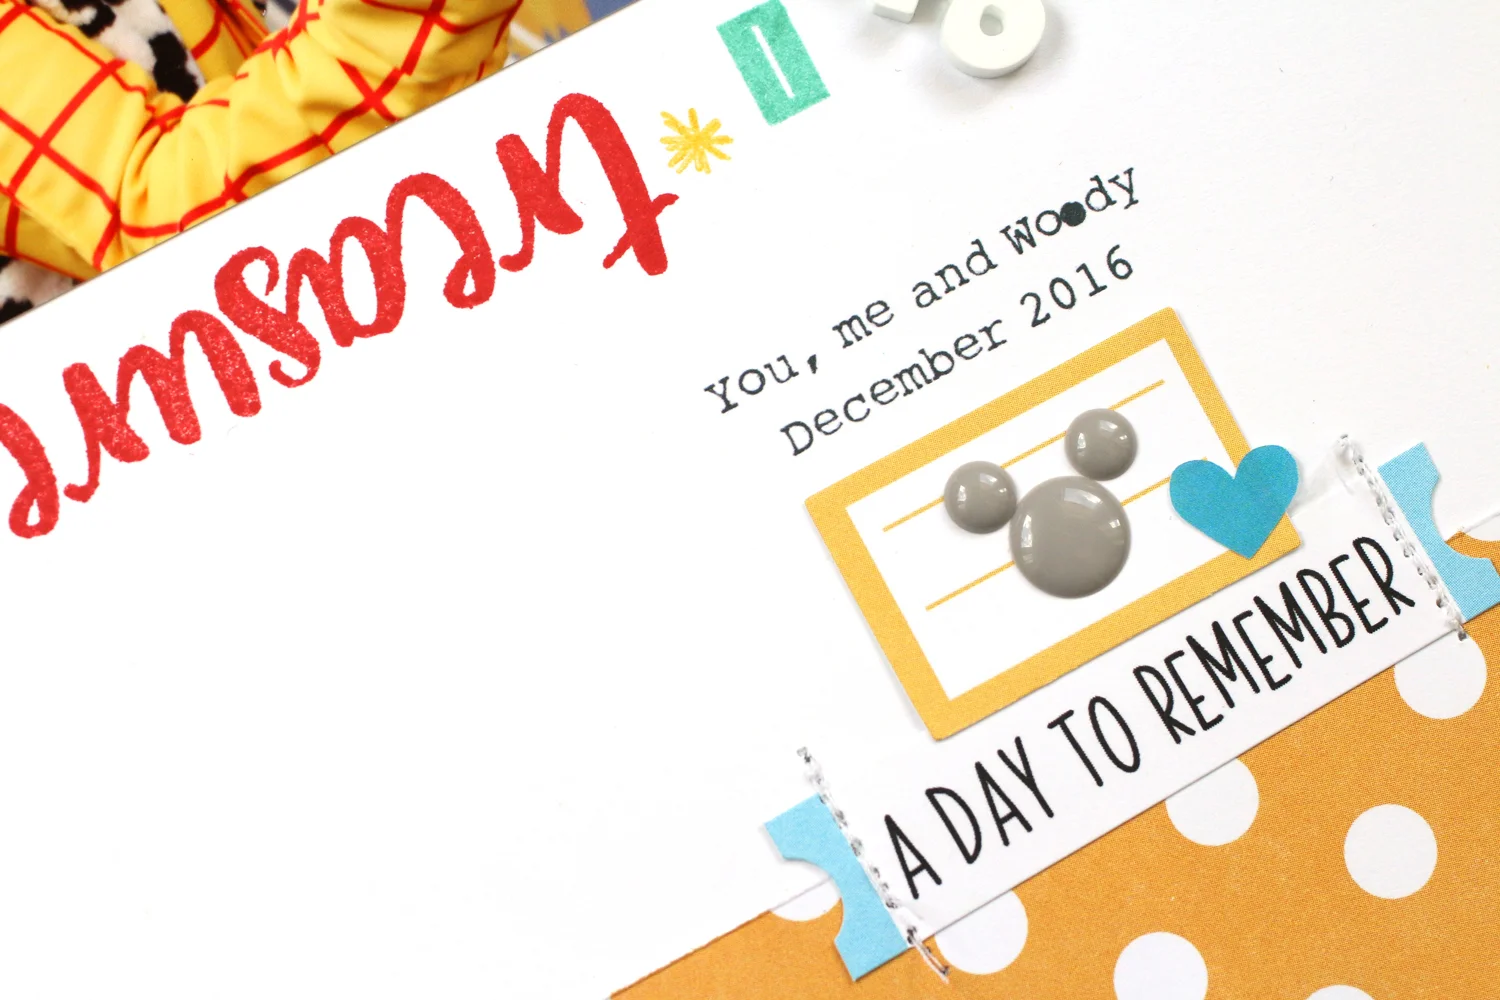
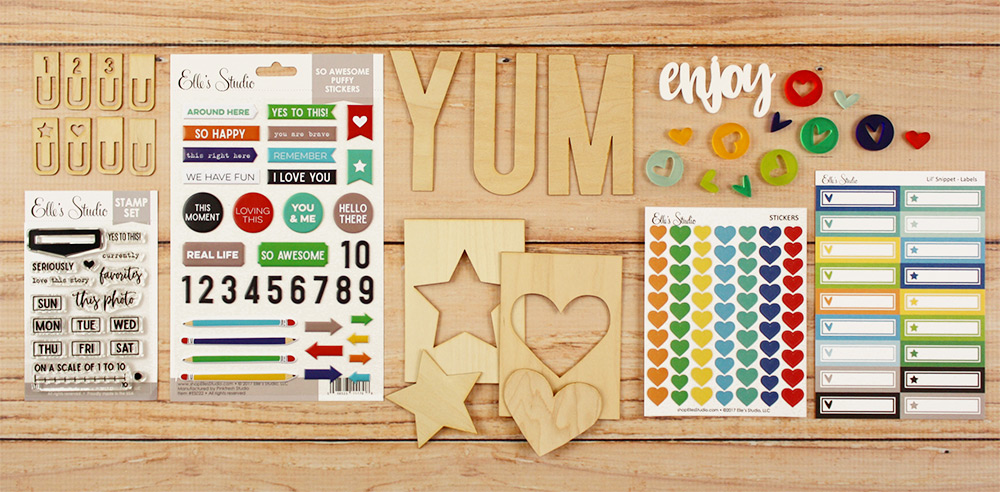
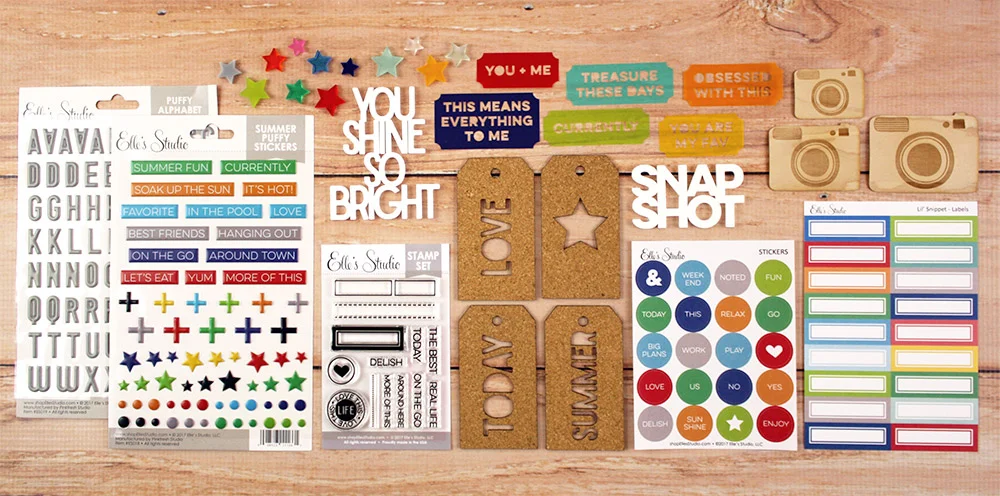
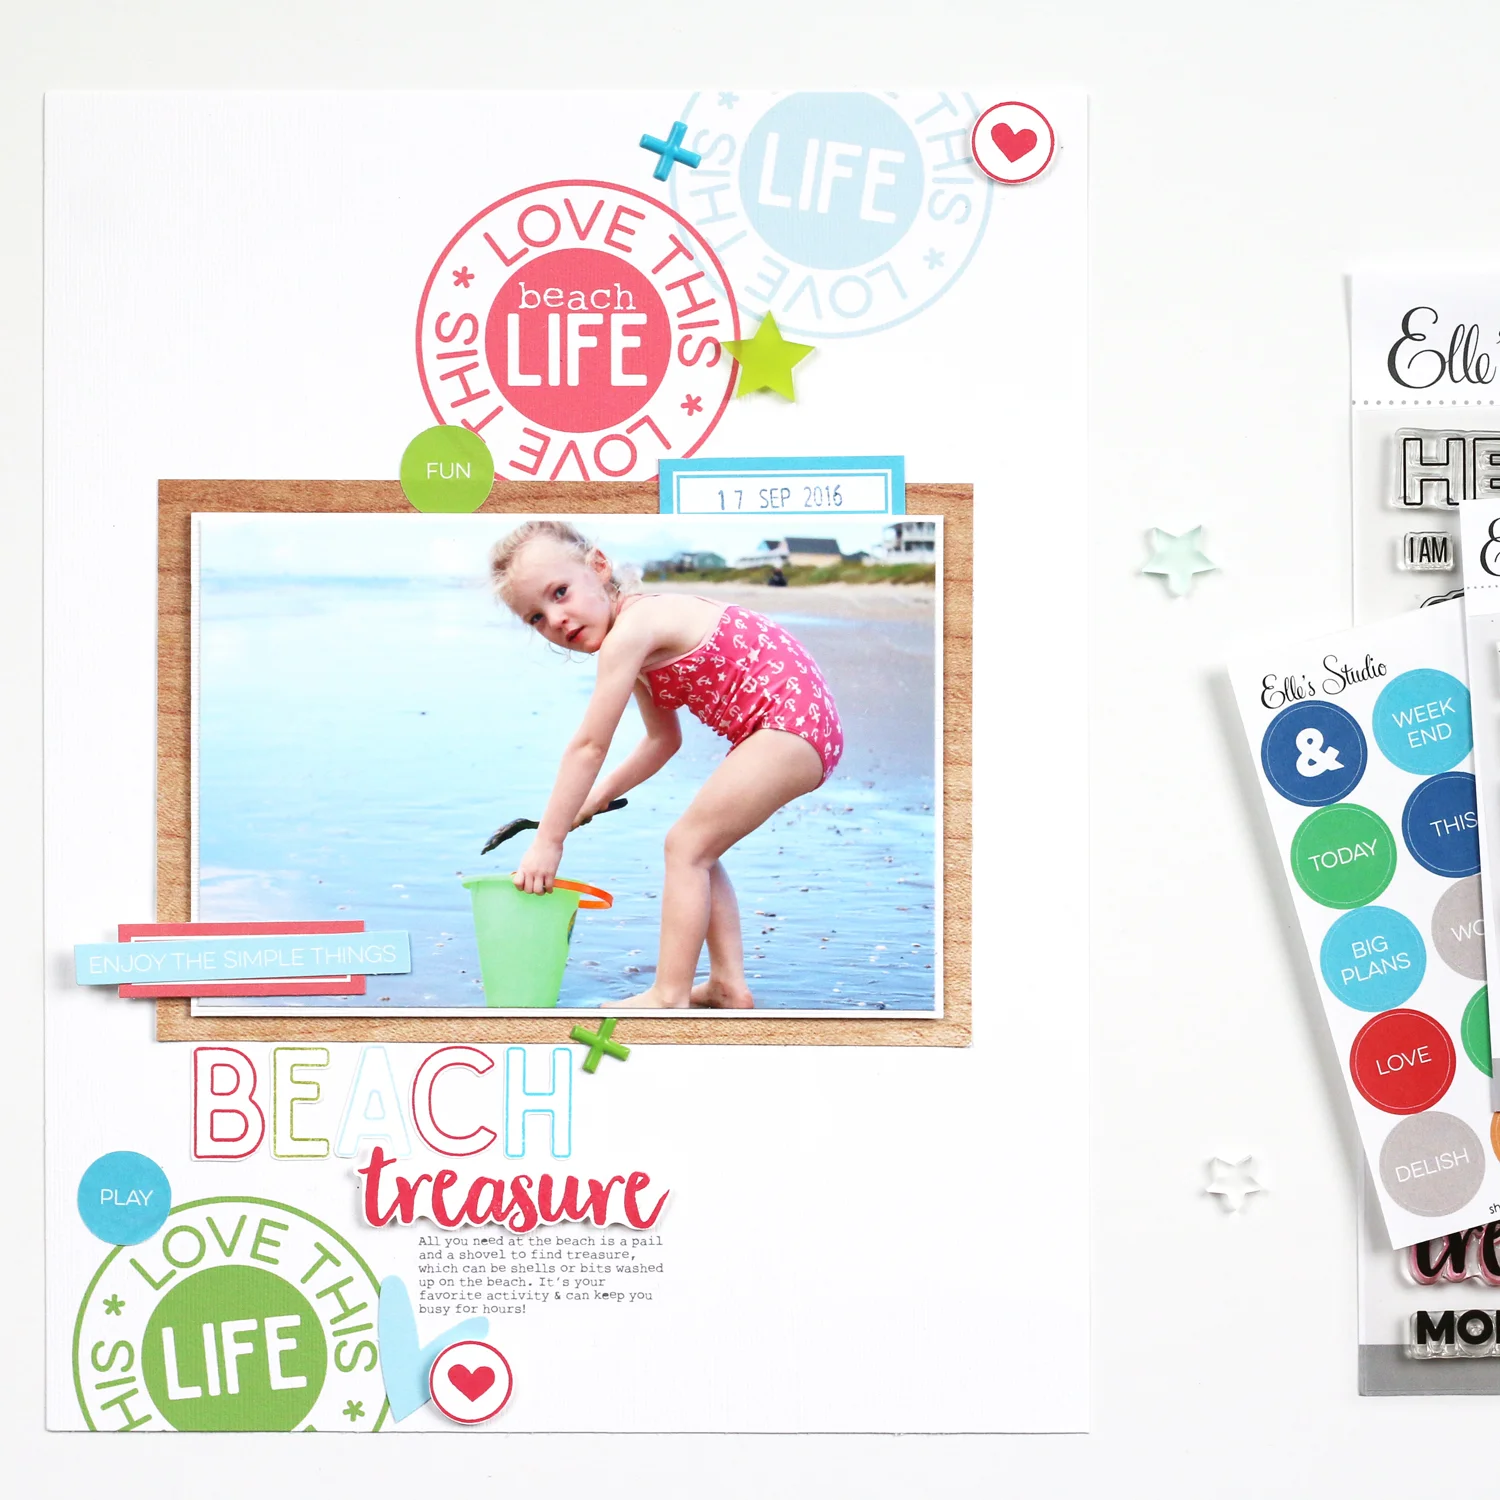
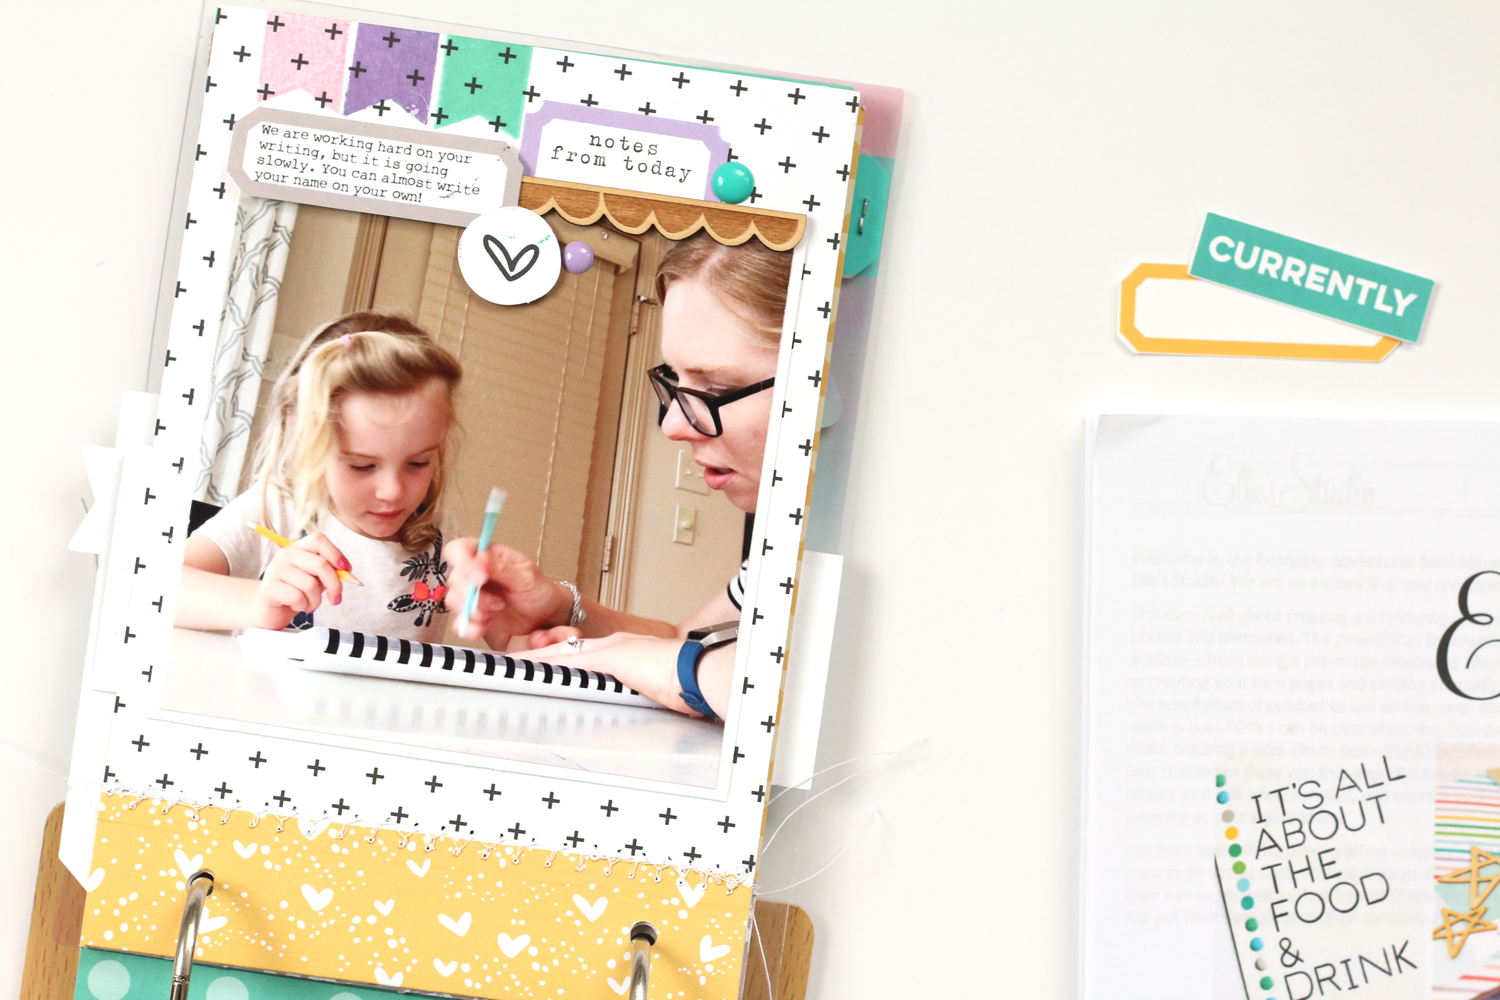
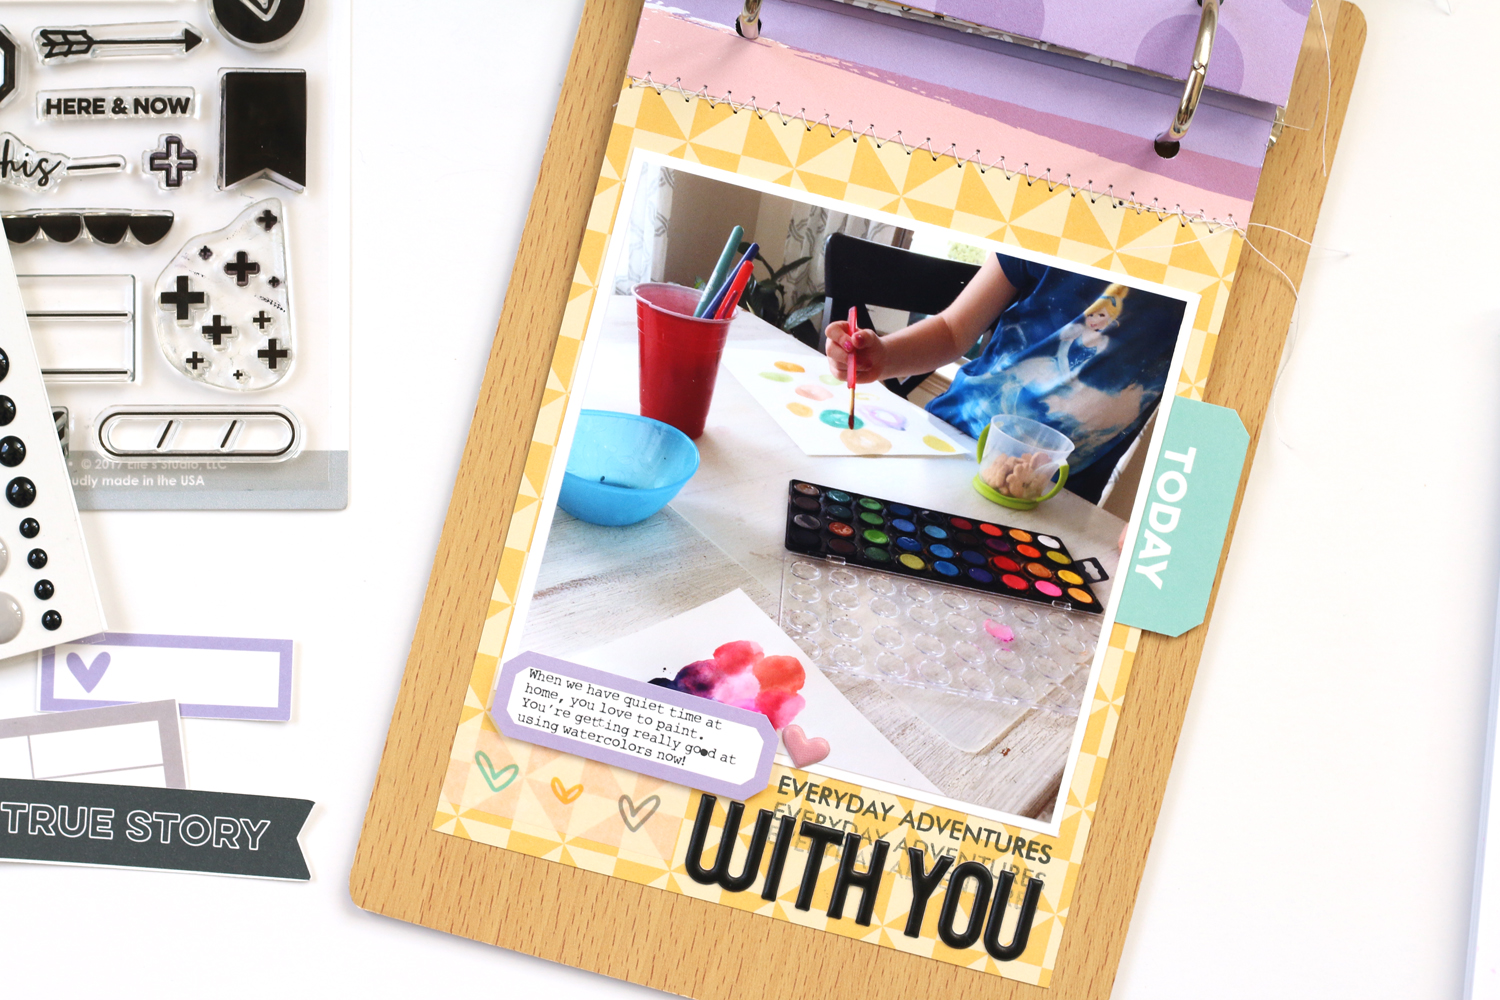
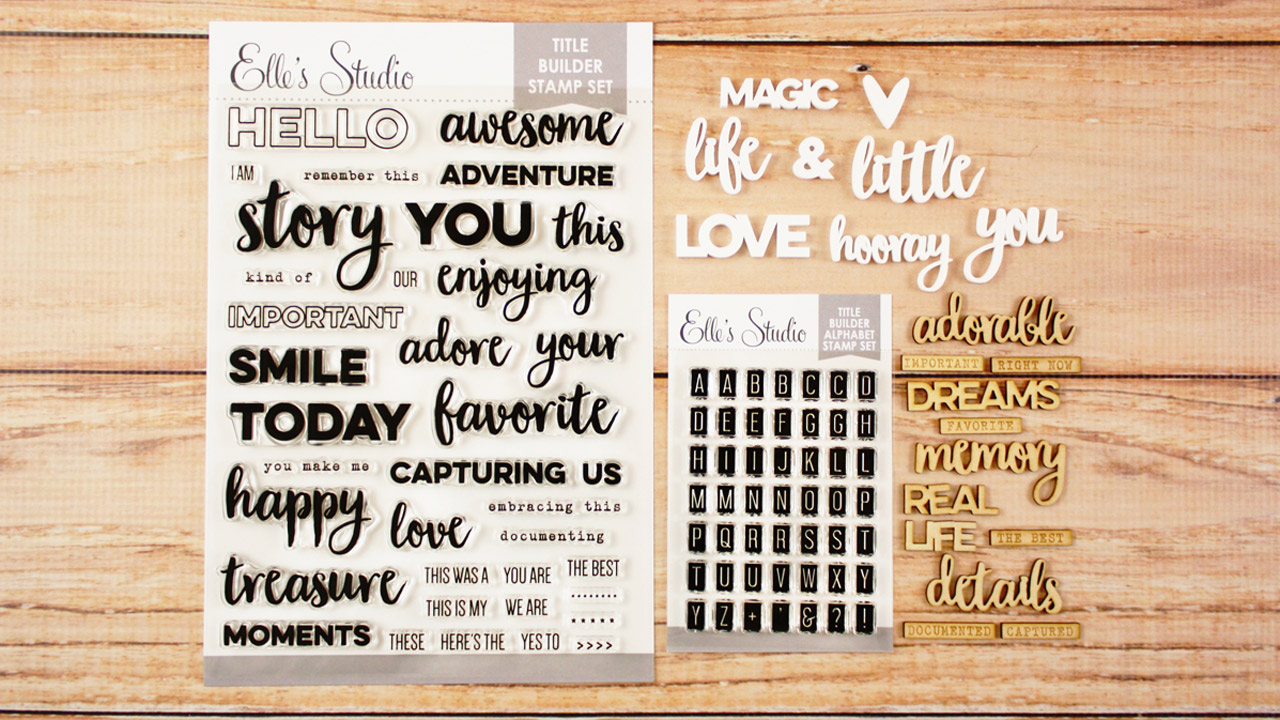
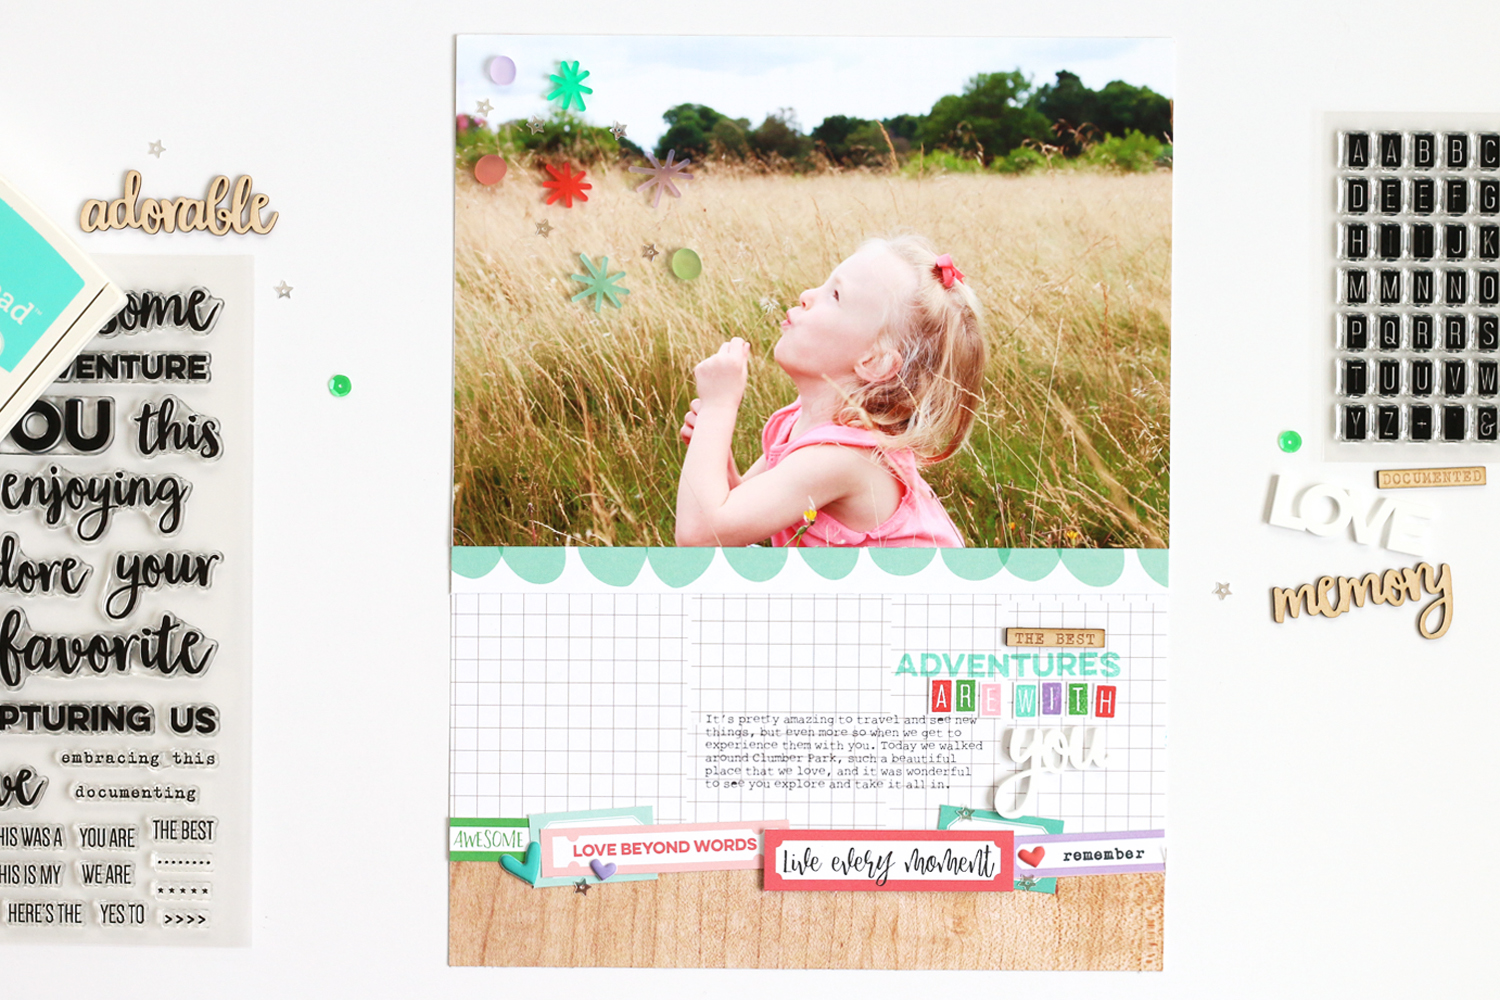
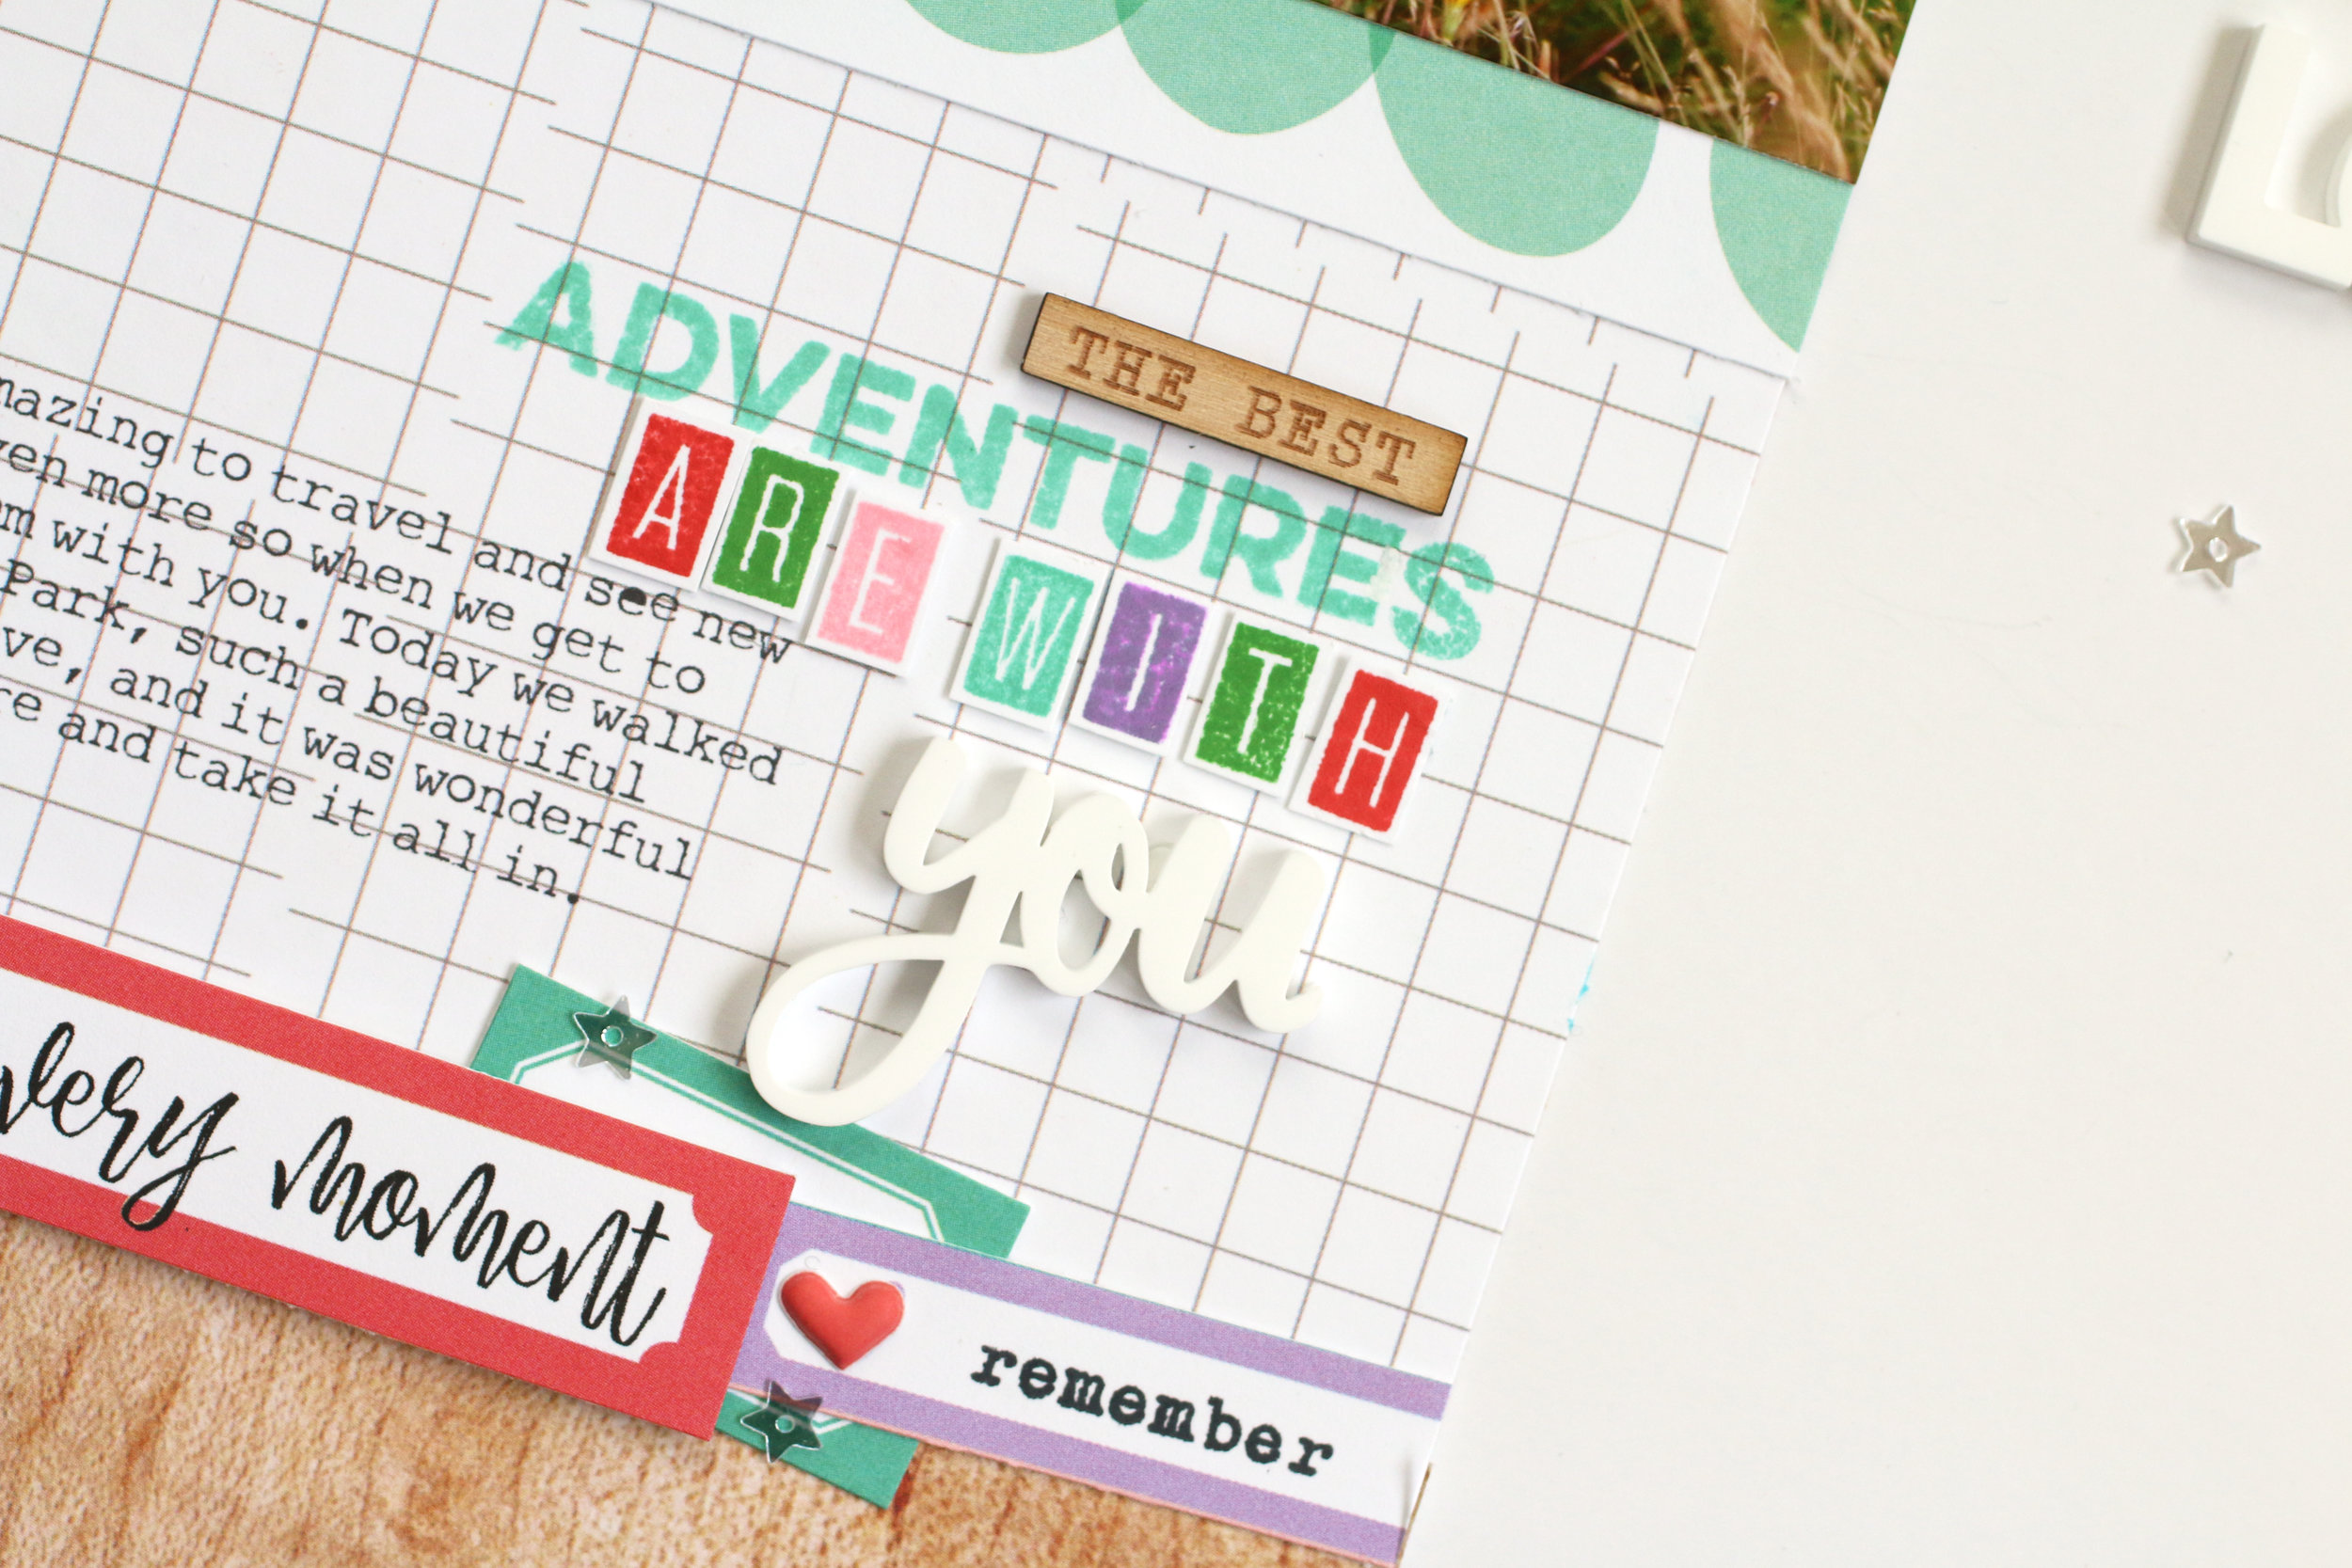
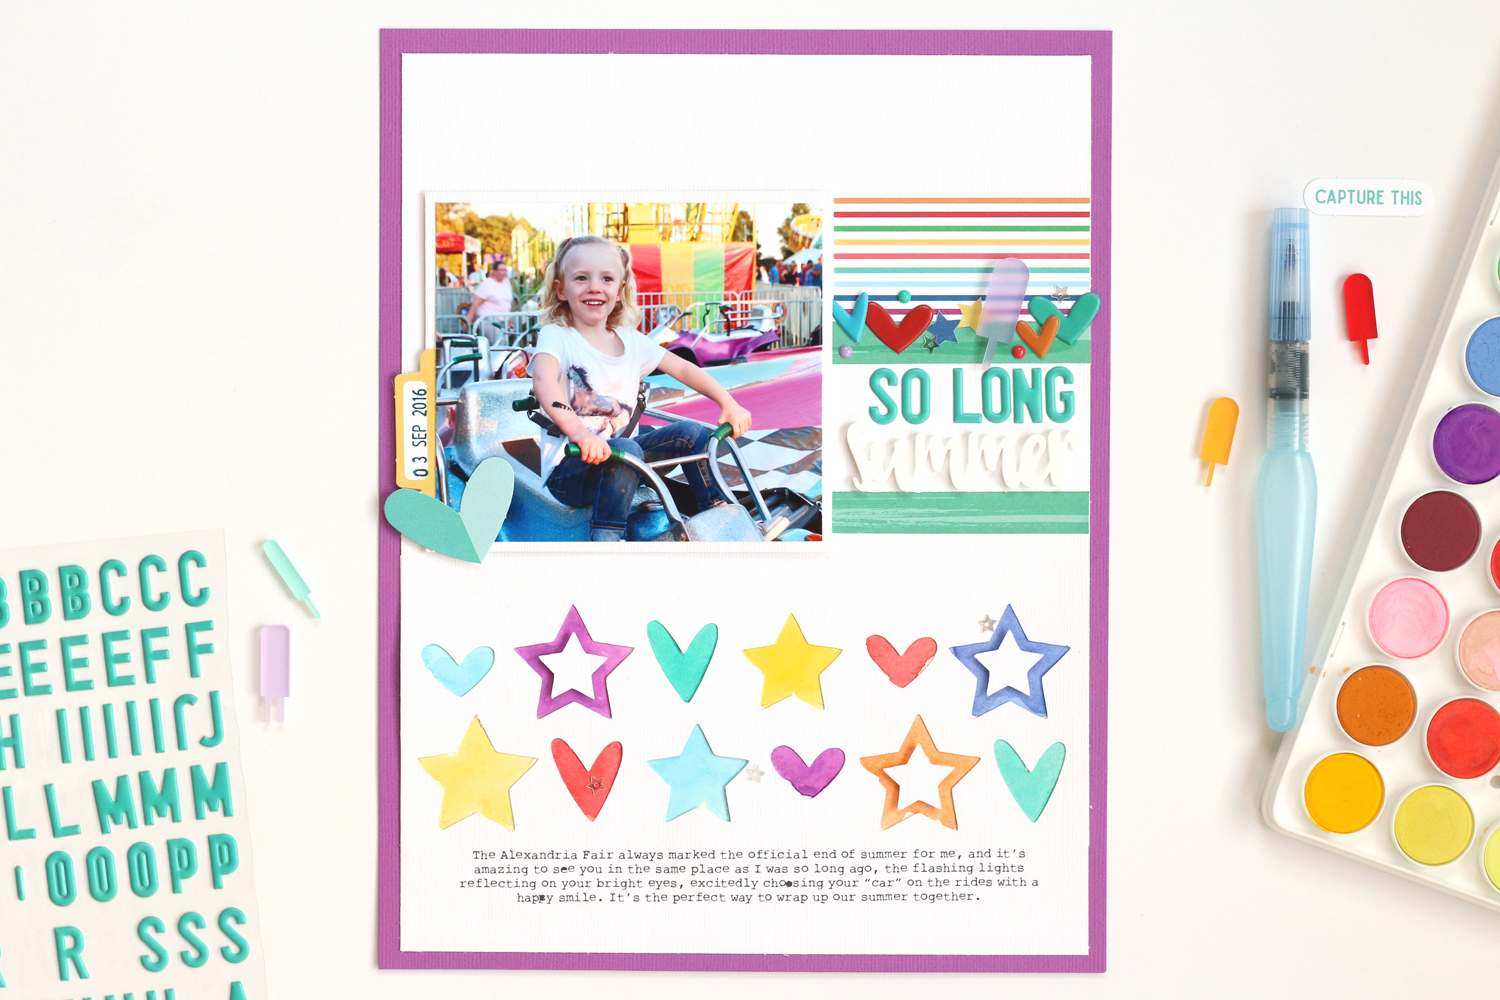
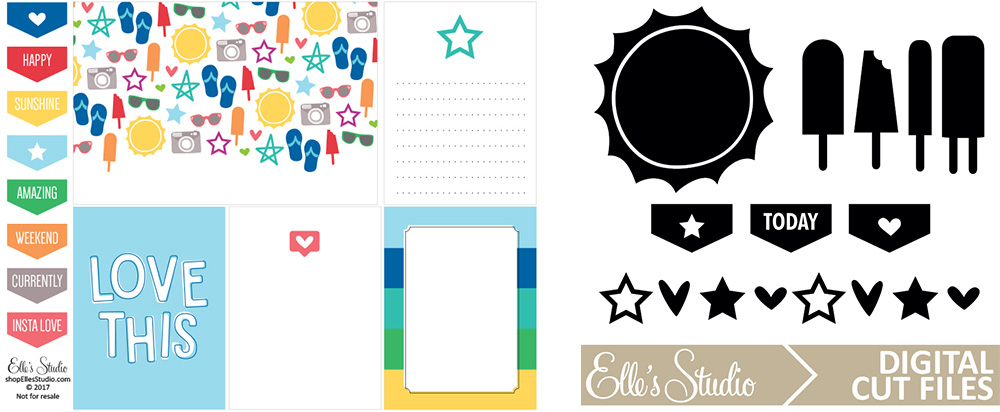
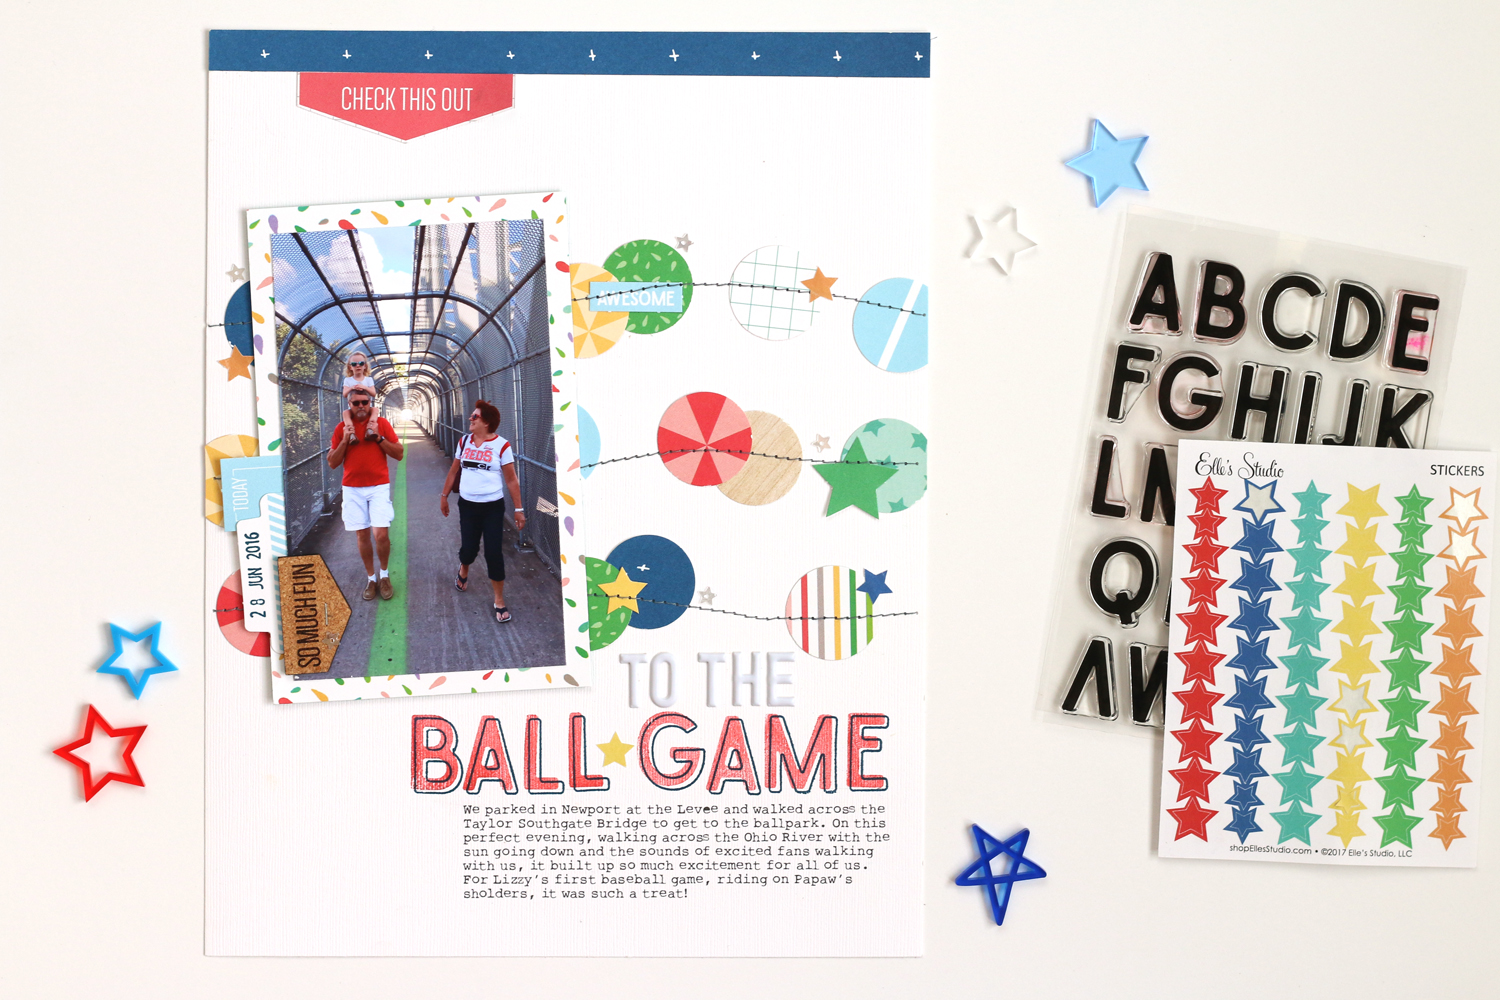
"Get to Work" Supplies | January 2018 Kit, Love You Die Cuts, Hugs and Kisses Puffy Stickers, Star Chipboard Stickers, White Cardstock Alphabet Stickers, White Puffy Alphabet Stickers, Teal Puffy Alphabet Stickers, Counting Steps Stamp, XOXO Stamp, Dated Stamp, Jonah Alphabet Stamp, XOXO 6" x 6" Paper Stack,

Getting goals written down on paper is the first step toward achieving them, and I hope this layout starts me off in the right direction!
Start hitting your 2018 documenting goals by ordering the January Kit and add-ons from Elle's Studio! Thanks so much for stopping by, and for supporting this blog with your clicks!
Click here to see my first blog post of the day, which introduces the kit and add-ons, and includes a full kit unboxing video, as well as a layout process video!