An Everyday Adventures Class-Inspired Mini Album
/It's rare lately that I get to join in with the contributors for a class that I'm coordinating at Elle's Studio, but the entire time I was editing the Everyday Adventures class*, I wanted to CREATE! The projects from the contributors, some of my favorite designers in the industry, were amazing, and I loved their tips and tricks that they shared to help you create an album you love! So, I decided to read through the class again and highlight some of my favorite parts to then inspire my own mini album, and I'm sharing that with you today!
(*Product links are affiliate links. You don't pay any extra, but I get a small percentage of your sale! Thanks for your continued support!)
Supplies | Everyday Adventures Mini Album Class with Stamp & Digital Files, Everyday Adventures Product Bundle, Jonah Alphabet Stamp, Dated Stamp, The Story Of Stamp
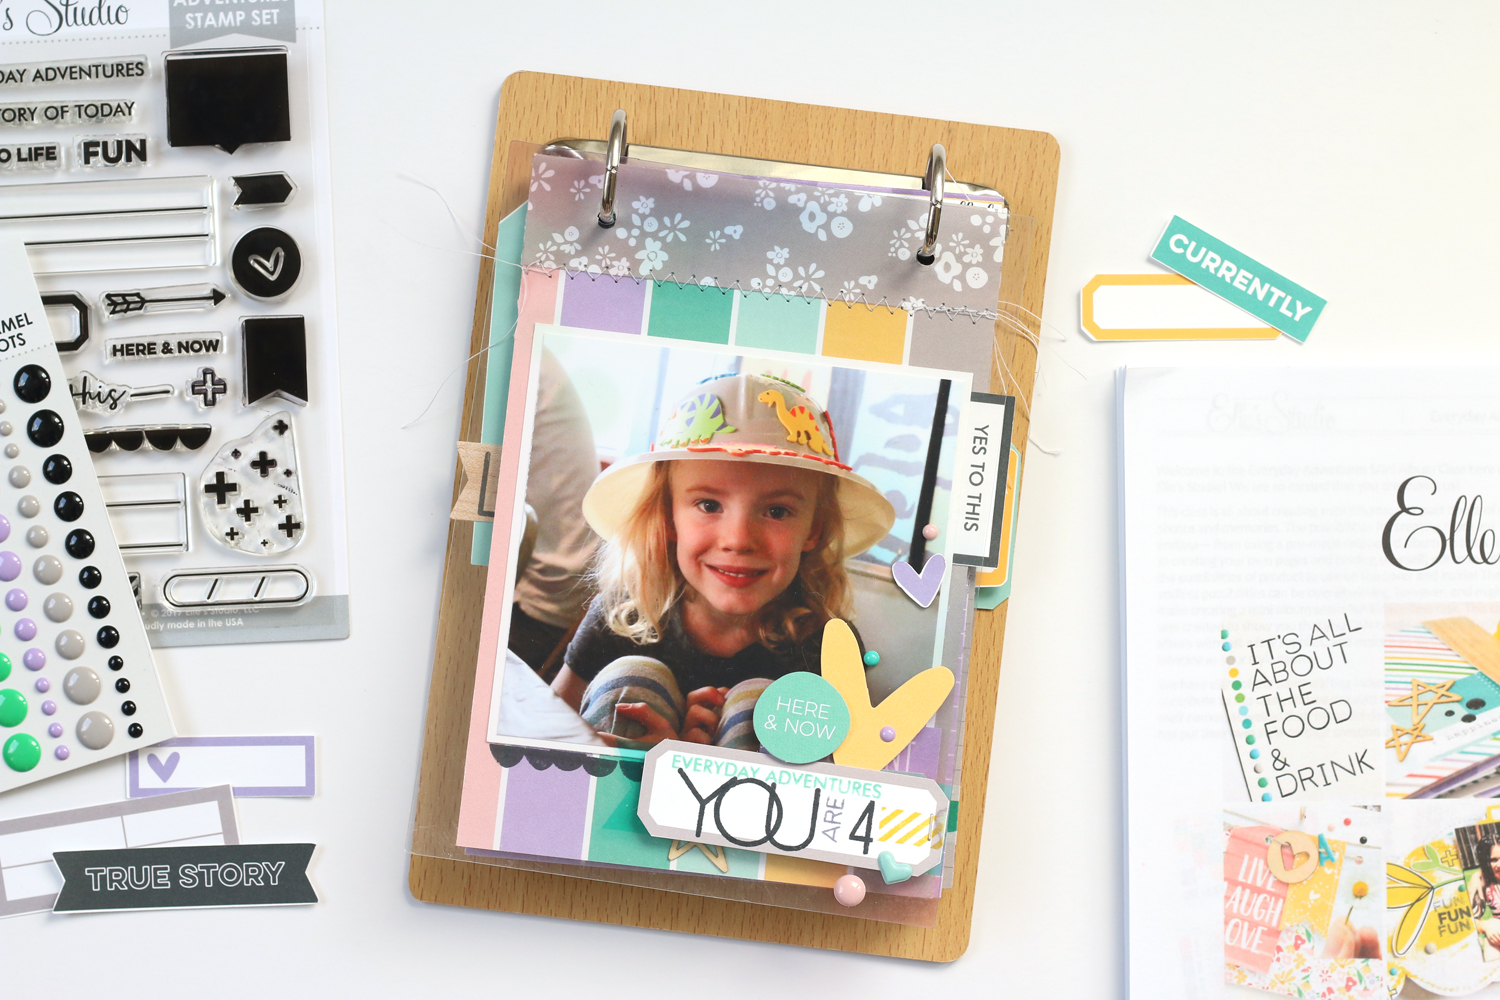
I found this fun wooden board mini album in my stash and loved it, without realizing it was the same album that Barbara Picinich used for her album in the class! I kept the transparent cover page, using it to adhere a few embellishments and a tag with a stamped title, using the exclusive Everyday Adventures stamp, Jonah Alphabet Stamp, Dated Stamp and The Story Of Stamp

My first page features the image that you see on the cover, since it was only separated with a transparent cover page. Patterned paper created the foundation for my album pages, just like Jennifer Gallacher’s mini album in the class. On the first page, I used the patterned stripe from the Live Laugh Love 6″ x 6″ Paper Stack found in the Everyday Adventures Product Bundle and as Mel Blackburn recommended in her class lesson, I only used these colors throughout the entire album to make it cohesive from page to page.
Since the pages were only 6″ long, and I wanted mine to be 7″ to fit with the album, I cut a coordinating pattern to the same width of the page, 4.75″ and 2″ high, scoring it in half and sewing the bottom edge to the top of my patterned paper, giving me elongated pages and a nice sturdy top to flip around the binding rings.
Lizzy absolutely loves dinosaurs, and when we went to a classmate's dinosaur party at the museum of natural science, I took this lovely photo of her in a dinosaur hat that she made. I knew it had to go on the cover.
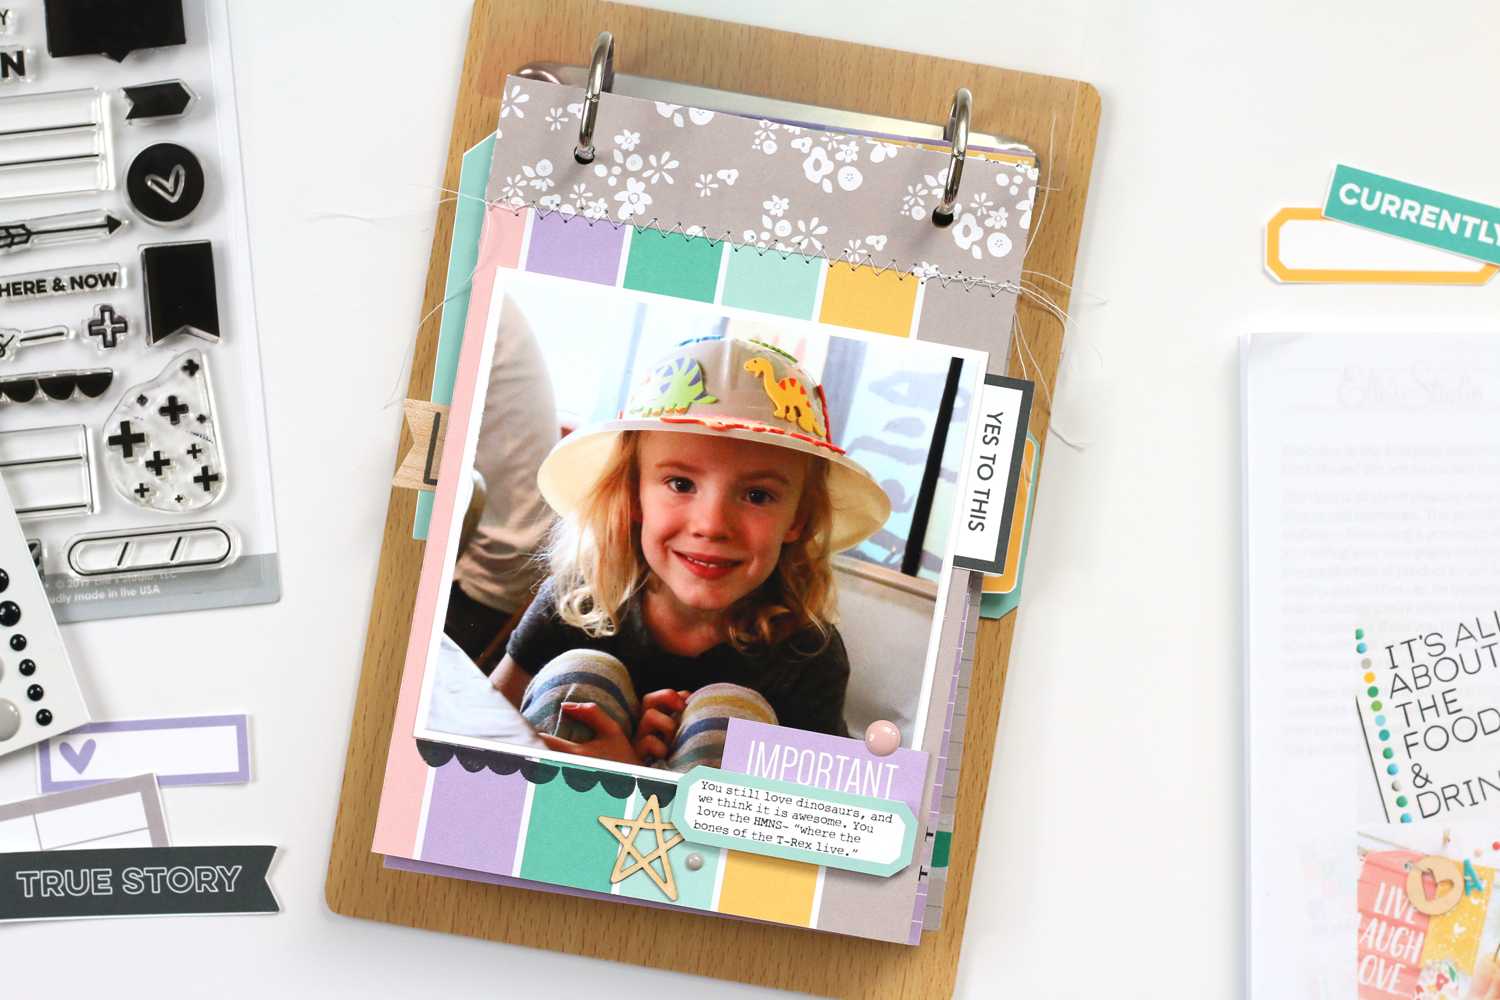
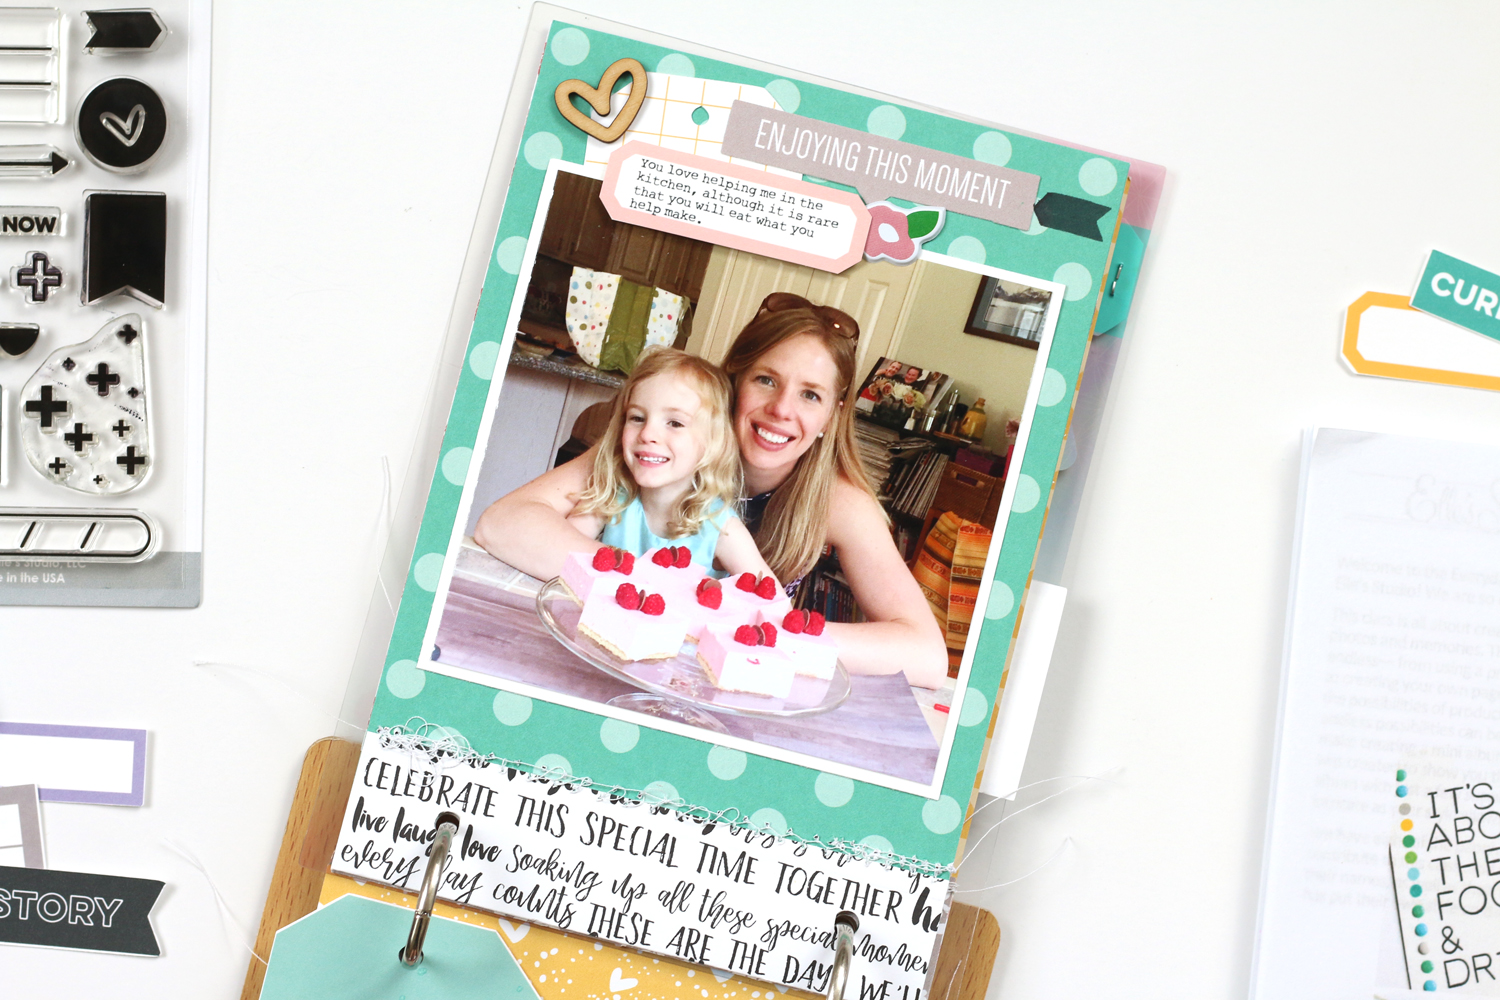
On every page of my album, I featured a 4″ x 4″ photo, that I backed with white cardstock. I used the digital labels included with the class to add my journaling in Photoshop before printing and cutting, allowing me to add the maximum amount of words in a small space. I also made sure that I had stamped images on every page, using the Everyday Adventures stamp, and included just a few small embellishments.
This page is SO fun, and it was simple to add just a few Live Laugh Love collection enamel dots and plus stamps from the Everyday Adventures stamp directly to the photo of my daughter's "decorated" bath.


I had to get the things we like to do together in the album, and since they're about me, I made sure to get my photo in there, too.
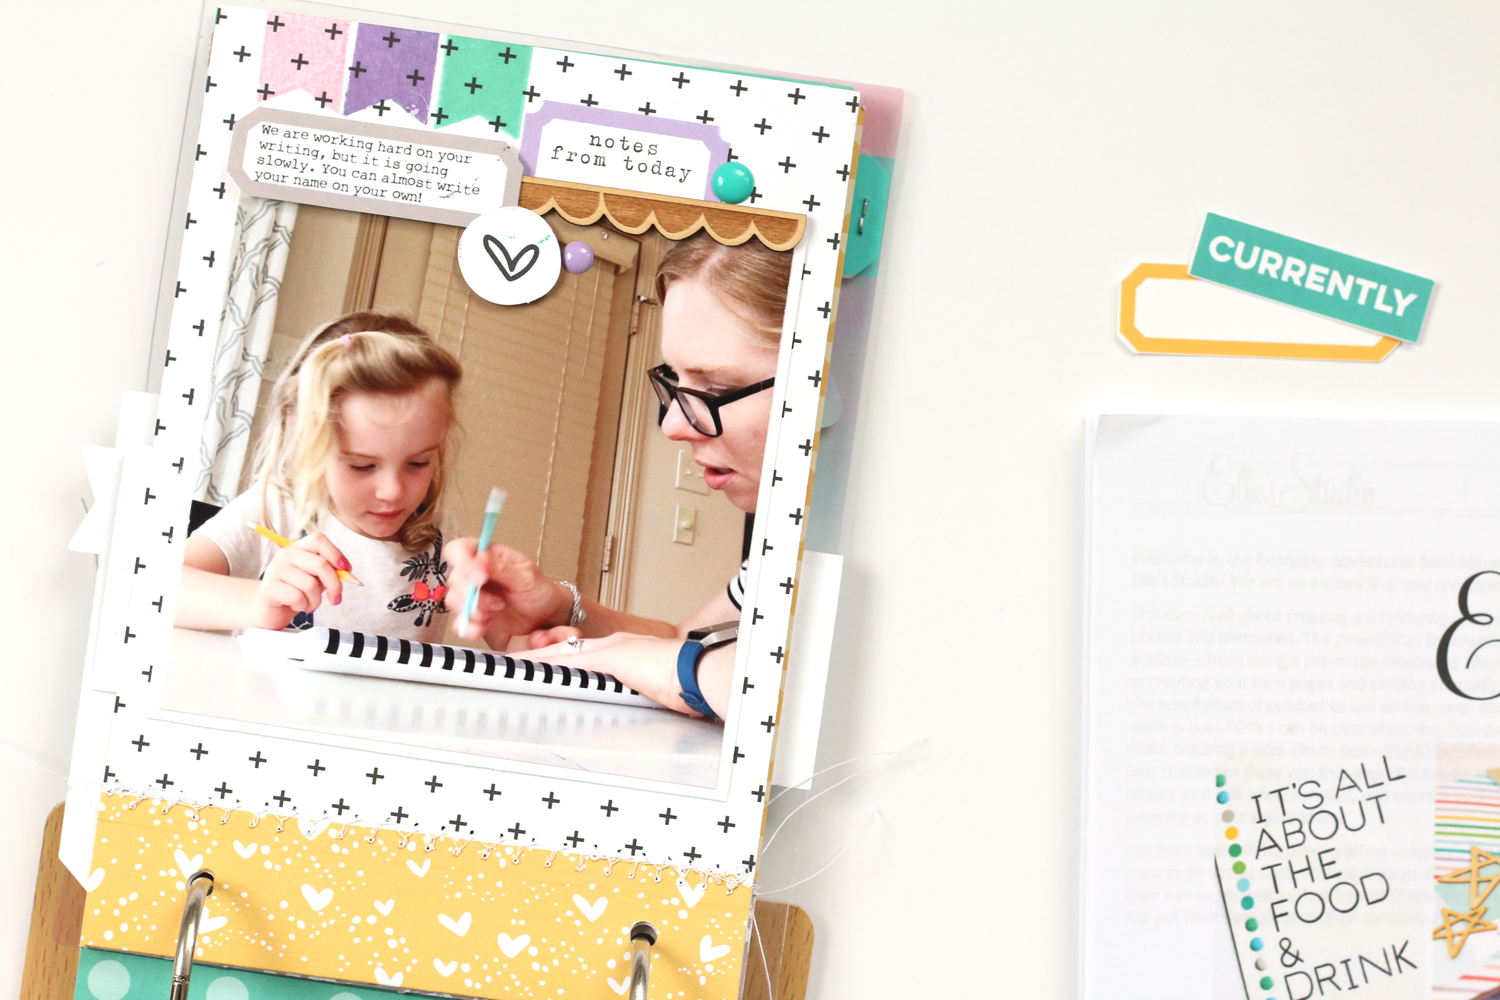
One of Kristin Tweedale’s tips from the class was to create interest with banners or tags sticking out from the pages, so I added several labels to the page edges, as well as this tag with my daughter’s name stamped with my favorite, Jonah Alphabet Stamp, that was purely for embellishment!

No mini album about Lizzy would be complete without a cute giraffe in it. She LOVES them, and I love this photo and page!

In Laura Wonsik’s lesson, she recommends creating “clusters” of embellishment, which allows for the maximum amount of white space on each page. I loved compiling these clusters with the digital class die cuts, Live Laugh Love Bits and Pieces, Puffy Stickers, Wood Veneers, Washi Tape, Enamel Dots and the Everyday Adventures stamp.
Recently, when my talking with a friend, I told her that Lizzy still pronounces "animals" as "aMinals," and she said that I had better write that down, since it will likely change soon. Why didn't I think of that? It was fun to find a photo of her talking, and then use the speech bubble from the Everyday Adventures stamp to add in the baby words that she still says today. Ah... I'm not ready for that to change just yet.

There is nothing more "everyday" for us than a visit to the library, and I love that I can combine our "everyday adventures" with things that Lizzy loves right now in this album. The sentiments in the Everyday Adventures stamp were perfect for every page.

I'm not sure how I scored this photo, but it really has my heart... Lizzy loves her Red Shirt Bear, and seeing her carefully placing him on her bed is really part of her sweet little personality at the moment.

I had to document Lizzy's favorite lunch out at the moment—a pizza flatbread from Potbelly. I just love how those plus signs float from the bottom to the top of the page.

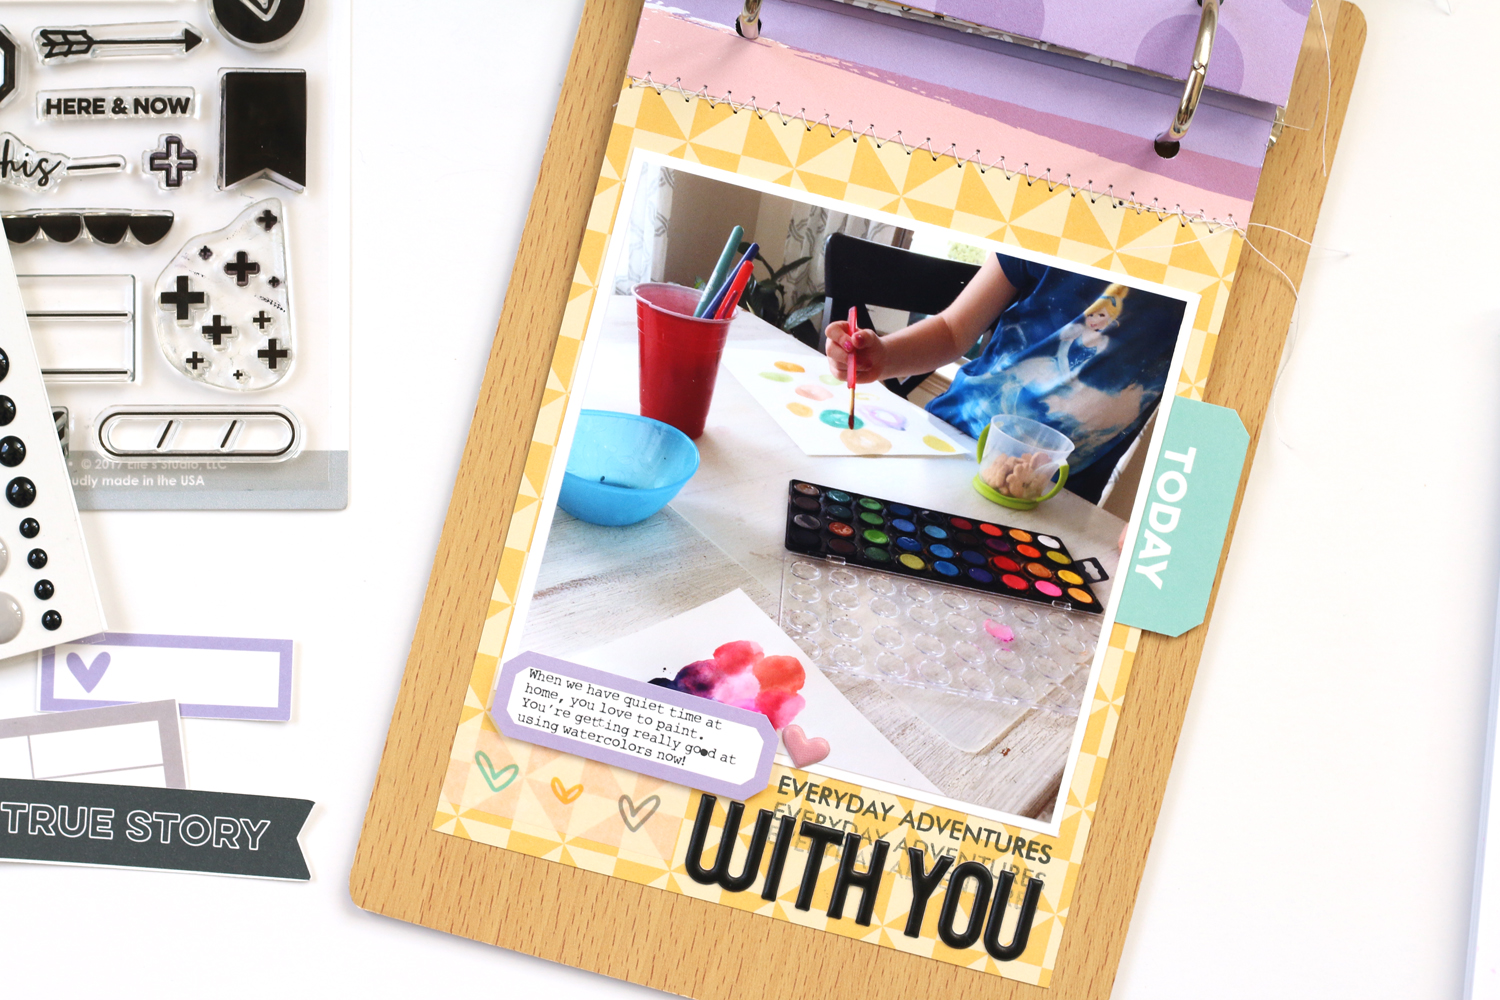
On my final page, I included a photo of us painting together, something we do often to pass the time at home.
I can't wait to add more pages into this album as the year goes on, so that I can remember my daughter's likes and dislikes, and funny personality at four! Thanks so much for stopping by today, and be sure to check out the Everyday Adventures Mini Album Class and Everyday Adventures Product Bundle—it really is wonderful and inspiring!