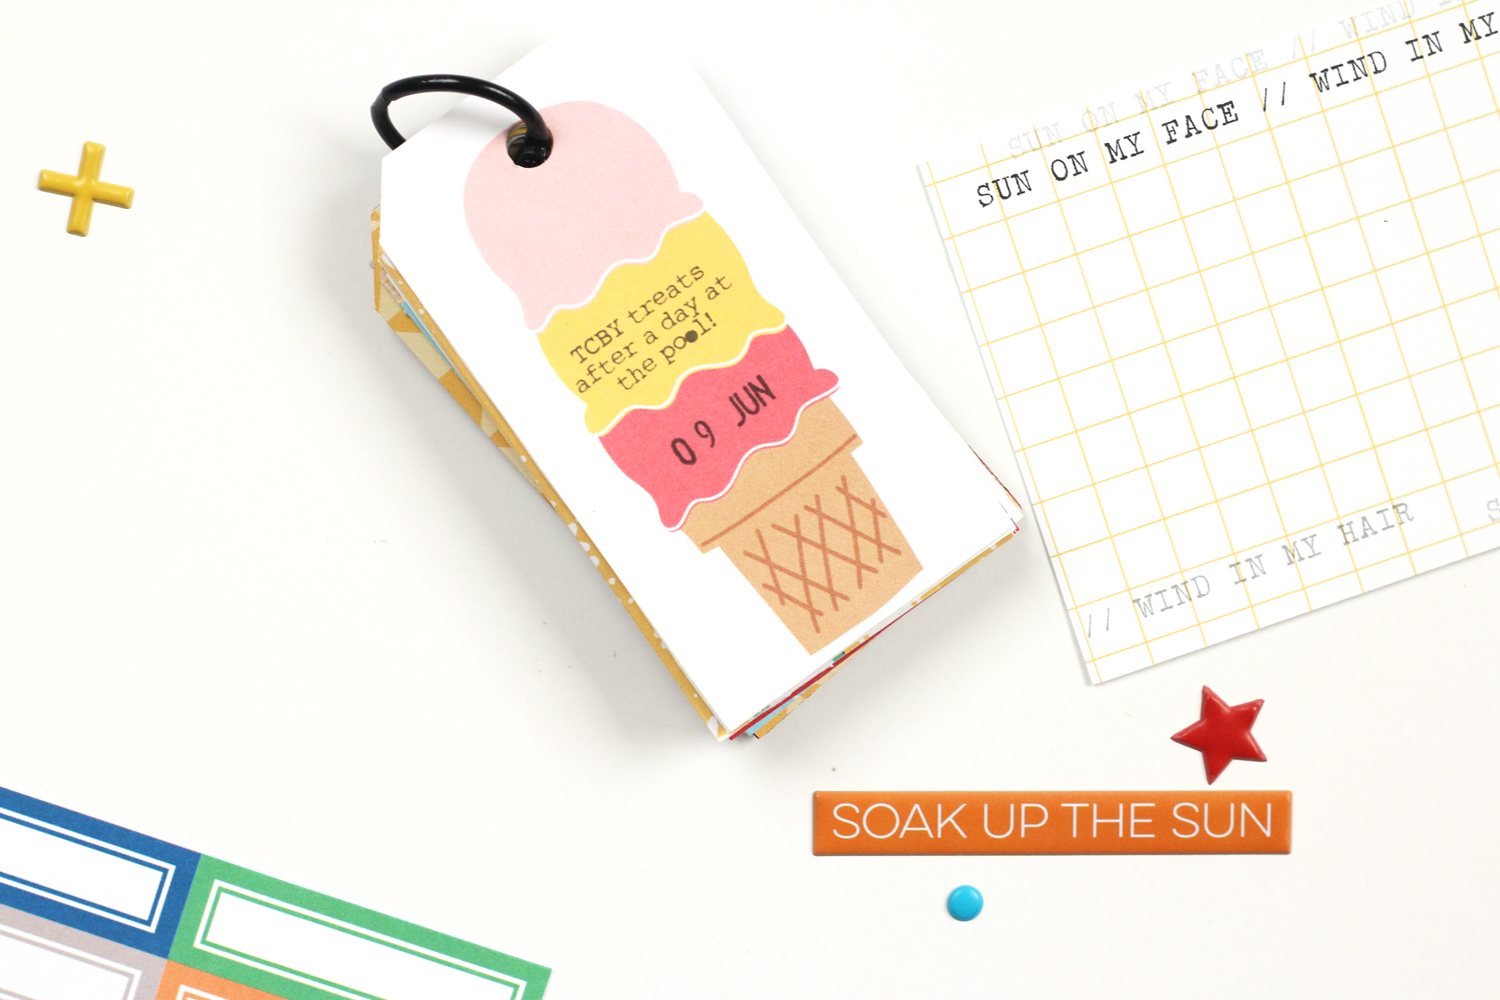
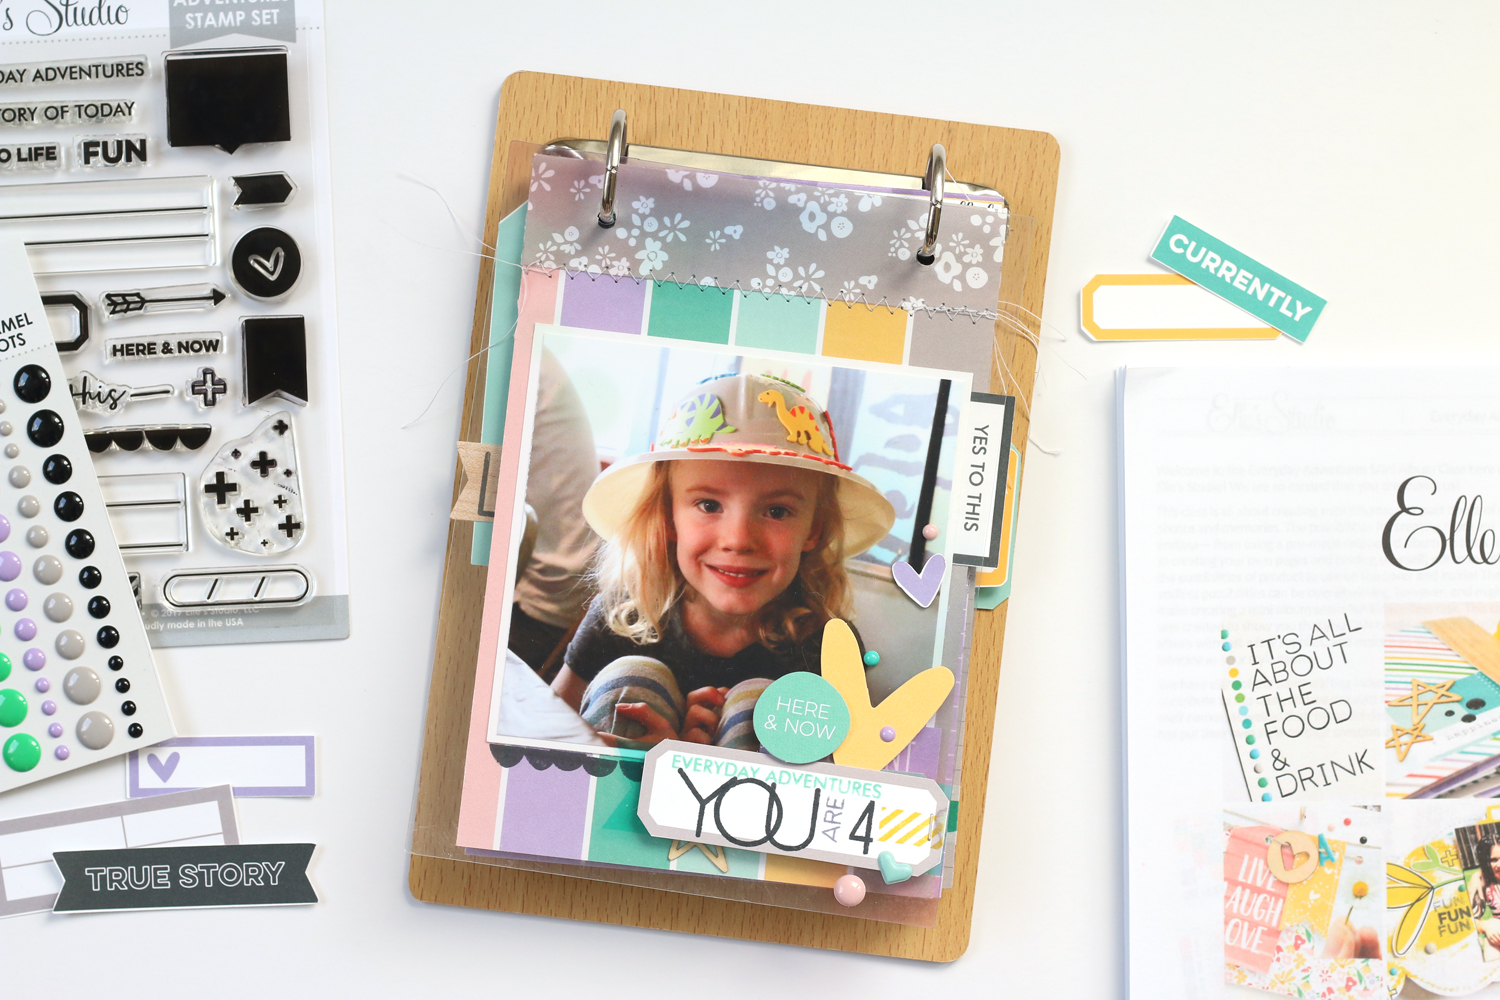
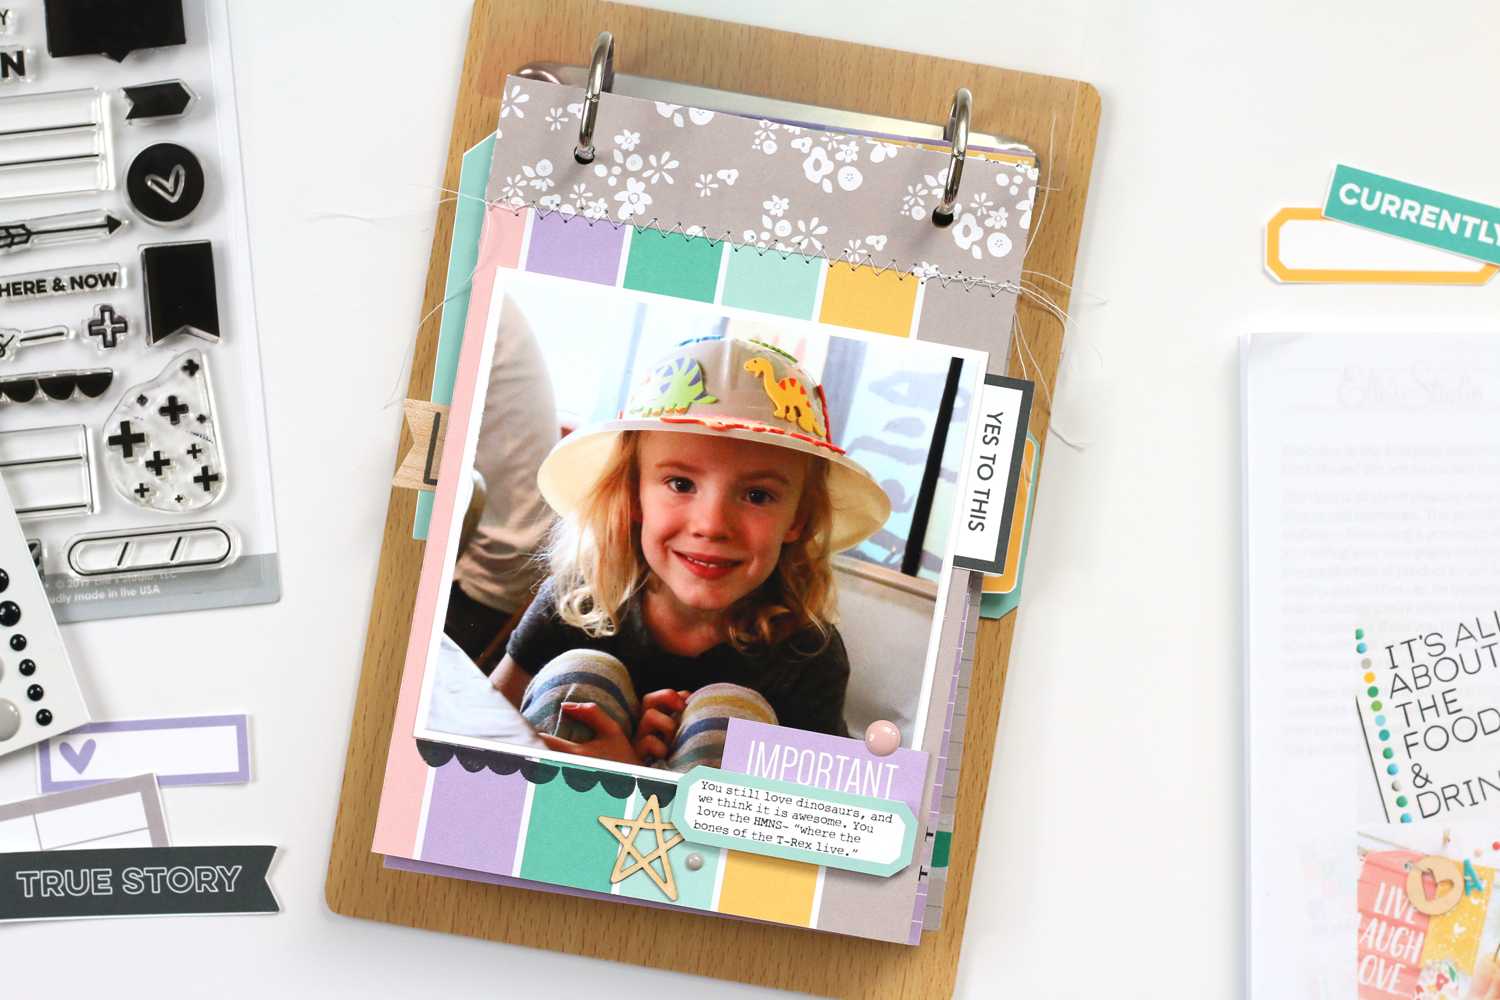
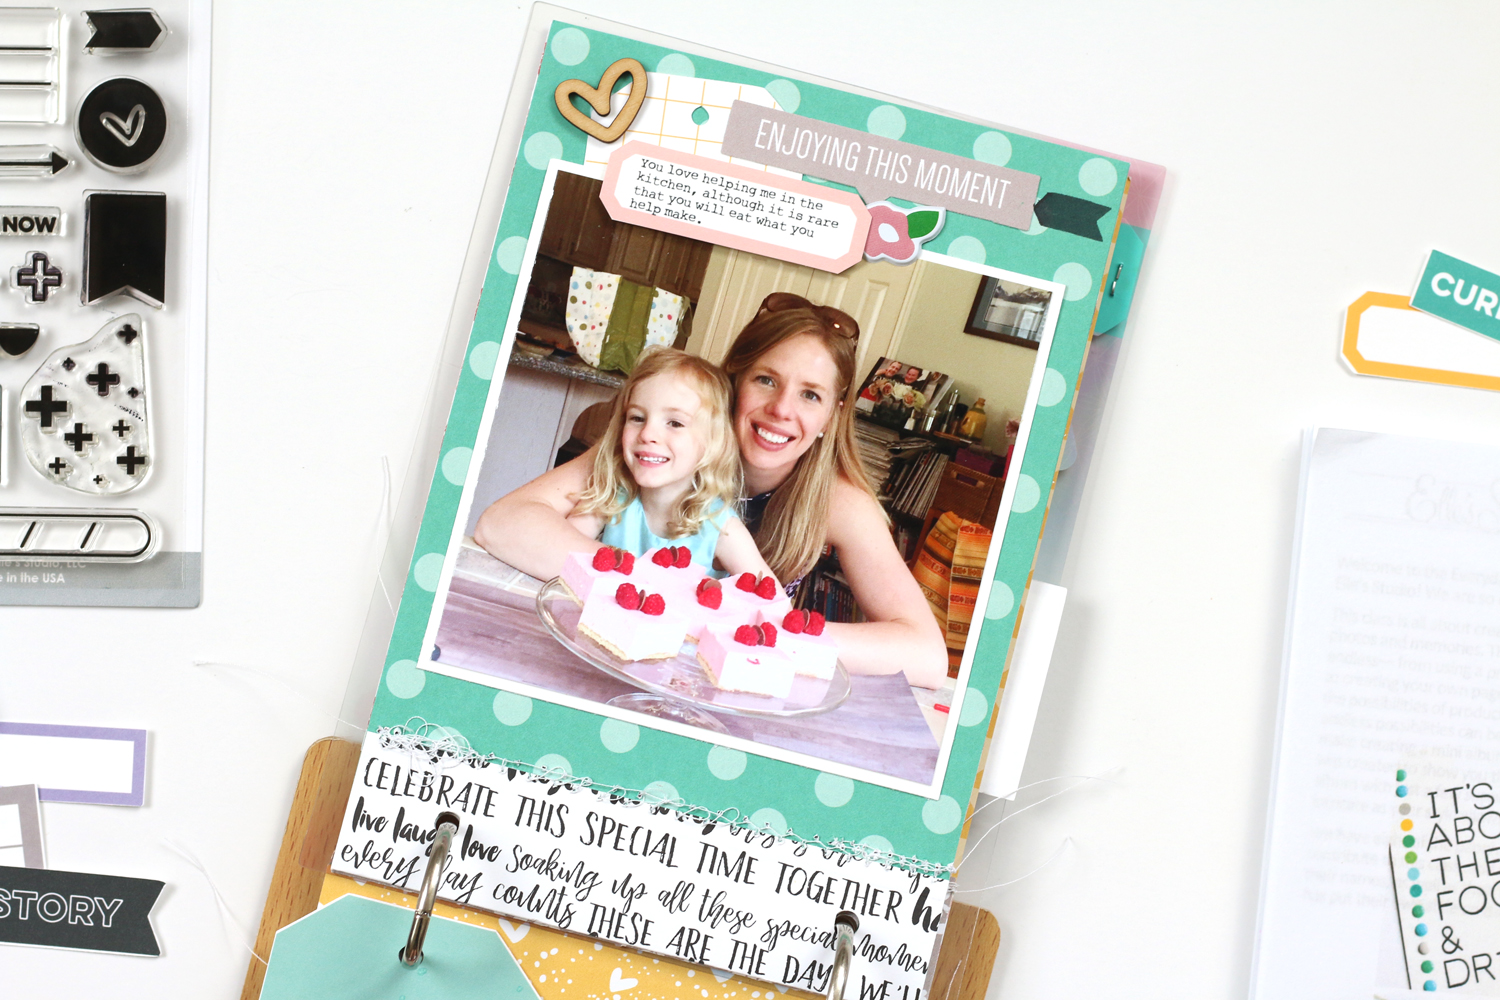
Gratitude Mini Album Update

EllesStudio_MeghannAndrew_SoVeryGratefulMini_01.jpg

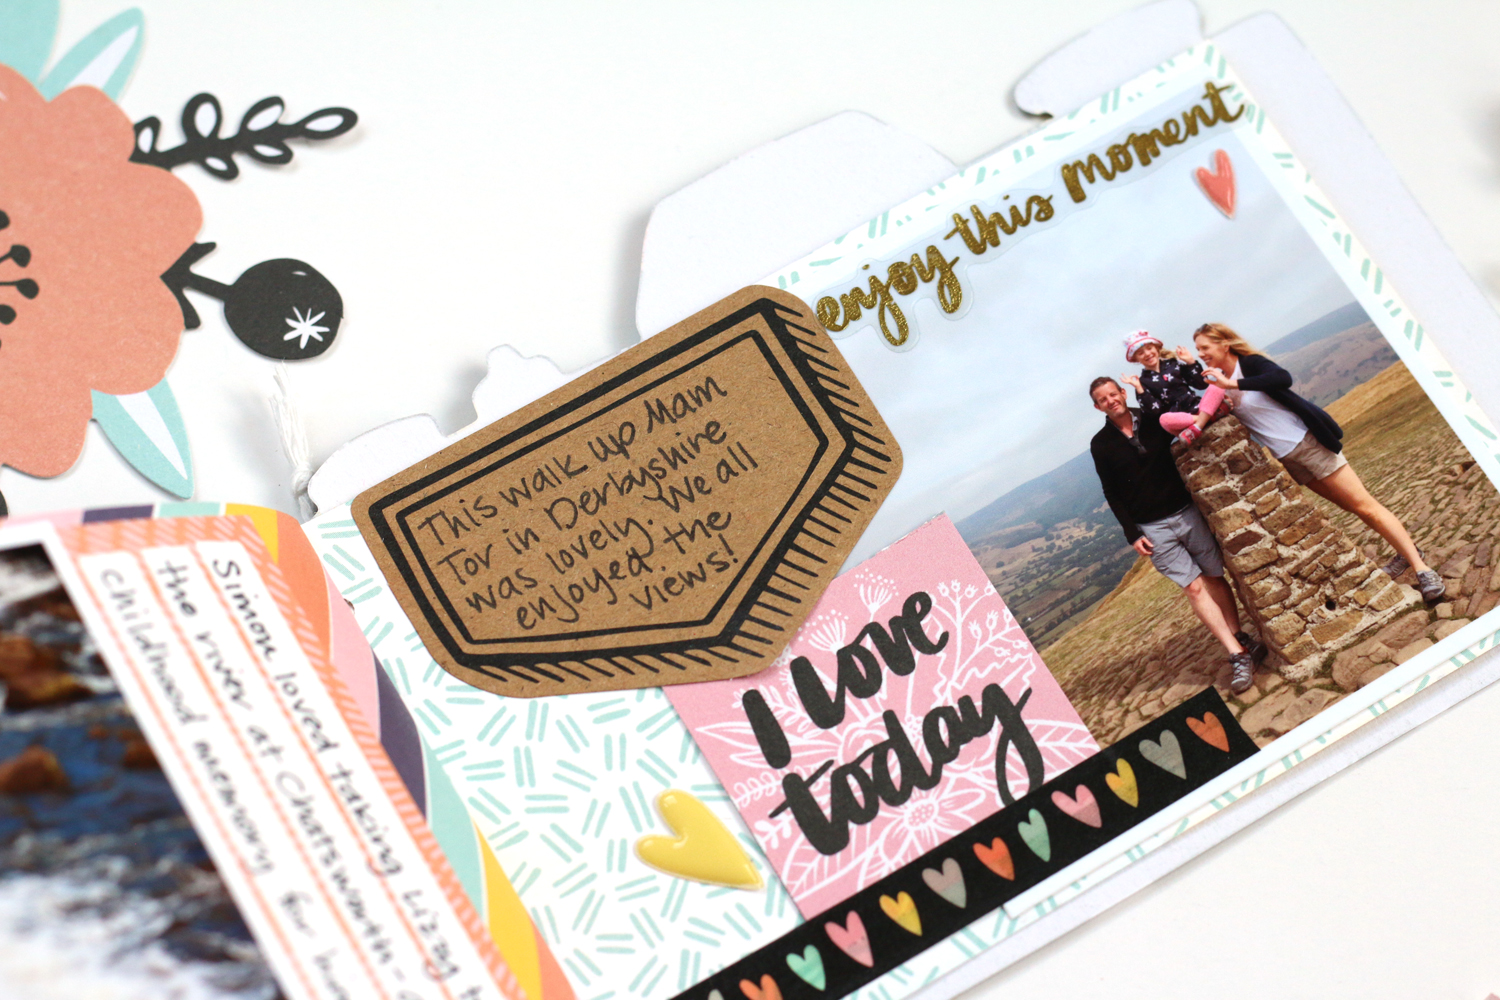
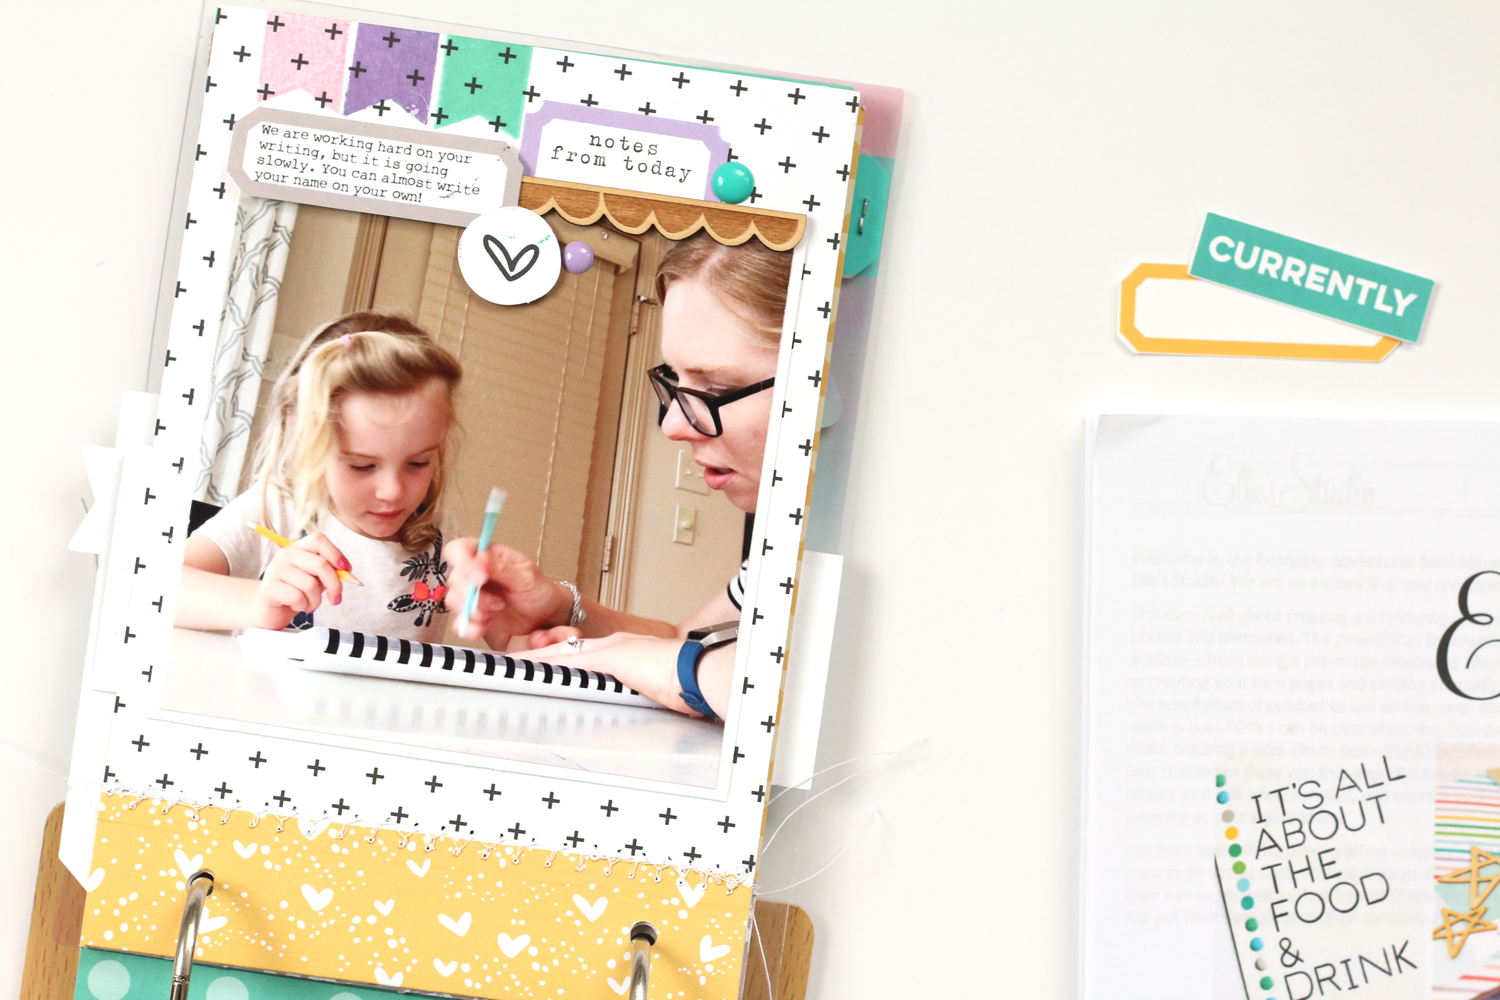
Hello there, friends! This month is one of reflection and gratitude, and earlier in the month I shared how I am recording that with a small tag book that I am creating using Elle’s Studio products, including the Grateful For tags. Today I am here to share an update to my mini, so that you can see my progress. Keeping it simple and sweet has kept me successful in documenting gratitude each day, and I am so enjoying flipping through the finished pages. Let’s take a look:

EllesStudio_MeghannAndrew_SoVeryGratefulMini_10.jpg

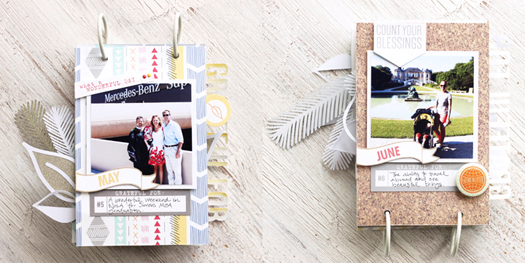
I am grateful for my body. We only get one, so we must be grateful for it, right? I kept this spread super simple, and I loved that I could add the “daily routine” sentiment using the Everyday Tabs stamp onto the navy November label.

EllesStudio_MeghannAndrew_SoVeryGratefulMini_12.jpg

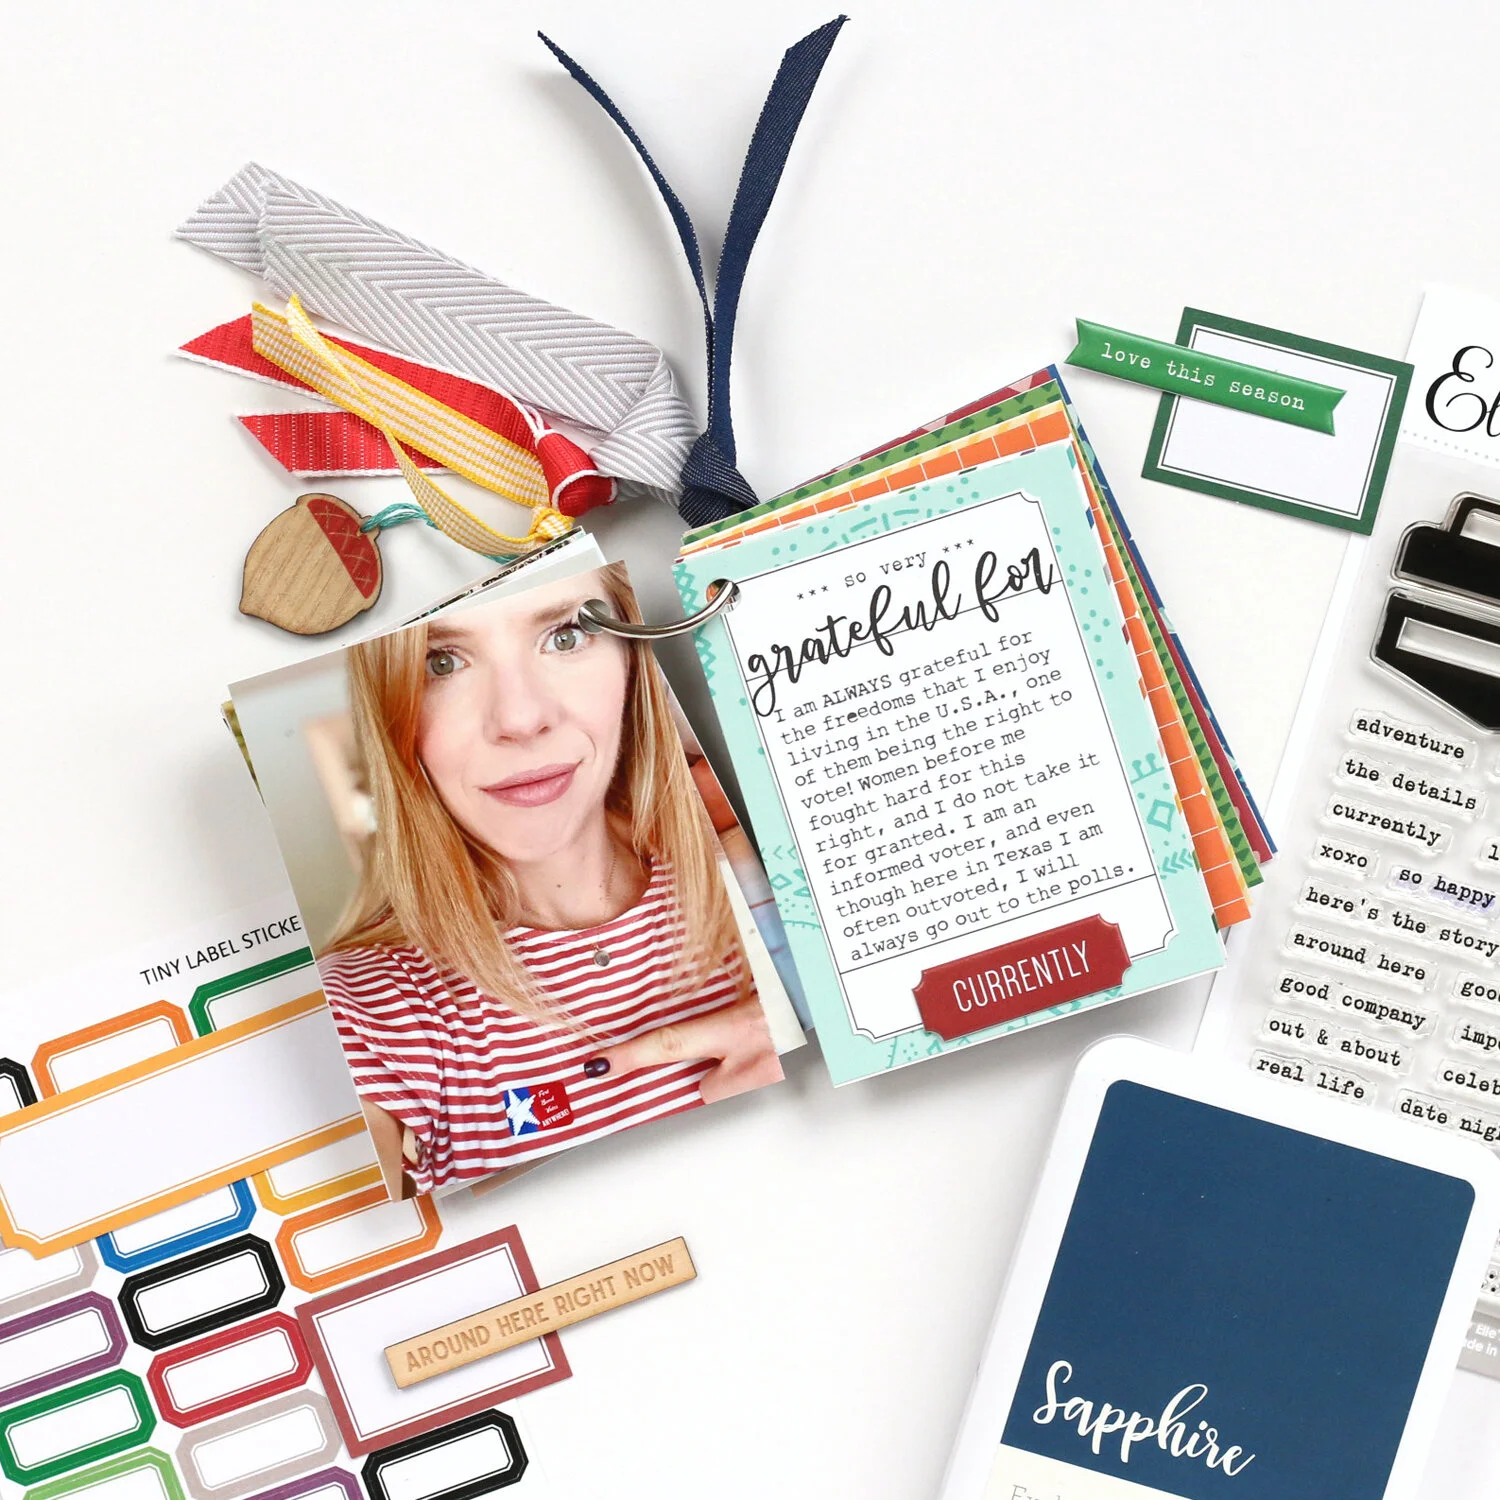
Voting is always something I am grateful for, and I recorded that with a selfie pointing to my “I voted” sticker. I love that the teal pattern from the Home Sweet Home paper stack plays beautifully against the reds in my photo.

EllesStudio_MeghannAndrew_SoVeryGratefulMini_13.jpg

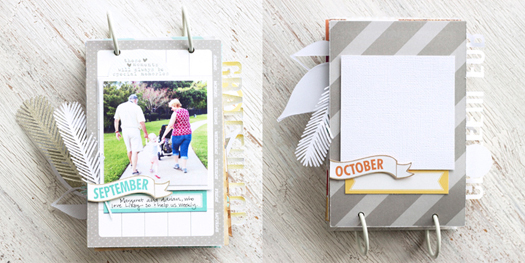
This was a first for me: I actually took a selfie of myself on the massage table before my masseuse walked into the room! The “life is complete” sentiment was perfect to add to my photo, and I also loved adding “rest and relax sentiment to the September label using the Everyday Tabs stamp.

EllesStudio_MeghannAndrew_SoVeryGratefulMini_15.jpg

Beautiful sunsets are always something to be grateful for, and I love that the “thankful” puffy sticker from the Thankful puffy stickers fit so perfectly on the black negative space of my photo.

EllesStudio_MeghannAndrew_SoVeryGratefulMini_18.jpg

Is anyone else in love with their Instant Pot? I had to record that here on this spread, and the new Let’s Eat stamp was perfect for adding the “yum” and “so good” sentiments to this simple design.

EllesStudio_MeghannAndrew_SoVeryGratefulMini_20.jpg

I worked really hard this week to compile my excess product to raise money for our local NICU, and I wanted to document my gratitude for being able to do this each year. I added the “love this view” phrase from the Everyday Tabs stamp directly to my photo and two simple puffy stickers.

EllesStudio_MeghannAndrew_SoVeryGratefulMini_21.jpg

I hit 4,000 followers on my Instagram feed last week, and I had to record this today. The “oh happy day” puffy sticker was perfect for this page.

EllesStudio_MeghannAndrew_SoVeryGratefulMini_23.jpg


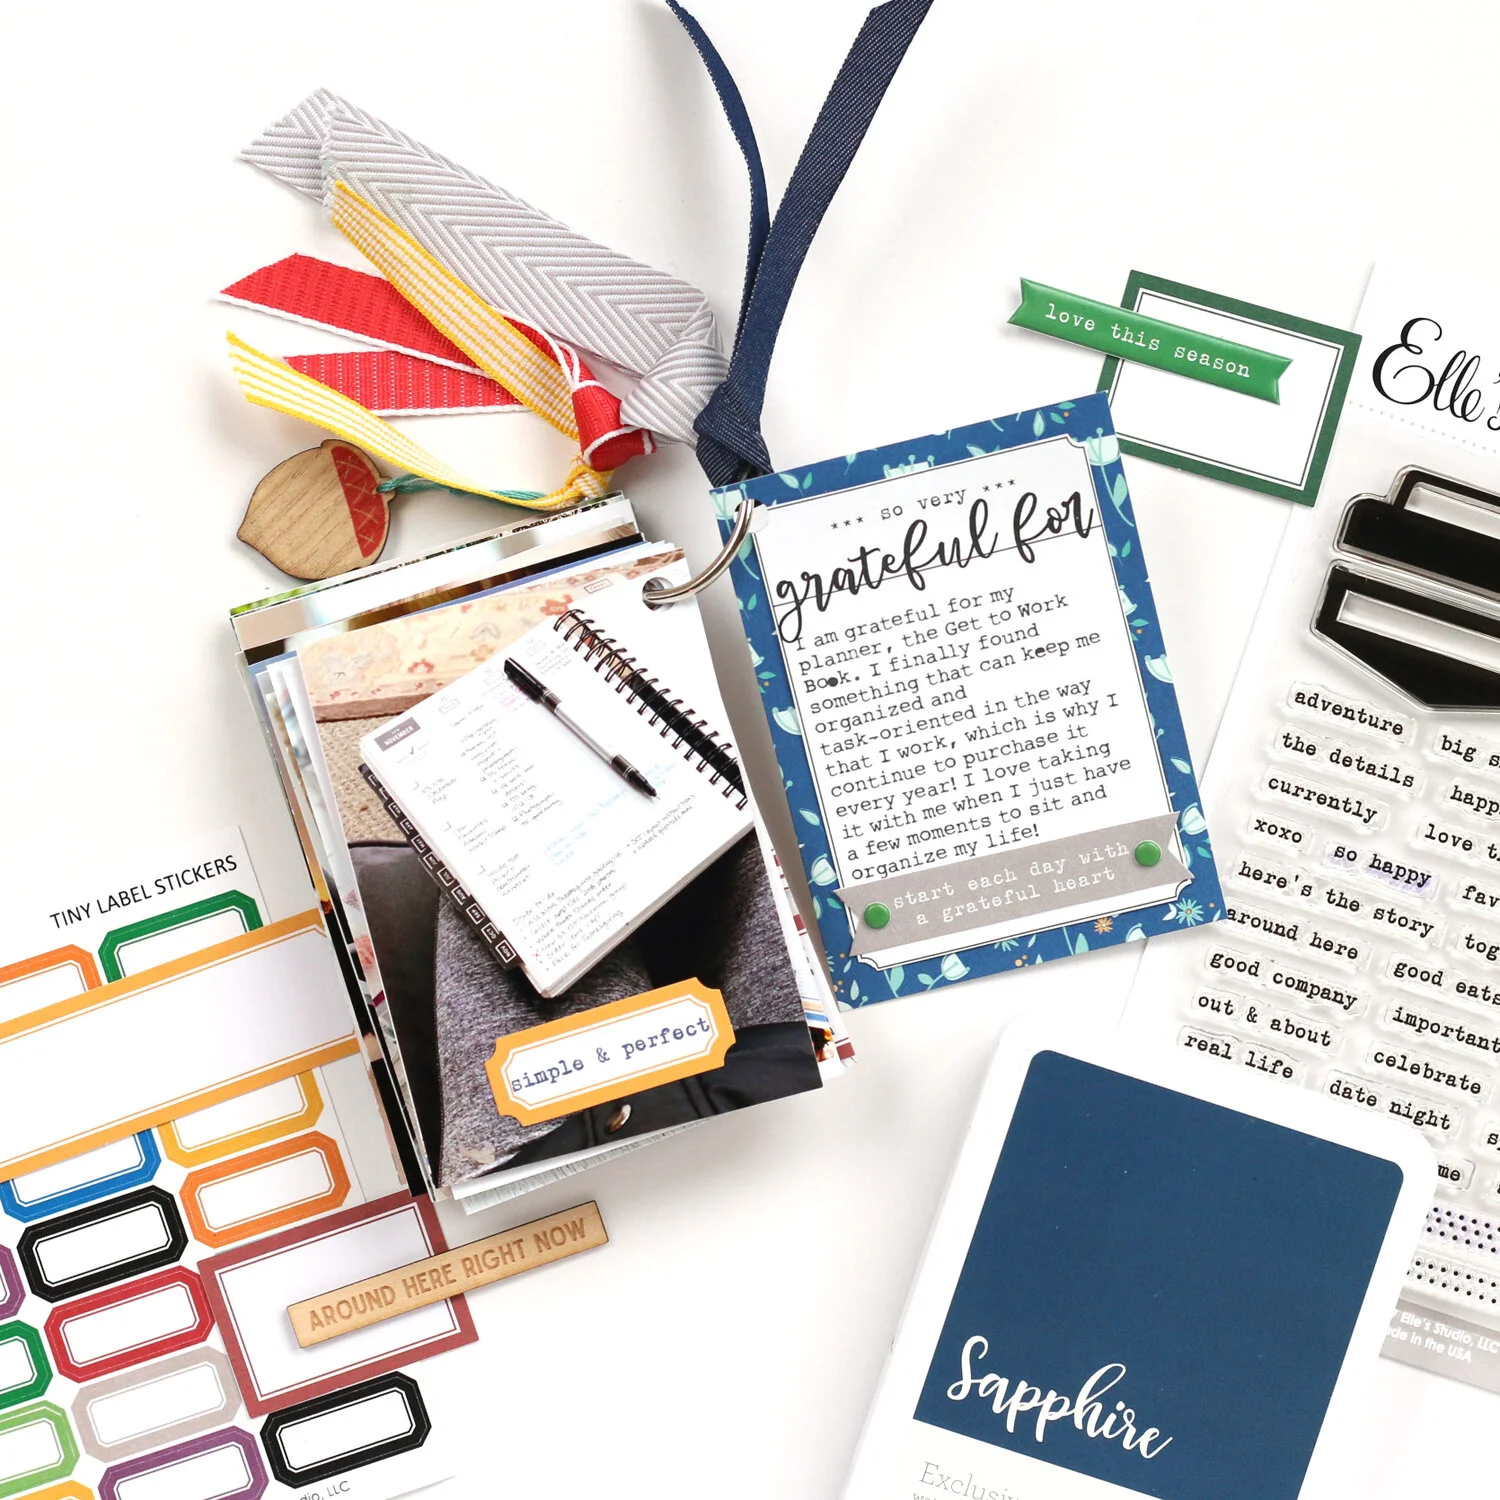
Lastly, I recorded how I am grateful for my planner. It keeps me organized, without any extra fuss!

I can't wait to finish off this project by the end of the month! Be sure to check out the products I used to create this mini album at the shoppable gallery below. How are you recording your gratitude?

American Crafts Shine On Summer Memories Mini Album

AmericanCrafts_MeghannAndrew_Summer2018Mini_03.jpg

Hello there! Recently I was assigned a task of documenting summer memories for the American Crafts blog. I looked around my new stash of the Shine On collection* and wondered, "Should I create a layout? a mini album?" Then, I came across this adorable card kit, perfect for sending handwritten greetings in the mail, and I came up with a wonderful idea.

The camera card in the Shine On collection card kit was the first thing I picked up, and realized that it would be the perfect mini album cover! I began by choosing four different Shine On patterned papers to create my pages, and cut them down to 10" x 3-1/4", so that they would fit inside the card. I then scored them in half and put them inside the camera. 

Next, I used my Crop-a-Dile to punch two holes at the top and bottom on the fold line of the card, punching through all of the layers of patterned paper, too. I grabbed some neutral baker's twine, threaded with an embroidery needle, and pulled it twice through my holes, finishing it off with a bow to create a binding edge. To make it extra special, I also tied a Sunshine and Good Times tassel to my baker's twine.

AmericanCrafts_MeghannAndrew_Summer2018Mini_02.jpg

Now my album was ready for photos! I printed photos at 3" x 3" from my top 10 or so best memories from our summer of 2018—the best of the best, like my Dad's birthday dinner, my brother's wedding, and our trip to the U.K. I adhered them straight onto the patterned paper using tape runner—I didn't want any extra bulk in this album. Around the photos, I used the journaling tags from the Shine On ephemera pack and cardstock stickers to add a few words about the memories on each photo.

AmericanCrafts_MeghannAndrew_Summer2018Mini_05.jpg

The More of This paper includes a full sheet of 3" x 3" journaling and filler cards, and was perfect for adding this "about us" journaling card to this page. My favorite ever date stamp, from Shimelle's first collection with AC added the date to each page, too.

AmericanCrafts_MeghannAndrew_Summer2018Mini_08.jpg

Thin stickers added some extra interest, like the little hearts from the Shine On sticker book and washi tape strips, placed directly on my photos—like I did here on top of the photo of my Lizzy jumping off of a boat into the river.

AmericanCrafts_MeghannAndrew_Summer2018Mini_10.jpg

On my final page, I had to add one of my favorite ever photos from the summer—and amazingly, I'm in it! It's a rare find around here! I finished off this page with the bitty and adorable Shine On puffy heart stickers!

To keep the album closed, I added the teal "love" Shine On binder clip to the right side, and my title— "Summer" from the Shine On sticker book and "2018" from the numbers on the kraft cardstock stickers, along with a couple of puffy heart stickers to finish it off!

AmericanCrafts_MeghannAndrew_Summer2018Mini_01.jpg

I LOVE, love the way this little mini album turned out. I'm sure that the other cards in the Shine On collection card kit , especially the flower and the "love" cards, would also made darling mini album covers. I hope you'll give this project a try! You can shop all of the product I used in my mini though the gallery below, which will take you to the Shine On product ON SALE at Scrapbook.com! Thanks so much for your support!

*Clicking these links will take you to the Scrapbook.com shop, and when you purchase, I receive a small percentage of the sale. It doesn't cost you any extra, so thanks so much for your support!

Summer Mini Tag Album

I am excited to share the inside of my summer mini tag album, created with the new products in the Elle's Studio shop*, with you today. (*All product links are affiliate links. You don't pay any extra, but I get a small percentage of your sale! Thanks for your continued support!)

When I saw the new Cork Tags, I immediately thought of a mini album, and knew I had to create one. So, I chose the "summer" tag, which meant that I set to work choosing photos from our summer to document. 

Supplies | July 2017 Kit, Cork Tags, Love This Life StampSummer Puffy Stickers, Everyday Circle StickersSummer Journaling TagsSummer Stamp, Dated Stamp, Live Laugh Love 6" x 6" Paper Stack, Live Laugh Love Small Blank Labels, July Labels

I began with the Cork Tag itself; backing it with a piece of patterned paper from the Live Laugh Love 6″ x 6″ Paper Stack and stamping "documented 2017" with the Dated Stamp. Just a few of the Summer Puffy Stickers finished off the front cover! 

After choosing my photos, I sized them to match the tag, at 1-7/8" high and 3-1/2" wide. Three images fit on each 4" x 6" photo print. After I trimmed them down, I simply lined it up with the cork cover as a template and snipped the edges and punched the holes.

On the inside of my cover, I added another piece of the yellow pattern from the Live Laugh Love 6″ x 6″ Paper Stack and stamped "around here" with the Love This Life Stamp, adding a die cut from the July 2017 Kit in the center of the words. My first photo, taken of my daughter swimming to my husband, only needed a few Summer Puffy Stickers to finish it off. 

Summer2017Mini_Page02_blog.jpg

On the back side of the swimming photo, I used the perfect water tag from the Summer Journaling Tags, adding my typed journaling and a date stamp. On the opposite page, I documented an afternoon play date, again adding only the Summer Puffy Stickers to the image.

The back side of the playdate photo was created with the red stripe tag from the July 2017 Kit and the circle heart from Love This Life Stamp, adhered with dimensional adhesive. On the opposite page, the Everyday Circle Stickers and Summer Puffy Stickers embellished a fun photo of my daughter relaxing by the pool.

I had a hard time cutting into the yellow ombre tag from the July 2017 Kit, but I used it on the backside the photo, adding typed journaling and a simple Summer Puffy Star. On the opposite page, I documented a trip to the Museum of Natural Science, adding another Summer Puffy Sticker that said, "around town."

Another tag from the July 2017 Kit that I had a hard time resisting the urge to hoard was the colorful polka dots one. I used it on the backside of the HMNS photo, and added a Live Laugh Love Small Blank Label for my journaling and a July Label for the date.

On the back side of the splash pad photo, I added a Live Laugh Love 6″ x 6″ Paper Stack yellow heart pattern, another Live Laugh Love Small Blank Label and a July Label, stamped with the "hello summer" sentiment from the Summer Stamp. On the opposite page, I used a black and white photo from a trip to TCBY, and added the "favorite snapshot" die-cut from the July 2017 Kit to cover a face in the left corner of the photo. I love the way that blue "pops" against the black and white photo.

To add my journaling to the back side of the image, I printed it directly onto the adorable ice cream tag from the Summer Journaling Tags, then stamped the date. 

I can't wait to add more summer memories to this little tag mini album, and it's easy to do since it's on attached with a binder ring. Thanks for stopping by today, and be sure to pick up these awesome new products to help you document your summer memories! 

An Everyday Adventures Class-Inspired Mini Album

It's rare lately that I get to join in with the contributors for a class that I'm coordinating at Elle's Studio, but the entire time I was editing the Everyday Adventures class*, I wanted to CREATE! The projects from the contributors, some of my favorite designers in the industry, were amazing, and I loved their tips and tricks that they shared to help you create an album you love! So, I decided to read through the class again and highlight some of my favorite parts to then inspire my own mini album, and I'm sharing that with you today!

(*Product links are affiliate links. You don't pay any extra, but I get a small percentage of your sale! Thanks for your continued support!) 

Supplies | Everyday Adventures Mini Album Class with Stamp & Digital Files, Everyday Adventures Product Bundle, Jonah Alphabet Stamp, Dated Stamp, The Story Of Stamp

I found this fun wooden board mini album in my stash and loved it, without realizing it was the same album that Barbara Picinich used for her album in the class! I kept the transparent cover page, using it to adhere a few embellishments and a tag with a stamped title, using the exclusive Everyday Adventures stampJonah Alphabet StampDated Stamp and The Story Of Stamp

My first page features the image that you see on the cover, since it was only separated with a transparent cover page. Patterned paper created the foundation for my album pages, just like Jennifer Gallacher’s mini album in the class. On the first page, I used the patterned stripe from the Live Laugh Love 6″ x 6″ Paper Stack found in the Everyday Adventures Product Bundle and as Mel Blackburn recommended in her class lesson, I only used these colors throughout the entire album to make it cohesive from page to page.

Since the pages were only 6″ long, and I wanted mine to be 7″ to fit with the album, I cut a coordinating pattern to the same width of the page, 4.75″ and 2″ high, scoring it in half and sewing the bottom edge to the top of my patterned paper, giving me elongated pages and a nice sturdy top to flip around the binding rings.

Lizzy absolutely loves dinosaurs, and when we went to a classmate's dinosaur party at the museum of natural science, I took this lovely photo of her in a dinosaur hat that she made. I knew it had to go on the cover.

On every page of my album, I featured a 4″ x 4″ photo, that I backed with white cardstock. I used the digital labels included with the class to add my journaling in Photoshop before printing and cutting, allowing me to add the maximum amount of words in a small space. I also made sure that I had stamped images on every page, using the Everyday Adventures stamp, and included just a few small embellishments.

This page is SO fun, and it was simple to add just a few Live Laugh Love collection enamel dots and plus stamps from the Everyday Adventures stamp directly to the photo of my daughter's "decorated" bath.

YouAre4Mini_Page02_Blog.jpg

I had to get the things we like to do together in the album, and since they're about me, I made sure to get my photo in there, too. 

One of Kristin Tweedale’s tips from the class was to create interest with banners or tags sticking out from the pages, so I added several labels to the page edges, as well as this tag with my daughter’s name stamped with my favorite, Jonah Alphabet Stamp, that was purely for embellishment!

No mini album about Lizzy would be complete without a cute giraffe in it. She LOVES them, and I love this photo and page!

In Laura Wonsik’s lesson, she recommends creating “clusters” of embellishment, which allows for the maximum amount of white space on each page. I loved compiling these clusters with the digital class die cuts, Live Laugh Love Bits and Pieces, Puffy Stickers, Wood Veneers, Washi Tape, Enamel Dots and the Everyday Adventures stamp.

Recently, when my talking with a friend, I told her that Lizzy still pronounces "animals" as "aMinals," and she said that I had better write that down, since it will likely change soon. Why didn't I think of that? It was fun to find a photo of her talking, and then use the speech bubble from the Everyday Adventures stamp to add in the baby words that she still says today. Ah... I'm not ready for that to change just yet.

There is nothing more "everyday" for us than a visit to the library, and I love that I can combine our "everyday adventures" with things that Lizzy loves right now in this album. The sentiments in the Everyday Adventures stamp were perfect for every page.

I'm not sure how I scored this photo, but it really has my heart... Lizzy loves her Red Shirt Bear, and seeing her carefully placing him on her bed is really part of her sweet little personality at the moment.

I had to document Lizzy's favorite lunch out at the moment—a pizza flatbread from Potbelly. I just love how those plus signs float from the bottom to the top of the page.

On my final page, I included a photo of us painting together, something we do often to pass the time at home. 

I can't wait to add more pages into this album as the year goes on, so that I can remember my daughter's likes and dislikes, and funny personality at four! Thanks so much for stopping by today, and be sure to check out the Everyday Adventures Mini Album Class and Everyday Adventures Product Bundle—it really is wonderful and inspiring!

Elle's Studio Grateful 2014 Mini Album

Every year, I work on at least one project about the things which I'm grateful for. From year to year, the list doesn't change much. I'm always grateful for my family, my friends, my home. This year, I decided to create something a bit different, and used Elle's Studio products to do so. 

This mini album includes 12 different pages to document the 12 months of 2014. For each month, I went through my photos to find a moment for which I was grateful. 


The outside cover is a was created with the Autumn wood veneer mini album covers, perfect for layering with paper, or for leaving plain. I chose to dress it up with the Sycamore Lane paper collection pack and October and Sycamore Lane digital cut files, which I lightly colored with watercolors.


The pages were created very quickly by keeping the same design layout on each page. A photo, month banner and journaling spot appear on each page, and I embellished with the amazing Elle's Studio cut files and Sycamore Lane Bits & Pieces. This is probably the fastest that a mini album has ever come together for me. 


January: A beautiful, thriving girl who beat all odds to be with us. 
February: An awesome brewery right down the road that we can visit with friends.


March: Family willing to travel to be with us.
April: The best birthday that I ever had, thanks to Simon.


May: A wonderful weekend in NOLA for Simon's MBA graduation.
June: The ability to travel abroad and see beautiful things.


July: My parents allowing us to join in on their vacation in Charleston. 
August: A date night, sans baby, to attend a wedding.


September: Margaret & Adrian, who love Lizzy so and help us weekly.


I've left the last three months blank so that I can quickly add my grateful photo and embellish to finish off the album. 

I know that this will be a cherished mini album to document all that I have to be grateful for in 2014. 

How are you documenting your gratitude this year?