Elle's Studio May 2018 Kit + Add-Ons: Girly Fun
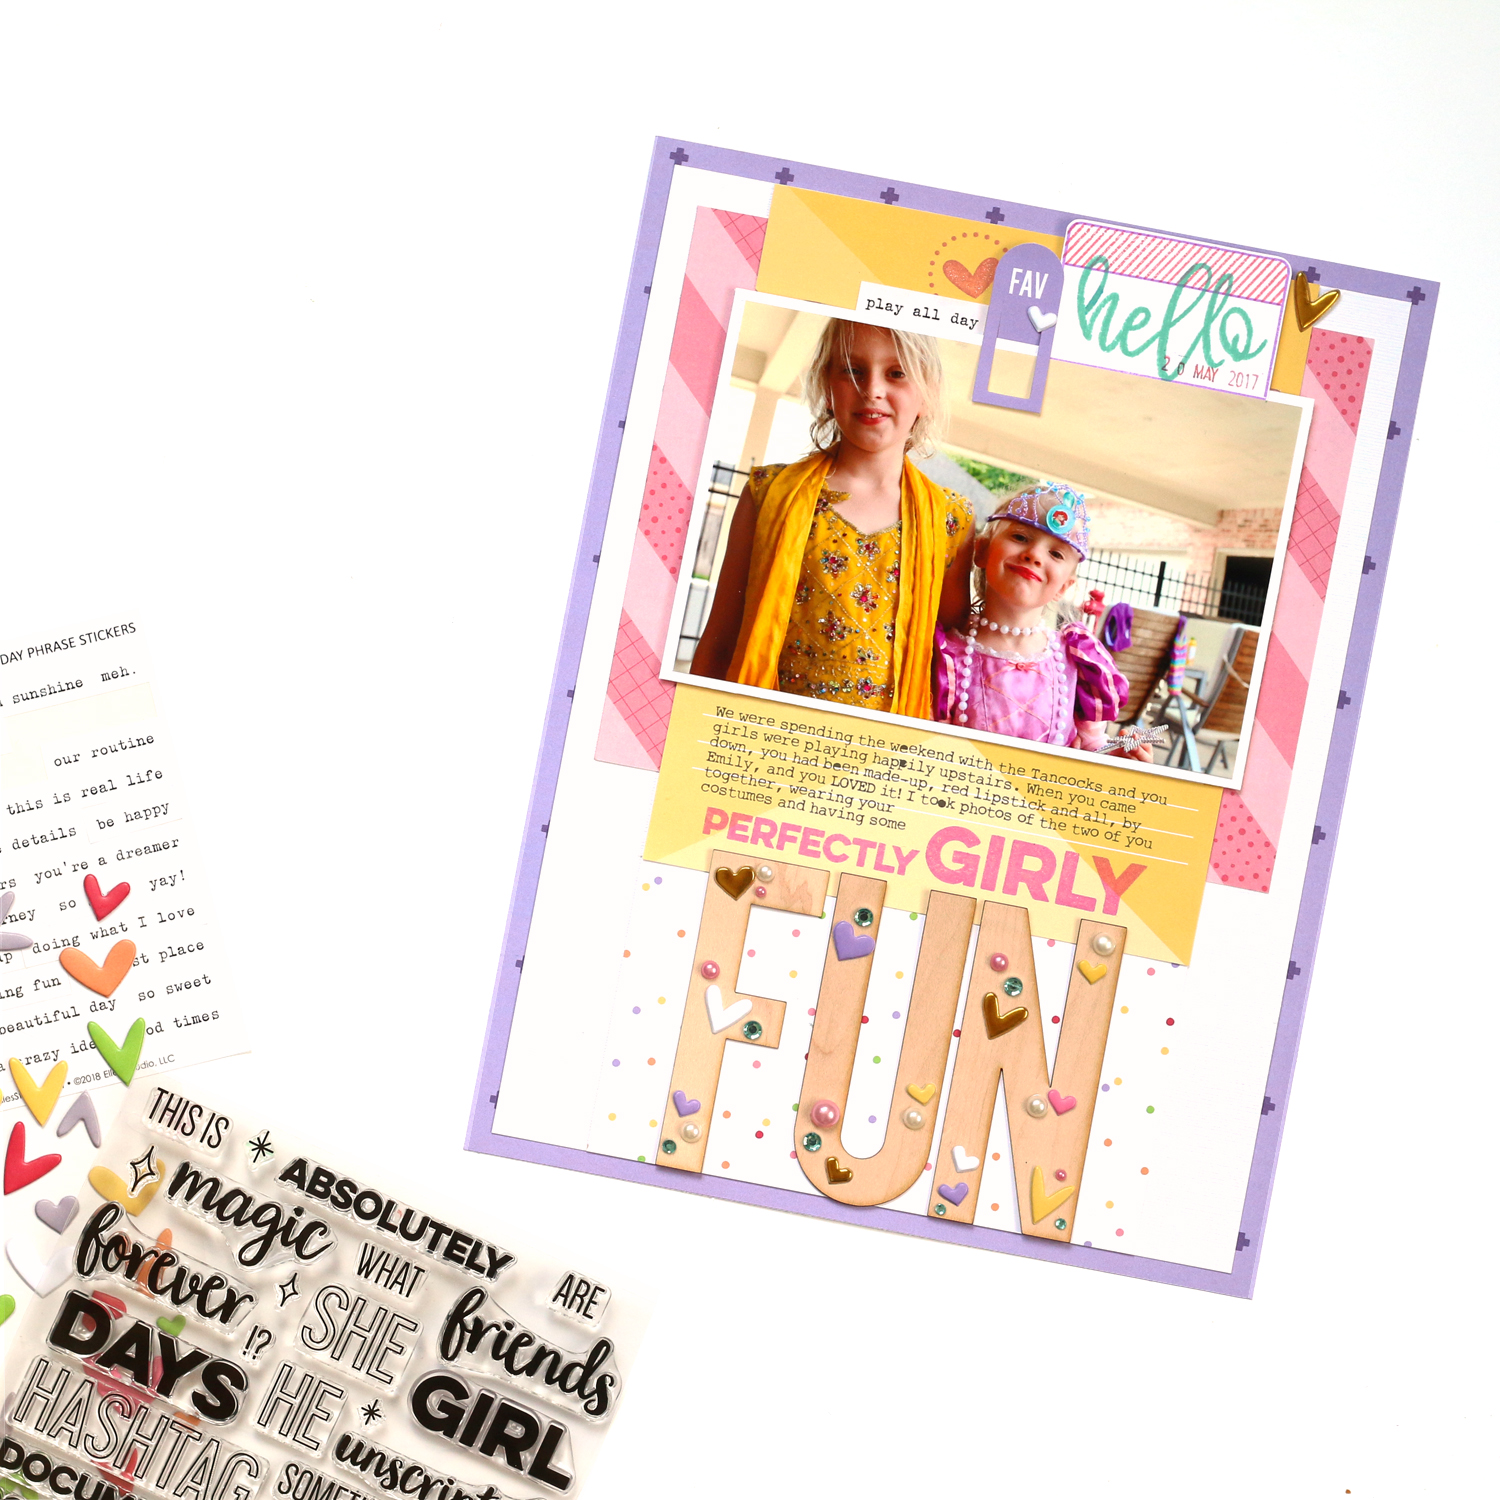
/Hi there! I'm having so much fun creating with the May 2018 kit and add-ons* from Elle's Studio, and I created a girly, blinged-up layout to prove it! When I saw the colors in the kit, I immediately thought of a photo of my daughter and oldest Goddaughter playing dress up, complete with makeup!
(*All product links contained in this post are affiliate links. You don't pay any extra, but I get a small percentage of your sale! Thanks for your continued support of my YouTube feed and this blog!)
This 8-1/2" x 11" layout came together easily, and my favorite part, the BIG title was created with a mix of the Title Builder Vol. 2 stamp and the wood veneer fun word!
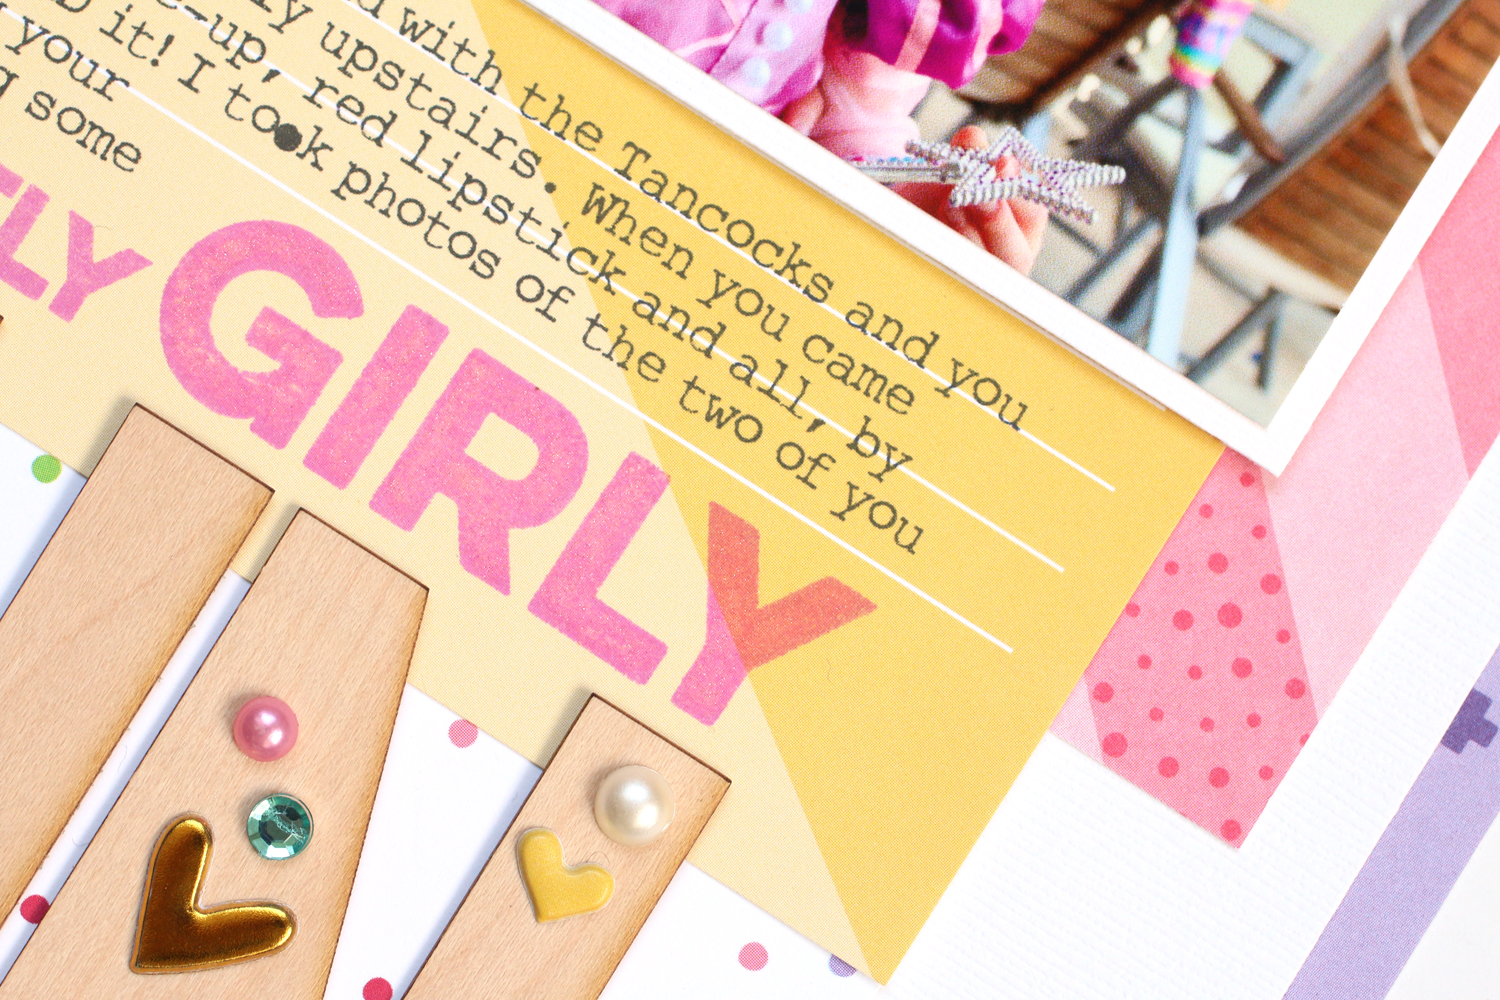
I used every single bit of the 4" x 6" yellow tag from the May 2018 kit—I cut the word "sunshine" from the middle to use on my "Good Times in the Sunshine" layout, then I used the bottom half, here, to house my typed journaling and title, then added the top part above my photo. That big space at the bottom here was just perfect for stamping "perfectly girly" using the Title Builder Vol. 2 stamp. Just a little trick: The word "girl" is included in the stamp, so I added the "y" from the word "boy" to use the word "girly" in my title! I love how versatile this stamp set it for creating fabulous titles!
Now, how about this wood veneer fun word? It's natural wood, so you can use it as-is, or paint it, spray it; or do what I did here and bling it up using gold shapes and dots puffy stickers, the new spring mix puffy heart stickers, and pearls and bling from your stash! I backed this word with another favorite 4" x 6" tag from the May kit—the tiny, colorful polka dot tag. It added the perfect amount of color behind the word.
With all of that bling at the bottom, I had to balance out the top of the layout a bit with some product! The amazing Hello stamp has a fun label that you can add your own phrases and dashed lines to, to create your own custom design! I stamped that and added the word "hello" to the center, then used the bottom corner to stamp my date. To the left of that, I added the purple "fav" die-cut clip from the May kit, then stamped the cute heart with dotted circle from the Hello stamp behind. Below that, I added the "play all day" sticker from the Play All Day phrase stickers (which are almost sold out, so grab them fast!) for another layer. I love this little grouping of product!
I hope you love this layout as much as I do, in all of its girly glory! Be sure to pick up the products I used to create it before they're gone from the shop forever, by clicking the gallery links below. Thanks for reading and happy weekend creating!


