Elle's Studio DT 2015 (EDITED with a giveaway winner!)
/
I am very excited to announce that after being on the contributing team for Elle's Studio for the past year, I've been chosen as a design team member for 2015, along with some amazingly talented ladies whom I've looked up to for quite some time!

There are also four wonderful blog contributors who will be bringing you posts on the Elle's Studio blog throughout the month.


Alissa Fast http://alissafast.typepad.com/
Daniela Dobson http://danieladobson.blogspot.com/
Danielle Flanders http://danielleflanders.blogspot.com/
Jennifer Chapin http://jenchapin.blogspot.com/
Jessy Christopher http://www.jcchris.com/
Jill Sprott http://wordplaywordwork.blogspot.com/
Kay Rogers http://rogerskk.typepad.com/
Lisa Dickinson http://lisadickinson.typepad.com/
Meghann Andrew http://www.meghannandrew.com/
Melissa Mann http://melissamann.typepad.com/
Michelle Wedertz http://michellewedertz.blogspot.com/
Pam Llaguno http://organizedbypam.com/blog/
Rachel Izakowicz http://seizethestamp.com/blog/
Stephanie Buice http://mybitsofsunshine.blogspot.com/
Toni From http://tonifromdesigns.blogspot.com/
There are also four wonderful blog contributors who will be bringing you posts on the Elle's Studio blog throughout the month.
Jenni Hufford http://huffordhouse.blogspot.com/
Waleska
Megan Klauer http://meganklauerdesign.blogspot.com/
Paige Evans http://www.paigeandchris.com/
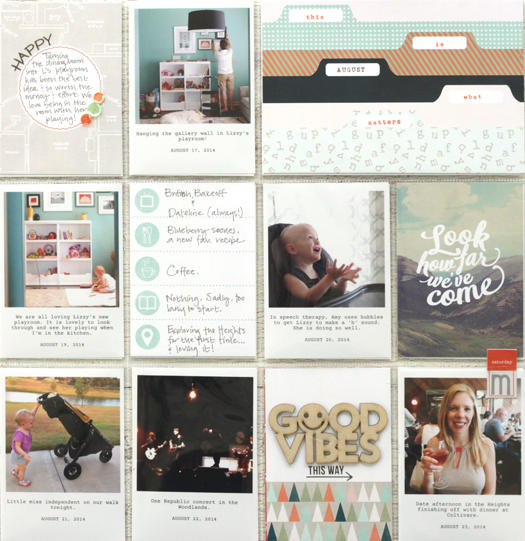
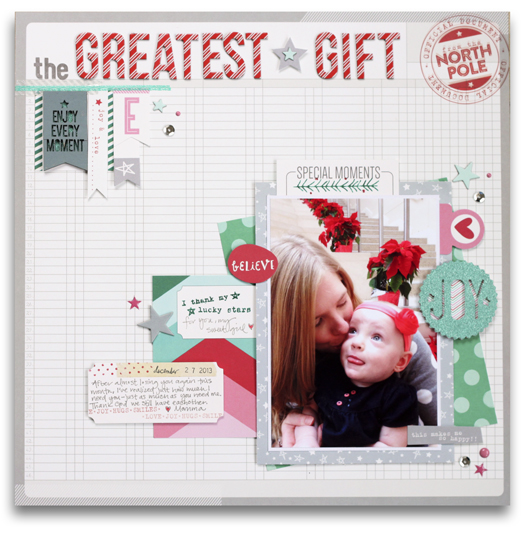
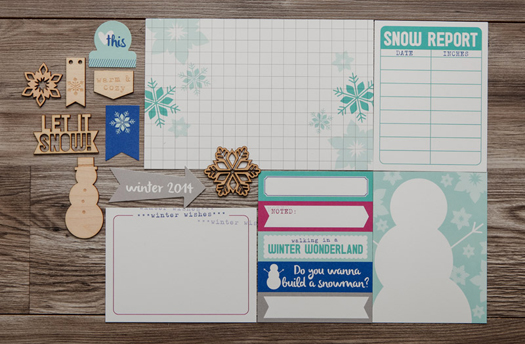
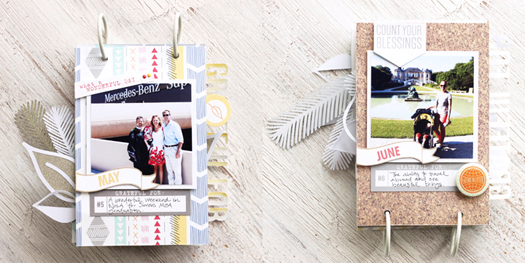
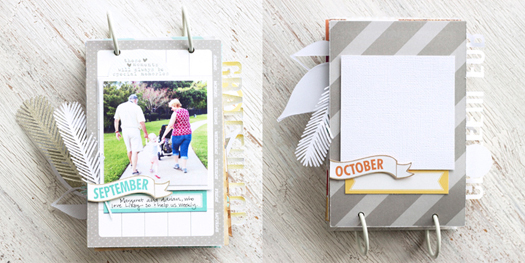
I've already finished creating my gallery projects for the month of January featuring the beautiful exclusive January kit. Here's a sneak from my gallery that will go live at 10am PST on the 10th of January at the Elle's Studio shop. I can't wait to share this with you!
For some fun today, Elle has generously allowed me to choose my four favorite ES products to give away to one of the commenters on this post!
If you win, you will receive:
Please comment on this post for a chance to win and go to the other members' blogs as well for a chance to win everyone's favorites! Winners will be chosen on January 7th and will be posted on each individual blog.
Thanks for stopping by!
AND THE WINNER IS:
Please email me (using the button on my sidebar) with your name & shipping address so that we can get your Elle's Studio goodies out to you!