Close to My Heart All Around Creativity Create Wreath
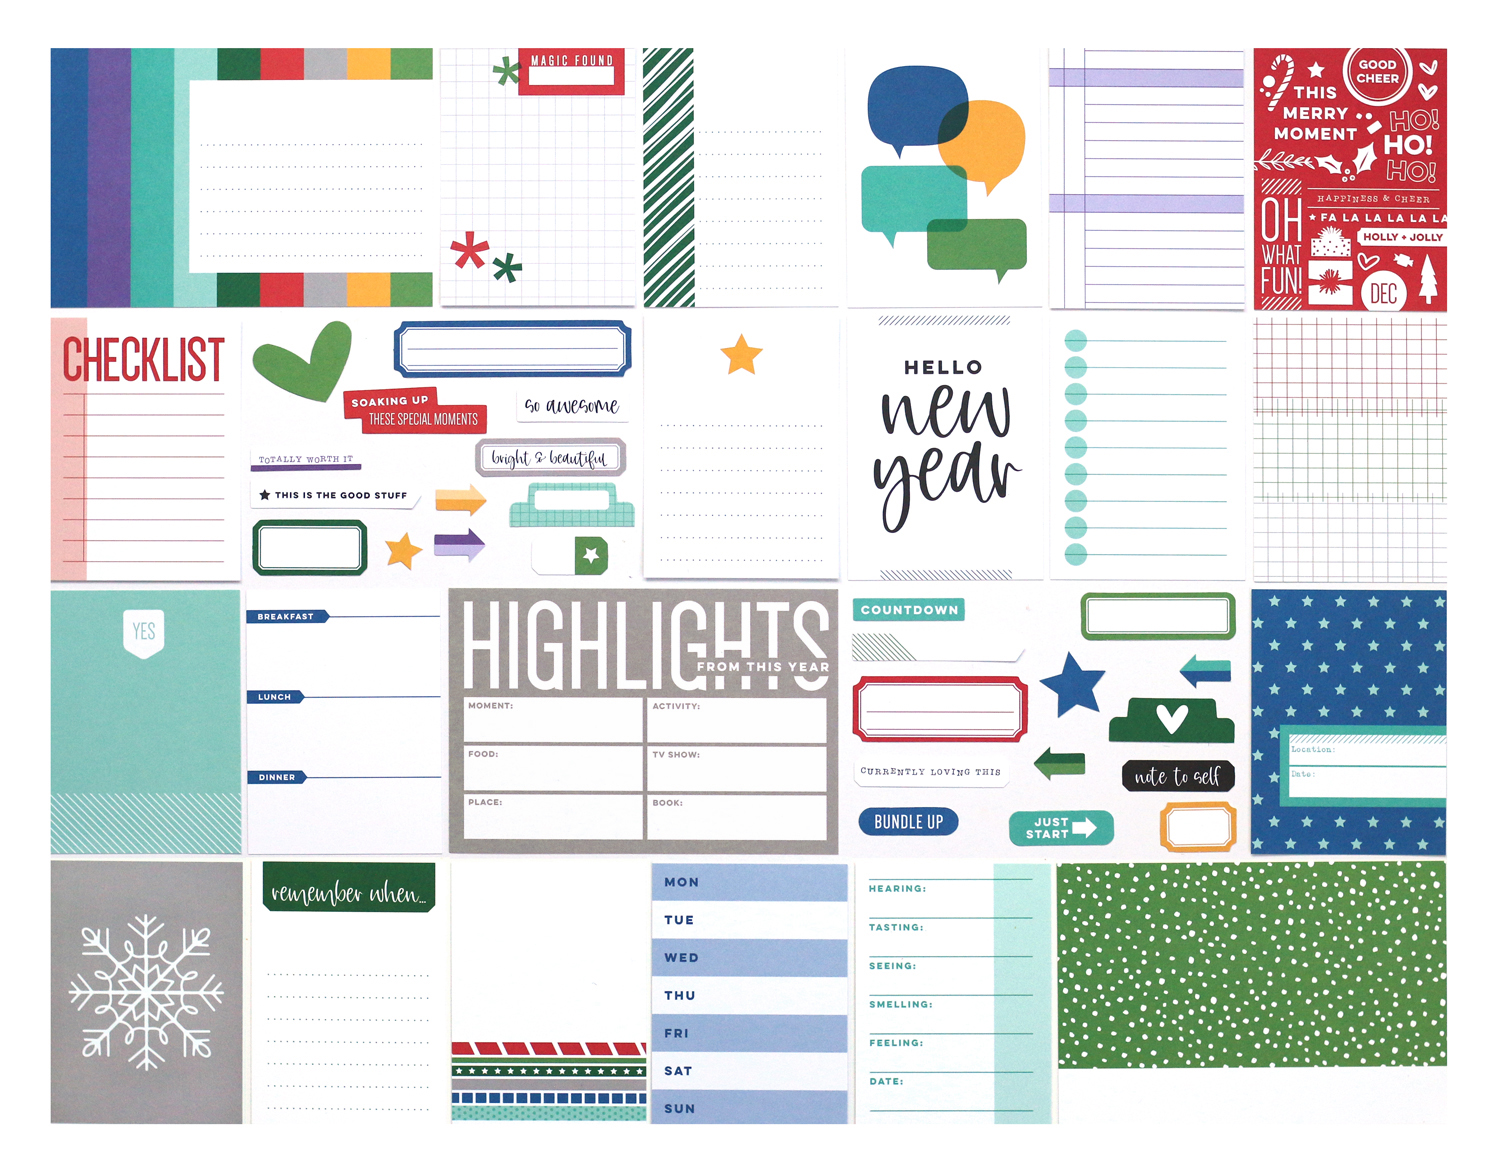
Hello, friends! It isn’t often that I find the time to create a decor piece for my home. Because I create and do a lot of behind-the-scenes work for a living, I typically run out of time when it comes to the fun stuff that is created just for me! Recently, my friends at Close to My Heart sent me a new box of goodies, which included their two latest collections, along with a new and fun kit, the All Around Creativity Wreath Kit!

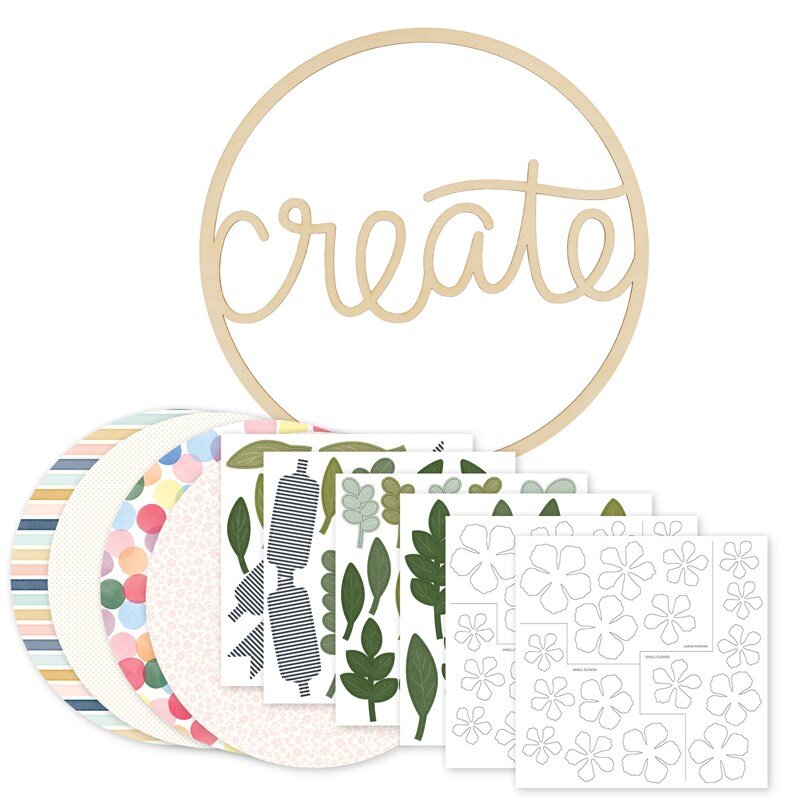
I was pretty darn excited, since my friends at CTMH are notorious for making paper crafting a simple process. This weekend, I was determined to carve out some time to create my wreath… and it only took 30 minutes! I filmed a process video while creating, so that you can see just how simple and easy it was to create and get up on my wall in one crafty session! Grab a cuppa and take a look:

I am so excited that I have another pop of contrast and color on the wall where I work on a daily basis, and I am so glad that I took the time to create my wreath. I know that you’ll love this project as much as I did, but the All Around Creativity Wreath Kit is only available for a limited period of time! Be sure to head to the Close to My Heart shop to grab yours while supplies last! The only question is, which wreath will you choose?

Elle's Studio December 2018 Kit + Add-ons Revealed!

It’s the final month of the year, and Elle’s Studio is going out on a high note with the new December kit and add-ons*! Take a look at my unboxing video to see all of the new product:

The December 2018 kit is perfect for documenting your holiday memories, time playing in the snow, and so much more! Just take a look at the beautiful colors included this month:

From stamps, cork, puffy stickers and beautiful gold acrylic, there is something for everyone in the add-ons this month!

EllesStudio_December2018_Add-Ons.jpg

Even though we don’t have much snow here in Texas, the temperatures are dropping and I found the perfect way to use the snowy-themed product released this month:

EllesStudio_MeghannAndrew_Time-For-Cocoa-Gifts_01.jpg

These embellished jars of homemade cocoa powder are the perfect gift for our neighbors, and they could not have been easier to create! Vinyl and the December 2018 digital cut file embellished my jars with pretty snowflakes, and the Snow Day journaling tags held the instructions for mixing the cocoa. The Wonder and Joy and Let it Snow stamps added cute phrases like “time for cocoa” and “yum” to small tags from the December 2018 kit. The final touches were added with wood veneer snowflakes punched and added with baker’s twine, and small hearts and twinkles from the Winter puffy stickers. Want to see the steps I used to create these cute gifts? Head to my Instagram feed where I’m sharing the step-by-step process!

EllesStudio_MeghannAndrew_Time-For-Cocoa-Gifts_08.jpg

Thanks so much for stopping by today! I can’t wait to see what you create with these new products! Shop the goodies that I used to create my jars today, and re-create them for your neighbors, via the gallery link below:

*Clicking these links will take you to the Elle's Studio shop, and when you purchase, I receive a small percentage of the sale. It doesn't cost you any extra, so thanks so much for your support!

Tutorial Tuesday: Easter Egg Tree

Last year, while shopping in a high-end home store in my area, I found the cutest Easter egg trees, standing about 8" tall, planted in little terra cotta pots, with a big price tag of about $40 each. And I thought: 

I can totally make that.

And I totally did. 

So today, I'd like to share how you can make them too, at a price of way less than $40.

Supplies.jpg

First, gather your supplies. For each tree, you will need: 

  • Foam cone form: I used one 12" high, and one 9" high form, as I like the difference in height on my mantel, but they both fit snugly into the same pot.
  • 22 gauge wire & wire cutters: Look in the floral department of your craft store for this.
  • 3 different types of burlap ribbon: 4" wide wired burlap, 2-1/2" wide colored burlap, and 1" wide metallic burlap & scissors to cut them. I purchased all of my ribbon at Michaels. (Watch for ribbon to go on sale at this time of year.)
  • Decorative foam eggs: I used about 20 eggs for the 12" cone tree, in two different sizes. The tallest egg was 2-1/4" and the smaller egg was 1-1/2". (This is your most expensive supply for this project. I picked mine up at Michaels in the Easter sales last year, which have already begun. Also look at JoAnn Crafts and World Market for different colored eggs.)
  • 2 decorative pots: You will want to be sure that the bottom of your foam cone fits snugly at the top of the pot. (I bought one of these at a time, using a coupon at Michaels.)
  • Hot glue gun and hot glue.

Now, cut your ribbon according to the photo above. To get a good jump-start on your tree, cut about a dozen pieces of each ribbon, then you can cut more from there so that you do not waste any of your ribbon.

Cut the wire into 2-1/2" pieces, enough for the amount of ribbon you've already cut. Go ahead and bend the piece in half, like hairpins. Picking up a piece of ribbon, hold it in the center with your thumb and pointer finger, pinching the sides into the center to create a bow. 

While holding the ribbon bow tightly between your fingers in one hand, carefully slide the wire hairpin over the front of the bow with your other hand and squeeze to keep the bow in place, twisting the wire tightly at the back side, then twisting the length of the wire over itself to create one wire leg to stick into your foam cone.

Once you've created several burlap bows, you can begin pushing the wire end into your form, making a triangular shape with three different bows, so that you leave a space in the middle for a decorative egg. After a while, this process can start to hurt your fingertips, so gloves can be handy for this part. Because of this, I can only complete one tree per day. I need to let my fingers rest afterward! 

Use one of the bows from the first triangle to create another triangle, and then keep going until the entire cone is covered, from top to bottom.

Now, add a big daub of hot glue in the space between your ribbon bows, being sure not to attach your bow with the glue! Be aware of the colors that you are using, so that you don't put too much of the same colored egg in one space. 

Once you have all of your eggs glued on, fill in any gaps where you may be able to see the styrofoam with additional ribbon bows. In this photo, you can see the styrofoam right underneath the yellow egg, so I definitely filled that piece in. The widest burlap ribbon takes up the most space, so I typically used it to fill in any gaps.

Now that your tree is finished, add a large amount of hot glue to the inside edge of the decorative pot you've chosen. Quickly set the base of the cone in your pot to adhere the tree to the pot, being sure not to trap any of your ribbon bow ends between the foam and the pot. I had a hard time doing this fast enough before my glue began to harden, so I ended up squirting daubs of glue to secure the tree once I had it in place on the pot.

Lastly, fluff your ribbon. You can bend the ends of your wired ribbon to give it a pretty bow appearance. Leave your tree as is, or add a few wired floral butterflies flying out of the tree, to add extra springy-ness! 

This really is my favorite home decor DIY project to date. These egg trees look like they cost a fortune, and were picked up at an expensive store! 

Thanks for stopping by, and please share your egg trees with me if you make one!