
What To Do With All Of That Washi?
/Happy Friday, friends! I’m always trying to think of other ways to use my growing stash of washi tape, and in a creative way. Today I have a new layout to share with you that makes the most of your favorite washi rolls, to create a frame for your page!

Supplies* | Saturday Afternoon collection: Afternoon Clips paper, Afternoon Roses paper, cardstock stickers, foam and cardstock phrase stickers, wood stickers, layered stickers, washi tape, rotary date stamp; It’s All Good collection: washi tape
This layout is not for the pattern faint-at-heart! I took advantage of all of these glorious colors and patterns to document a lovely day at an English garden, and a favorite photo of my girl and I. I was so excited to see that the washi tapes from the Saturday Afternoon and It’s All Good collections from American Crafts worked so well together to create a frame for my page.

I cut my Afternoon Roses background paper to 8-1/2” x 11”, then took a piece of Coconut Swirl cardstock, and cut it to the same size. Using my paper trimmer, I slowly cut the center of the white cardstock page out to create a frame with 1-1/2” on all sides. (Tip: Don’t worry if you accidentally cut too far into your frame—the washi tape will cover up any cutting imperfections!) Once my frame was cut, I started adding washi tape at the square corners, using the same Saturday Afternoon washi tape pink floral at each corner. I then added pieces of washi horizontally on the left side of the frame, filling up the entire side before I peeled the frame off of my desktop and folded the washi edges around the back side of the frame.

I moved over to the right side of the frame, adding washi tape in the same pattern that I used on the left side. Then I moved to the top and bottom, adding the washi tape vertically. (Tip: if you need to trim a piece of washi, put it in place on the frame, overlapping the other washi tape piece to remain, then gently trim with a craft knife and ruler so that you only go through the top layer of washi tape before lifing off the excess tape.) Once my frame was finished, I adhered it using dimensional adhesive to the soft yellow Afternoon Roses background paper.
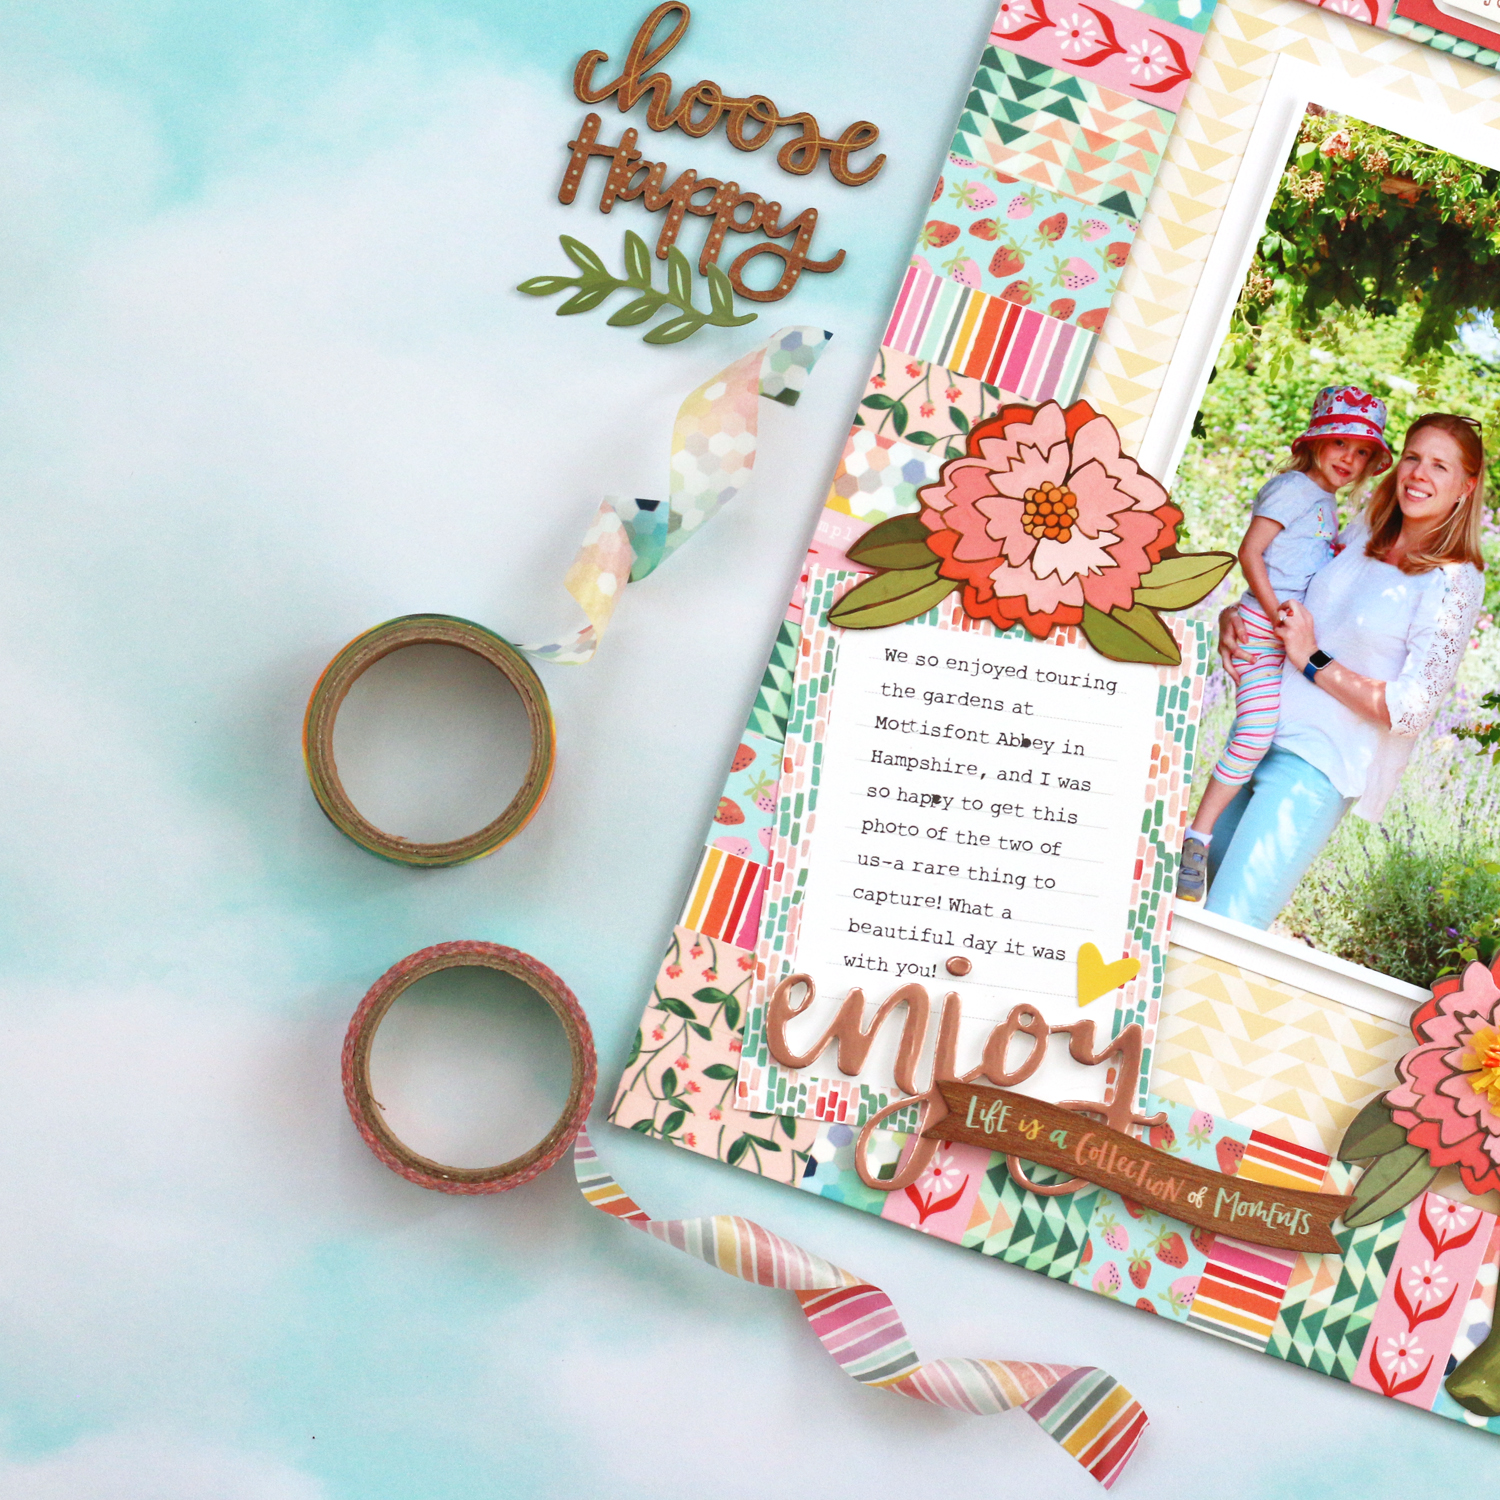
To help my photo stand out against all of the color and pattern, I backed it with a 4.5” x 6.5” piece of Coconut Swirl cardstock before adding it to the Afternoon Roses background, leaving more room below my photo. I added my journaling about this lovely day spent touring a beautiful English home onto a journaling card from the Afternoon Clips paper, and adhered that at an angle on the bottom left corner of my layout. The base was the perfect place to add my title, a simple “enjoy” word taken from the Saturday Afternoon foam and cardstock stickers. I also layered the beautiful “life is a collection of moments” wood veneer piece overtop of my title. I love the dimension that this adds!

To balance that heavy title corner, I wanted to create a visual triangle of embellishment in two other corners. In addition to the pretty florals found in the Saturday Afternoon collection, I also added the green Wellington boots, shiny metallic hearts and the cutest yellow wood veneer camera in the top corner!
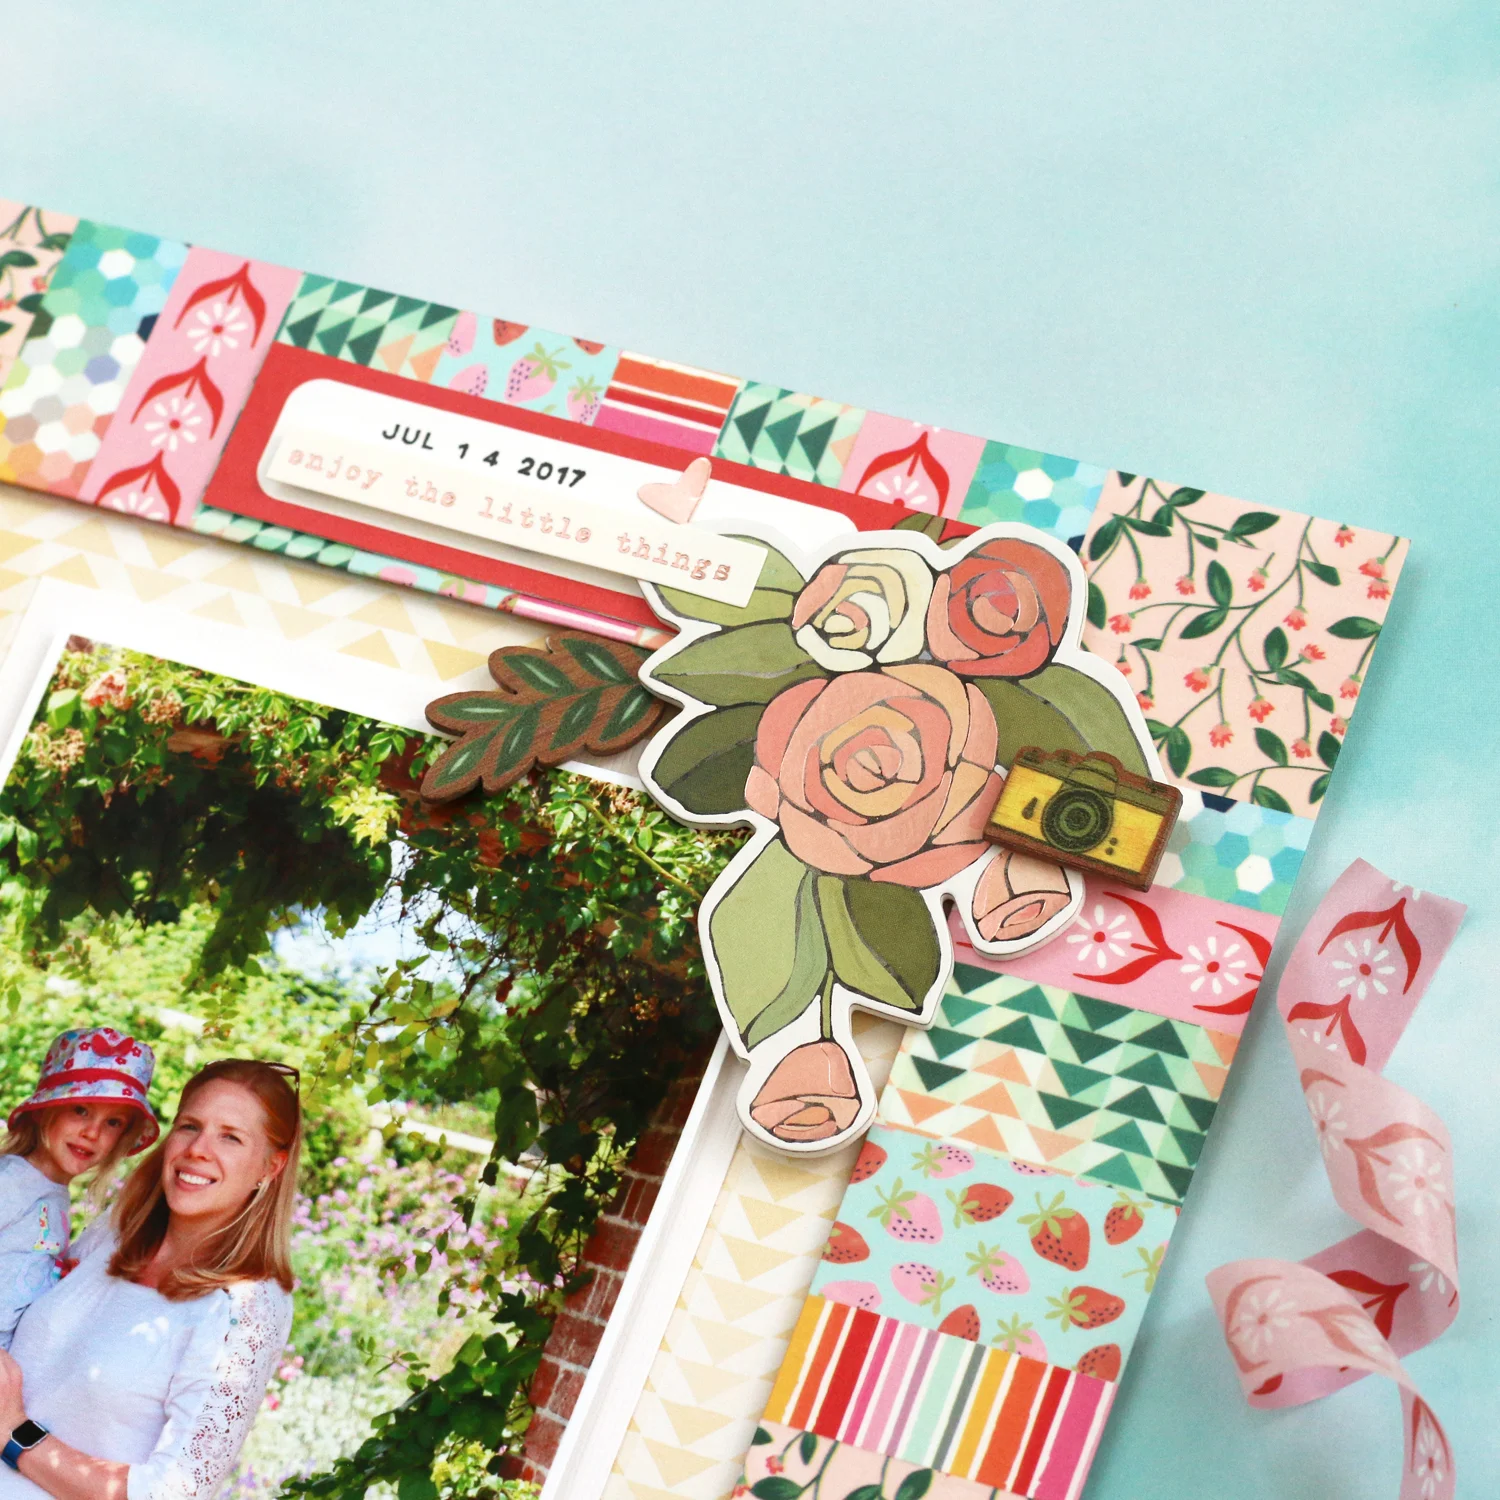
Last, I added a journaling tag cut from the Afternoon Clips paper, which I added my date to using the Saturday Afternoon rotary date stamp, then topped this pretty grouping with the “enjoy the little things” cardstock sticker.
This technique is a great way to showcase a favorite photo, and use some of your washi tape stash at the same time! If you try it out, share on Instagram and tag me @meghannandrew! I’d love to see! Thanks so much for stopping by, and be sure to check out the products I used to create this layout at the gallery below. Happy creating!
*Clicking these links will take you to the Scrapbook.com shop, and when you purchase, I receive a small percentage of the sale. It doesn't cost you any extra, so thanks so much for your support!


