
Tutorial: Print and cut journaling inside a circle
/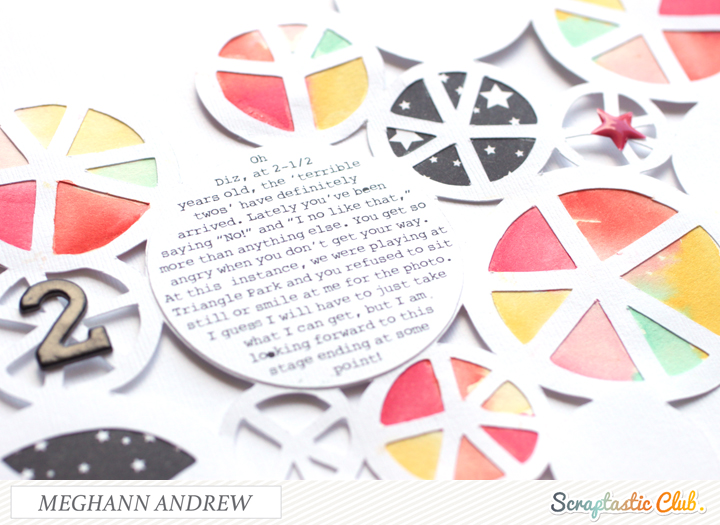
I recently shared a layout, "The Twos" that included a circular cut file in the background. To keep my design clean and consistent, I decided to include my journaling on the largest die-cut circle. My writing, however hard I try, is not very small, so to get all of my words down in the 2" circle, I was going to have to type it on my computer and print it out, and I figured that the quickest way to cut it would be with my Silhouette Cameo. Today I'd like to share this process with you using Photoshop Elements and Silhouette Studio software, so that you can try it on your next layout!

1. In Photoshop or Photoshop Elements using the ellipse tool, draw a circle just smaller than the diameter of the circle that you will be adding to your layout. In my case, my largest die-cut background circle was just over 2" in diameter, so I sized my circle at 2", using the ellipse option menu at the upper left side of the toolbar.

2. Choose your horizontal text tool. Although the screen shot doesn't show it, when you hover your cursor over the edge of your circle after choosing this tool, a small circle appears behind your cursor. When you see that, click and the boundaries of your text box will be placed inside that circle.

3. Type your journaling so that it fits inside the circle. You can adjust the font and size to make it fill up the entire circle shape. Once your journaling is complete, save the file as a PNG.

4. Open Silhouette Studio software and in the Design Page Settings menu, make your sheet 8-1/2" x 11", and turn on the print and cut border. Locate your PNG file and drag and drop it into this new document, being sure not to adjust the size. Your text should be well inside the print border lines.

5. Using the ellipse shape tool on the toolbar, draw a circle. In the Scale menu, adjust your circle size to fit your die-cut size, which is slightly larger than your journaling circle, in my case 2.2" in diameter. Turn on your registration marks in the Registration Marks menu and be sure that everything fits inside the guides.
6. Print your journaling from the Silhouette Studio software. This will also print the registration marks, which are the key to being sure that your circle will cut in the correct place.
7. Once your journaling is printed, load the paper in your Silhouette Cameo and cut according to the paper type settings for your chosen paper. The Silhouette should cut it exactly as it is shown on your screen and you can then adhere to your layout!
I hope you find this useful on your next project! Thanks for stopping by!


