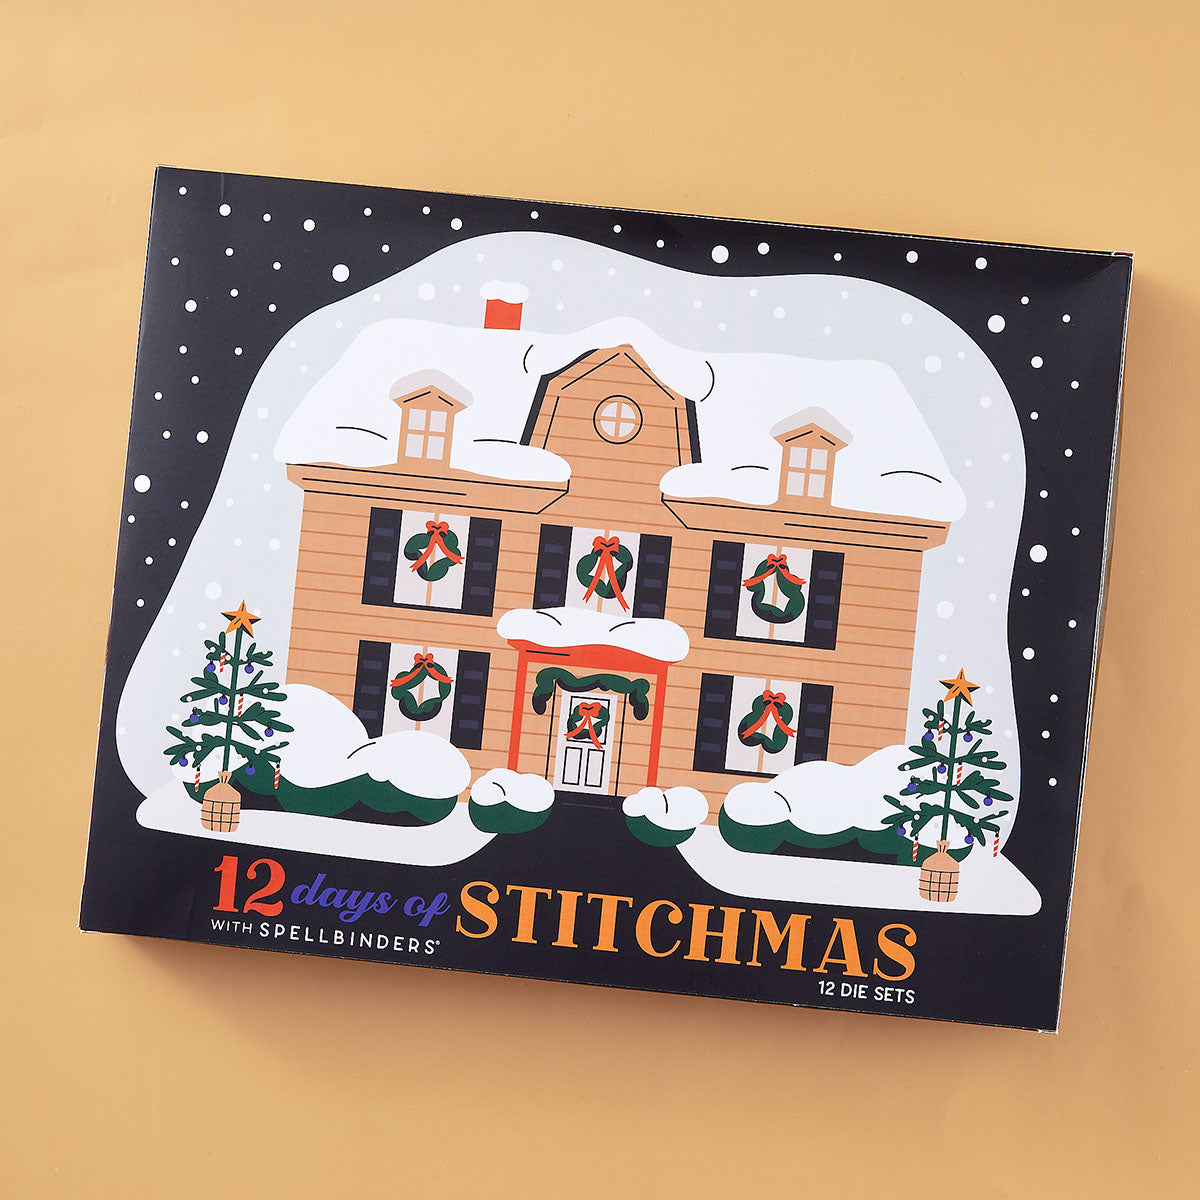
Spellbinders Stitchmas Day Four: A Patterned, Quilted Card
/Welcome back, friends! It’s time for Day Four of the 12 Days of Stitchmas—a festive advent-style celebration from Spellbinders that brings together two of my favorite things: cardmaking and stitching! Every day for these 12 days, I’ll be sharing a new Instagram Reel and a new card created with these adorable stitching dies, so be sure to follow me over on Instagram!
Click HERE to watch today’s Instagram Reel!
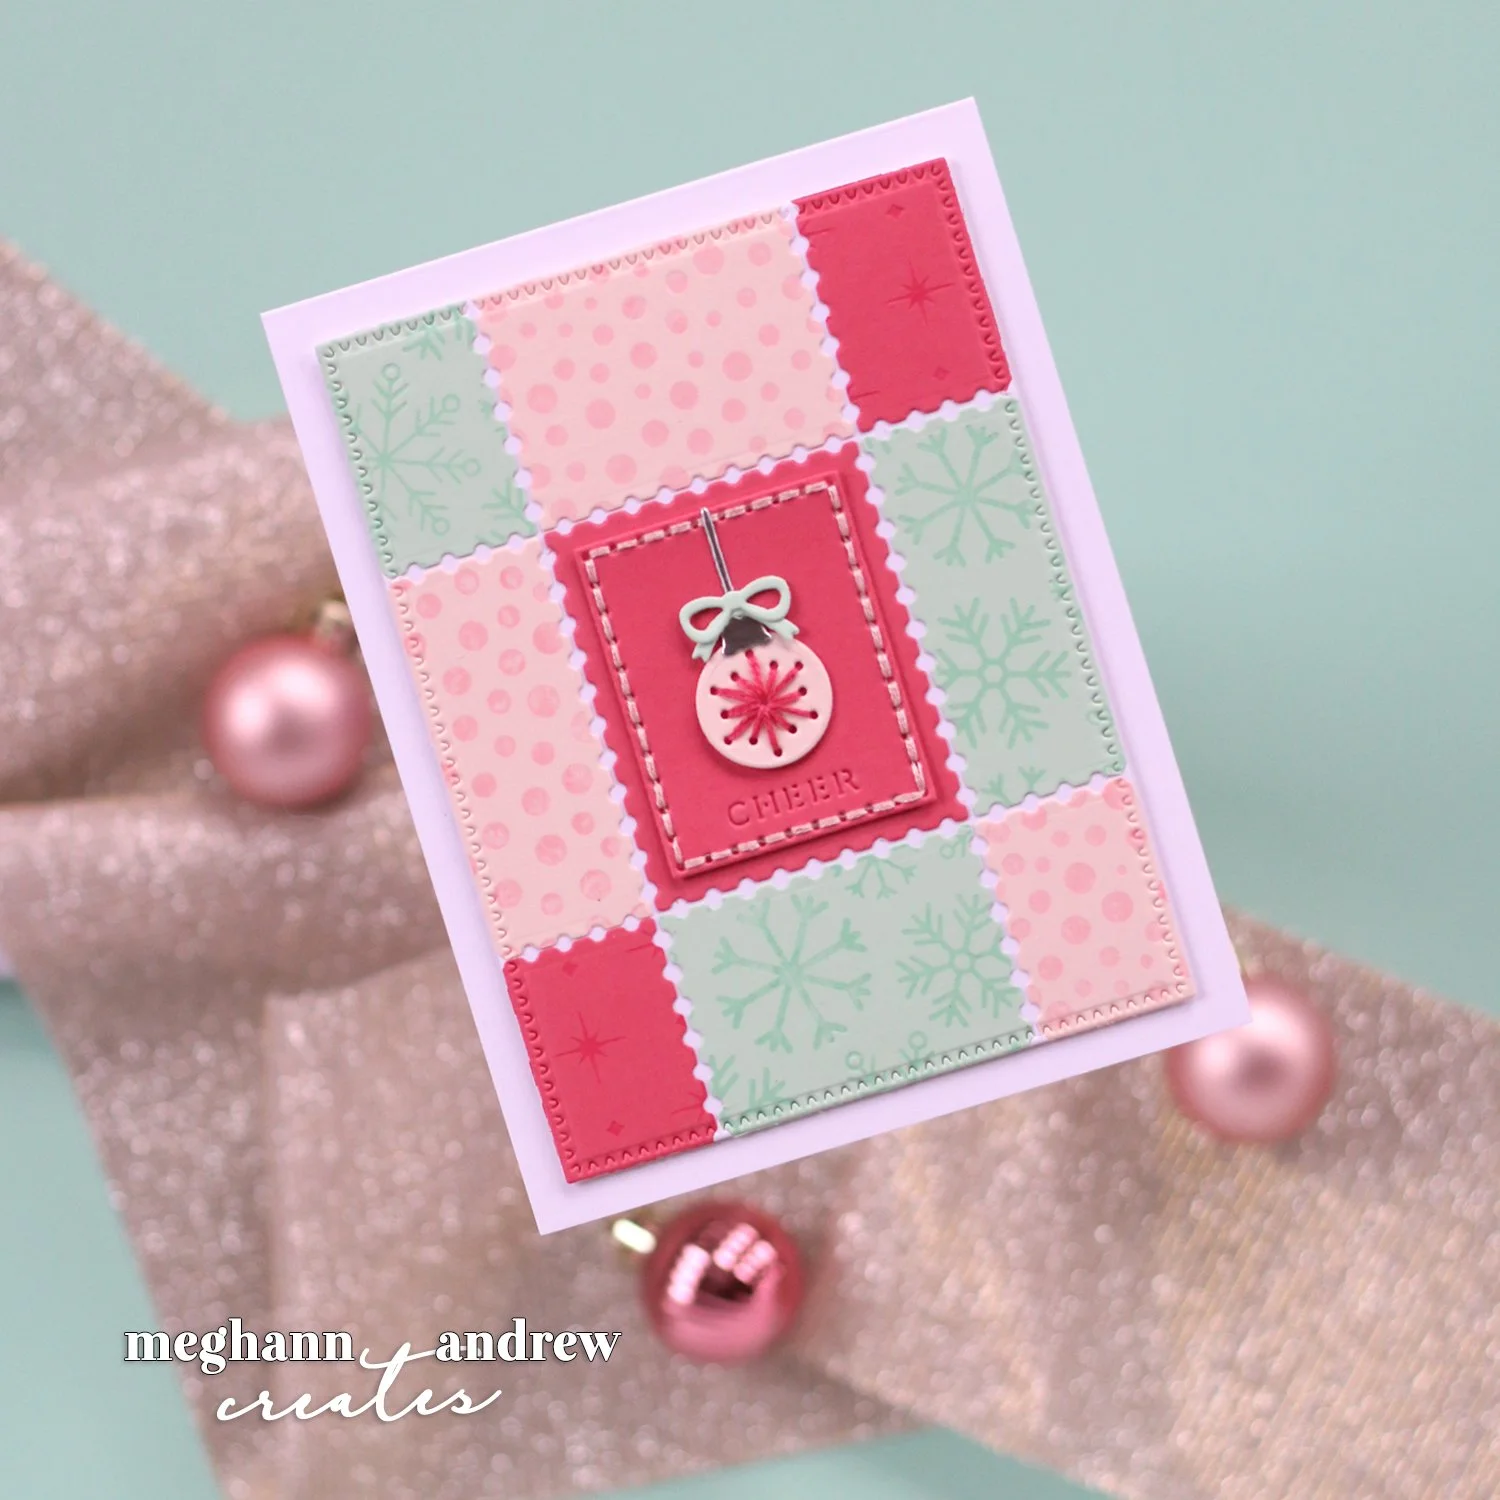
Today’s die set might be small, but it is packed with possibilities. It includes a charming postage stamp frame, a stitched insert panel, and the sweetest little round ornament, complete with a stitched starburst design, topper, and tiny bow. There are so many ways you could use this set—but today I’m taking it in a quilted, cozy direction!
I reached for my ColorWheel cardstock in a playful trio of colors: light pink, dark pink, and teal. To keep everything cohesive, I stitched with pale pink and dark pink embroidery thread, matching the tones beautifully.
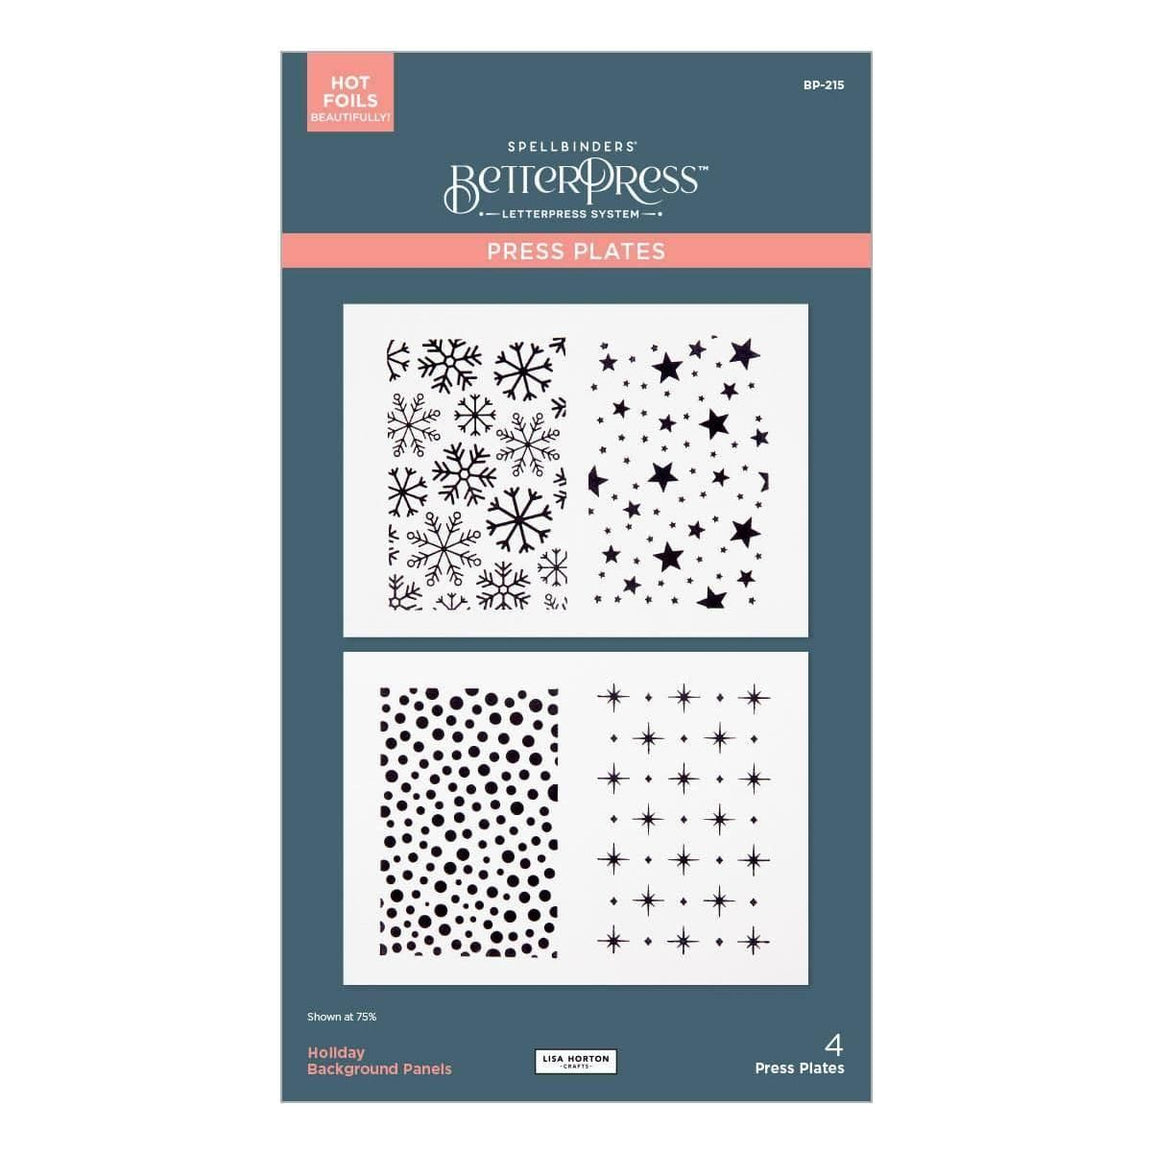
For the “stash product” of the day, I pulled out the Holiday Background Panels BetterPress set from Lisa Horton. This set includes four petite plates, each with a different pattern. They are absolutely perfect for creating a pieced, quilted effect.
Here’s how I made the background:
Die-cut the Postage Stamp Panels
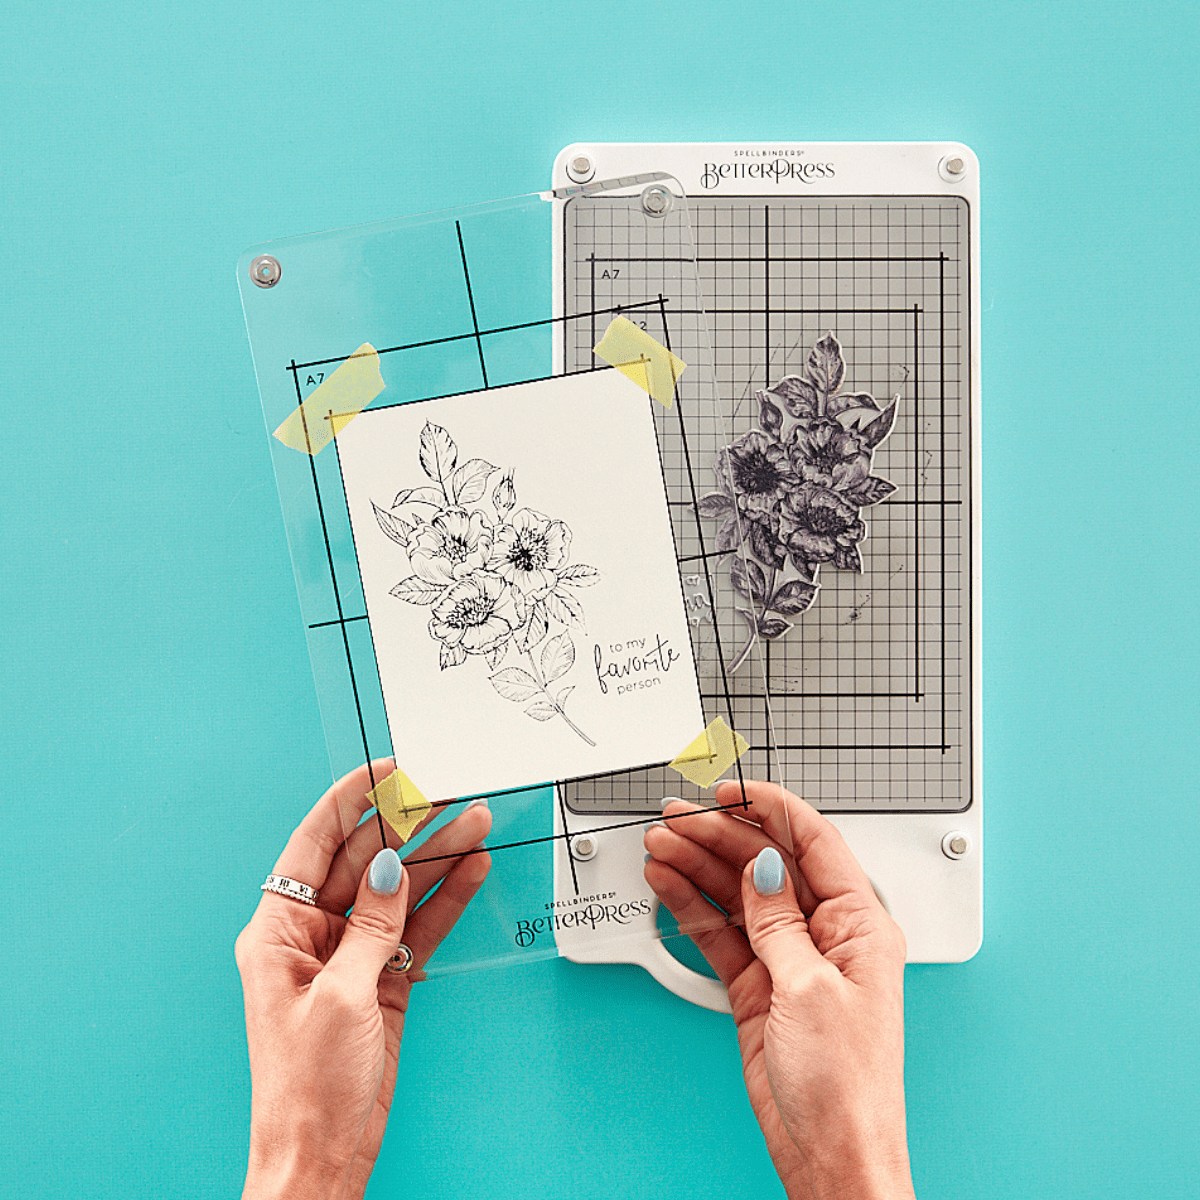
I cut multiple panels using the postage stamp die from my chosen pinks and teals. Two panels fit on one plate, making this process surprisingly quick!BetterPress Each Panel
I selected three patterns from the set and adhered two die-cut panels to the top of the BetterPress each time. Then I inked the plate with tone-on-tone BetterPress inks to match the cardstock, replaced the top, and ran the BetterPress platform through the Platinum 6.
I repeated this until I had eight pressed panels—enough to create a full quilt grid.Assemble the Quilted Card Front
Using my Pear Blossom Press T-Ruler, I placed a dark pink, unpressed panel in the center of my A2 card front. From there, I worked outward, adhering each pressed postage stamp piece and trimming clean edges once the panel was covered.Add a Decorative Edge
To finish the background beautifully, I die cut the entire piece using the Perfect Touch Rectangles die set, giving it a polished, framed look. Then I adhered it to a card base using foam adhesive for some lift.
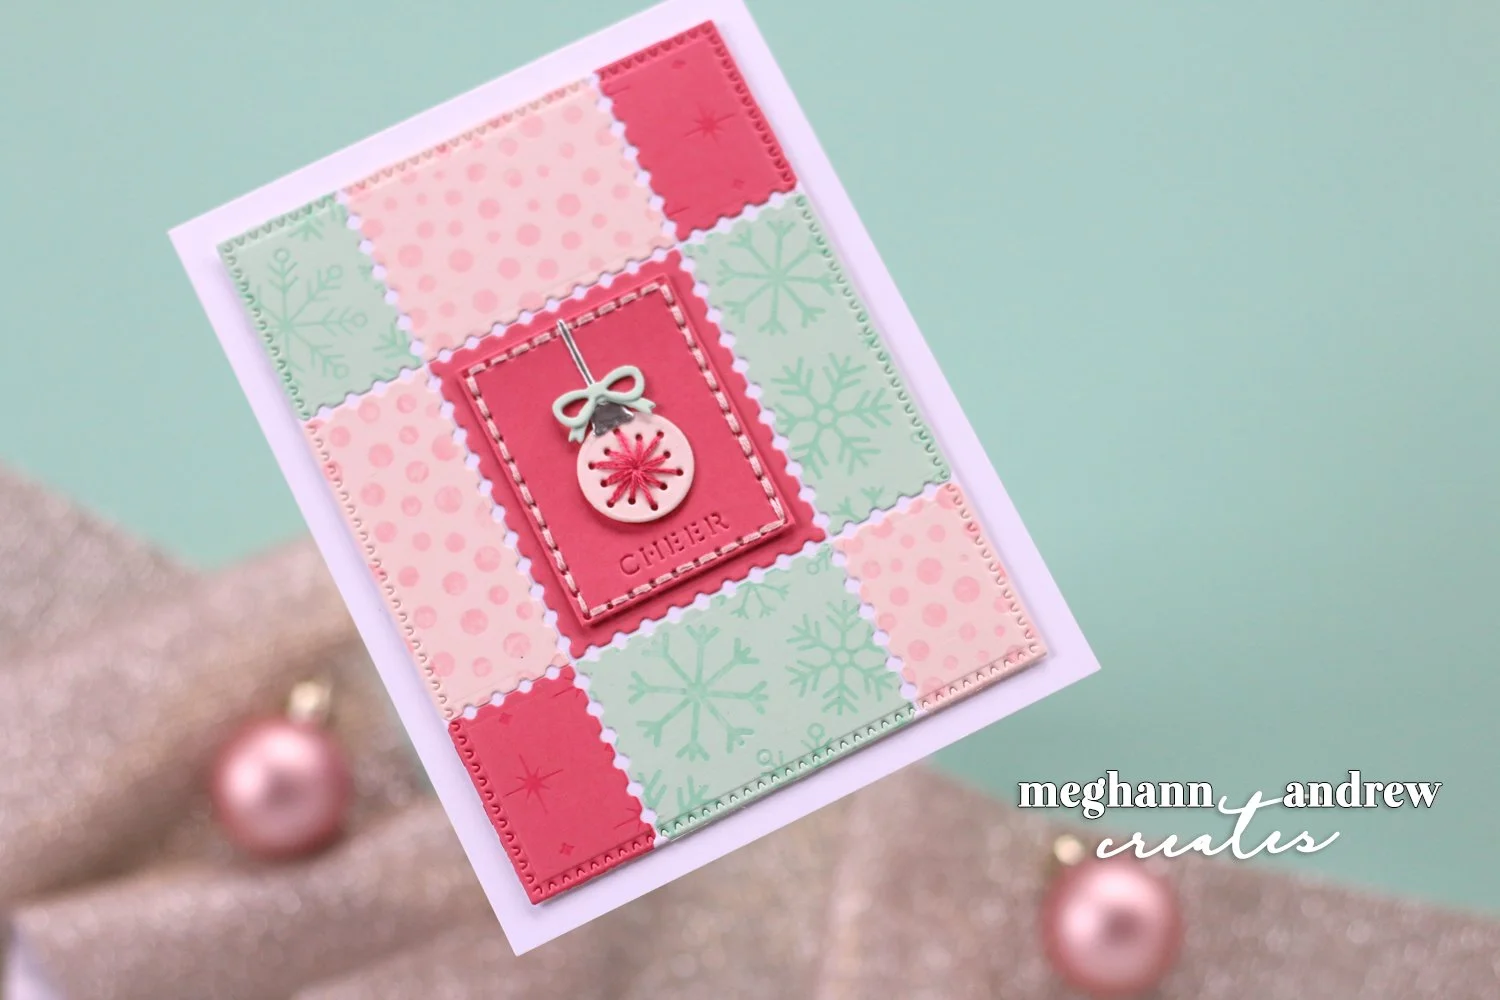
With the background complete, it was time for the star of the show: the stitching! I added the stitched insert panel to the center postage stamp. I assembled the ornament, adding its tiny bow for the perfect touch.
I loved stretching the day four die set to create a card that feels warm, textured, and full of holiday charm. It’s a great reminder that even the smallest dies have big creative potential!
Thanks for joining me for day four of 12 Days of Stitchmas! Find a full supply list below so that you can check out all of the supplies that I used—including the Holiday Background Panels BetterPress set which will be 50% off on Black Friday!

Come back tomorrow for the day five reveal! Until then, happy creating!
Supplies
Shop the supplies I shared in the video above using the clickable images below. Affiliate links may be used at no extra cost to you. Clicking on the products below is your way of saying, ‘thanks for inspiring me.’ I appreciate your support so much!